
A Guide to Glass Balustrade Clamp Systems
A glass balustrade clamp is the smart bit of hardware that grips glass panels securely in a railing system, but […]

A glass balustrade clamp is the smart bit of hardware that grips glass panels securely in a railing system, but […]
A glass balustrade clamp is the smart bit of hardware that grips glass panels securely in a railing system, but without having to drill any holes in the glass itself. These small but mighty fittings are the silent guardians of your view, making sure your balustrade is both safe and stylish. They’re absolutely fundamental to getting that minimalist, clean look so popular in modern architecture.
When you admire a sleek, modern glass balustrade, whether on a city-centre apartment balcony in Manchester or a contemporary home terrace in Yorkshire, your eyes are drawn straight to the uninterrupted view. What you might not even notice are the small metal components doing all the heavy lifting—the glass balustrade clamps. These are the unsung heroes of modern design.
Think of a glass balustrade clamp like a powerful, precision-engineered hand. It uses a friction-fit system, usually with tough rubber gaskets, to hold heavy glass panels firmly in place. This method is incredibly effective and completely removes the need for drilling, which can create weak points in the glass.
The real genius of the glass clamp is how it provides immense structural integrity while staying visually discreet. This dual role is critical for today’s architectural trends that favour open spaces and clean lines. Clamps let architects and homeowners create safe, strong barriers that don’t block out light or spoil the scenery.
This focus on safety and aesthetics is driving huge growth in the market. The global demand for glass balustrades was valued at around USD 25.8 billion in 2023, and it’s expected to more than double by 2032. This surge is fuelled by rising safety standards and a real preference for minimalist designs.
The strength they provide is often completely underestimated. They might look small, but the engineering behind them ensures they can withstand serious force, keeping your family safe. Our own glass strength test video shows just how tough these systems are when installed properly.
A well-chosen glass balustrade clamp does more than just hold a piece of glass; it upholds a design philosophy. It proves that safety and security don’t have to come at the expense of beauty and an open, airy feel.
Ultimately, these components are the key to unlocking grand architectural visions. They make it possible to build stunning, transparent barriers that connect indoor and outdoor spaces seamlessly—a feature we see requested all the time in homes and commercial properties across the North of England. From the first sketch to the final installation, the humble clamp is central to success.
Picking the perfect glass balustrade clamp can feel a bit overwhelming at first, but it really boils down to getting the function and the form right for your specific project. Think of it less like a maze and more like a simple checklist. The right choice is all about balancing the structural demands of your balustrade with the final look you’re aiming for.
Every little detail, from the shape to the material, plays a crucial part in the safety, style, and longevity of your finished balustrade.
The first decision usually starts with the shape. The two most popular designs you’ll come across are D-shaped and square clamps, and each brings a completely different feel to the table. D-shaped clamps have a softer, rounded profile that works beautifully with more traditional or curved designs. On the other hand, square clamps offer that sharp, modern edge that’s a perfect match for minimalist and contemporary architecture.
Next up, you need to consider what you’re fixing the clamp to. A flat-back glass balustrade clamp is your go-to for installing against any flat surface, like a wall or a square post. But if you’re working with tubular posts, you’ll need a round-back clamp. Its curved profile is engineered to hug the post snugly, guaranteeing a secure and seamless connection. Getting this small detail right is absolutely fundamental to a solid, stable installation.
Once you’ve got the shape and backing sorted, the fun part begins: choosing the material and finish. This is where you really define the character of your balustrade and, crucially, make sure it lasts. The finish makes a huge visual impact, whether it’s the brilliant gleam of polished steel, the subtle class of a satin finish, or the bold, contemporary statement of matte black.
But the material itself is much more than a cosmetic choice; it’s a critical decision for durability, especially with the famously unpredictable weather we get here in Northern England. There are two main grades of stainless steel you need to know about:
This diagram can help simplify the decision-making process, whether your priority is a barely-there minimalist aesthetic or uncompromising strength.
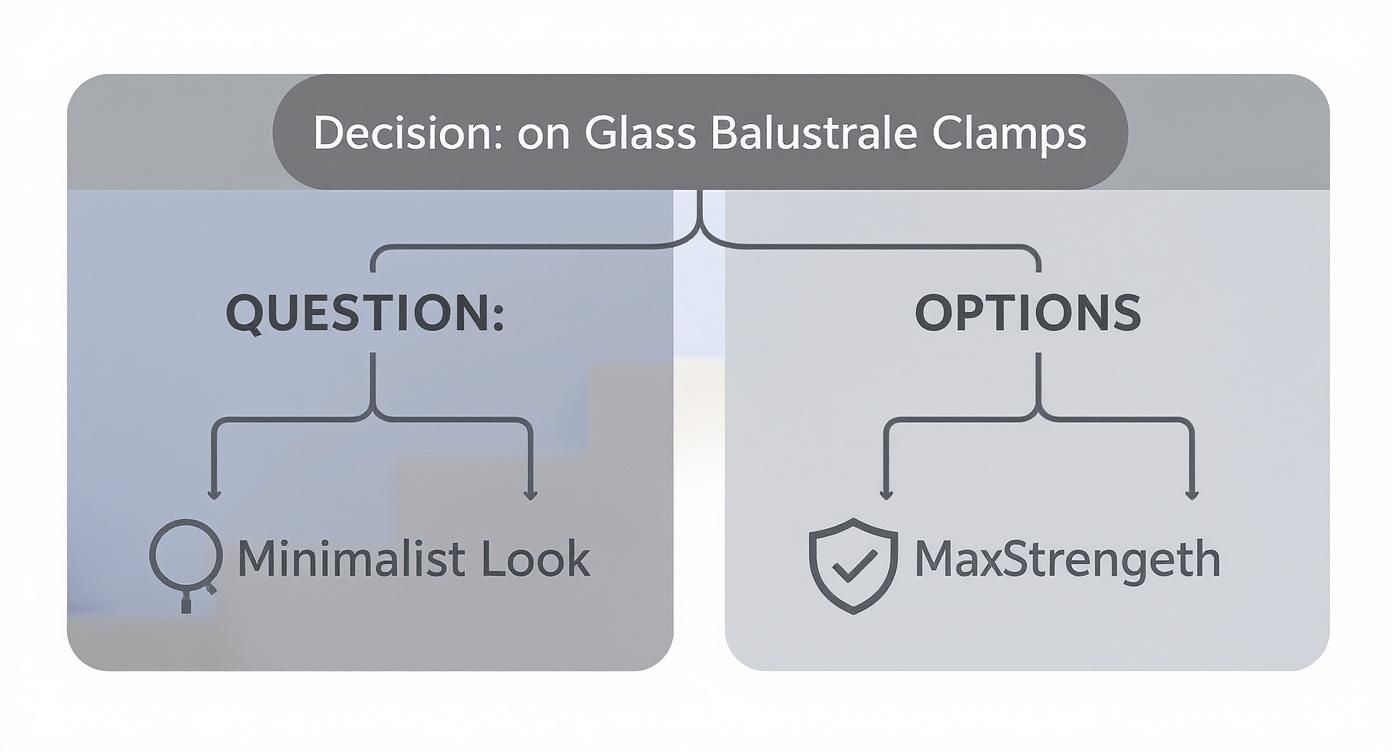
As the flowchart shows, your main goal—whether it’s achieving that almost invisible look or prioritising robust, heavy-duty strength—will point you directly to the right type of clamp system for your needs.
Thinking through these key elements—shape, mounting surface, finish, and material grade—will naturally lead you to the ideal glass balustrade clamp. It’s about creating a perfect harmony between your design vision and the practical demands of the environment. A homeowner in Cheshire, for instance, might opt for a sleek, matte black square clamp in Grade 316 steel to complete their modern garden renovation, ticking all the boxes for both style and durability.
By carefully considering each variable, you move from simply buying a piece of hardware to making an informed design choice that guarantees safety, longevity, and style for years to come.
This thoughtful selection process ensures every single component works together perfectly. If you’re looking for an all-in-one solution that takes the guesswork out of the equation, exploring a complete glass balustrade kit can simplify everything, as all the components are pre-selected to work together. Making the right choices at this stage is the foundation of a successful and stunning project.
When you’re designing a glass balustrade, it’s easy to get caught up in the aesthetics. But when it comes down to it, safety is absolutely non-negotiable. The entire system’s strength hinges on a tiny but critical detail: the precise fit between the glass balustrade clamp, its rubber gaskets, and the glass panel itself. This isn’t a place for ‘close enough’—getting this combination perfect is the foundation of a barrier that’s not just beautiful, but completely secure.
Think of the clamp and its gaskets as a bespoke glove made for the glass. If the glove is too loose (the wrong size clamp or gasket), it simply won’t have the grip to hold the panel, leading to a wobbly and dangerous installation. Too tight, and you risk creating immense pressure points on the glass, which can lead to fractures down the line. Only that perfect, snug fit provides the friction needed to hold a heavy glass panel firmly in place against forces like the wind or someone leaning on it.
This level of detail is exactly what’s required to meet UK safety regulations, which are rightly some of the toughest in the world.
For any balustrade going into a UK property, the key document is BS 6180:2011. This is the British Standard that sets out the official code of practice for protective barriers. It sounds technical, but its purpose is straightforward: to make sure barriers are strong enough to stop people from falling.
For a home project, whether it’s a new patio in Sheffield or a mezzanine in Liverpool, this standard dictates specific load-bearing requirements. It tells us exactly how much force (measured in kilonewtons per metre, or kN/m) the balustrade must withstand without failing. The right glass clamps are engineered and rigorously tested to ensure the final system can handle these loads, giving you total peace of mind.
A compliant installation isn’t just about ticking a box for a building inspector. It’s about the confidence of knowing your family and friends are protected by a structure built to the highest possible safety standards.
The demand for these safe, stylish systems is growing fast. The UK’s dynamic building market has seen consistent growth in frameless designs. In 2025, the UK’s share of the European market was approximately 24.6%, showing just how popular these projects have become for homeowners wanting that blend of modern looks and robust safety.
The most common glass thicknesses we see for balustrades are 10mm and 12mm for toughened glass, alongside various layered options for laminated glass. Each specific thickness must be paired with the correct rubber gasket to make the clamp work as intended. Trying to force a 10mm gasket to fit 12mm glass is impossible, and using a 12mm gasket on 10mm glass will create a dangerously loose panel that could fail.
Here’s a quick reference table to help match the right components together.
Use this reference table to match the correct glass clamp and gasket with the most common toughened or laminated glass thicknesses used in the UK.
| Glass Thickness | Recommended Clamp Model | Required Gasket Type |
|---|---|---|
| 8mm Toughened | Standard Square/D-Shape | Gaskets for 8mm Glass |
| 10mm Toughened | Standard Square/D-Shape | Gaskets for 10mm Glass |
| 12mm Toughened | Heavy-Duty Square/D-Shape | Gaskets for 12mm Glass |
| 10.8mm Laminated | Specific Laminated Clamps | Gaskets for 10.8mm Glass |
| 13.5mm Laminated | Specific Laminated Clamps | Gaskets for 13.5mm Glass |
As you can see, it’s a precise science. The rubber gasket doesn’t just provide the friction for the grip; it also acts as a vital cushion. It prevents direct metal-on-glass contact, which is crucial for avoiding stress fractures caused by tiny movements from thermal expansion and contraction over the seasons.
Ultimately, safety and compliance live in the details. From choosing Grade 316 stainless steel for outdoor railings for a balcony to triple-checking that every clamp has the right gasket, each decision contributes to the system’s overall strength. By understanding these principles, you can be confident your balustrade will be a safe, compliant, and stunning feature for years to come.
Getting your glass clamp installation right is a game of precision. While we always stand by the recommendation to use a professional for a guaranteed safe and compliant finish, this overview will give you a solid understanding of the process. For the confident DIYer, it’s a clear roadmap; for everyone else, it’s a look behind the curtain at what makes a quality installation.
The success of the entire job hinges on meticulous preparation. Before a drill even comes out of its case, every measurement needs to be checked, and then checked again. The safety and stunning final look of your balustrade rely entirely on the exact placement of each and every clamp.
First things first, you need to establish the exact locations for your posts or mounting surfaces. Once they’re securely in position, you can begin marking out where each glass balustrade clamp will sit.
A reliable rule of thumb is to position the clamps about a quarter of the panel’s width in from each edge. So, for a 1000mm wide glass panel, you’d aim to place the centre of your clamp roughly 250mm from the side.
Next, grab a spirit level and a pencil. Mark a perfectly level guideline for where the bottom edge of your glass panels will rest. This single line is crucial for achieving a consistent gap beneath the glass and a clean, professional look across the whole installation. Then, mark the precise drilling points for each clamp on your posts or wall, double-checking all your measurements before you move on.
With your drill points clearly marked, it’s time to fix the clamps. Make sure you’re using the right drill bit for the job—a masonry bit for brick or concrete, and a wood or metal bit for posts. Secure each glass balustrade clamp with the appropriate fixings, tightening them firmly but not cranking them down completely just yet.
Pay close attention here: the back plate of the clamp must sit perfectly flush and stable against the mounting surface. Any rocking, wobbling, or gaps will compromise the integrity of the whole system. Take your time to get this part perfect.
This is the most critical part of the installation, and it’s definitely a two-person job. Carefully place the rubber gaskets inside each clamp. These aren’t optional extras; they provide the essential friction grip and create a protective cushion between the metal and the glass, preventing dangerous stress fractures.
Gently lower the glass panel onto setting blocks you’ve placed on your guideline, then carefully guide it into the open clamps. Once the panel is sitting perfectly level and in position, you can start tightening the clamp screws. This needs to be done evenly. Alternate between the clamps, and even between the screws on a single clamp, to apply pressure gradually and avoid creating stress points.
Over-tightening is one of the most common—and costly—mistakes you can make. It creates immense pressure points on the glass and can potentially shatter the panel. The aim is a firm, secure grip, not maximum brute force.
For a truly accurate and safe installation, using a torque wrench is the best practice. While you should always check the manufacturer’s specific guidelines, a typical torque setting for a standard balustrade clamp falls between 20 and 30 Nm. The safest approach is to start low and gradually increase the torque until the glass is held securely with zero movement. This precision prevents the dual risks of under-tightening (which is unsafe) and over-tightening (which is destructive).
A stunning glass balustrade is a real investment in your property’s look and feel. With just a little care, it can keep that brand-new gleam for years. The secret? Simple, effective maintenance, especially for the all-important glass clamps that hold everything securely in place.
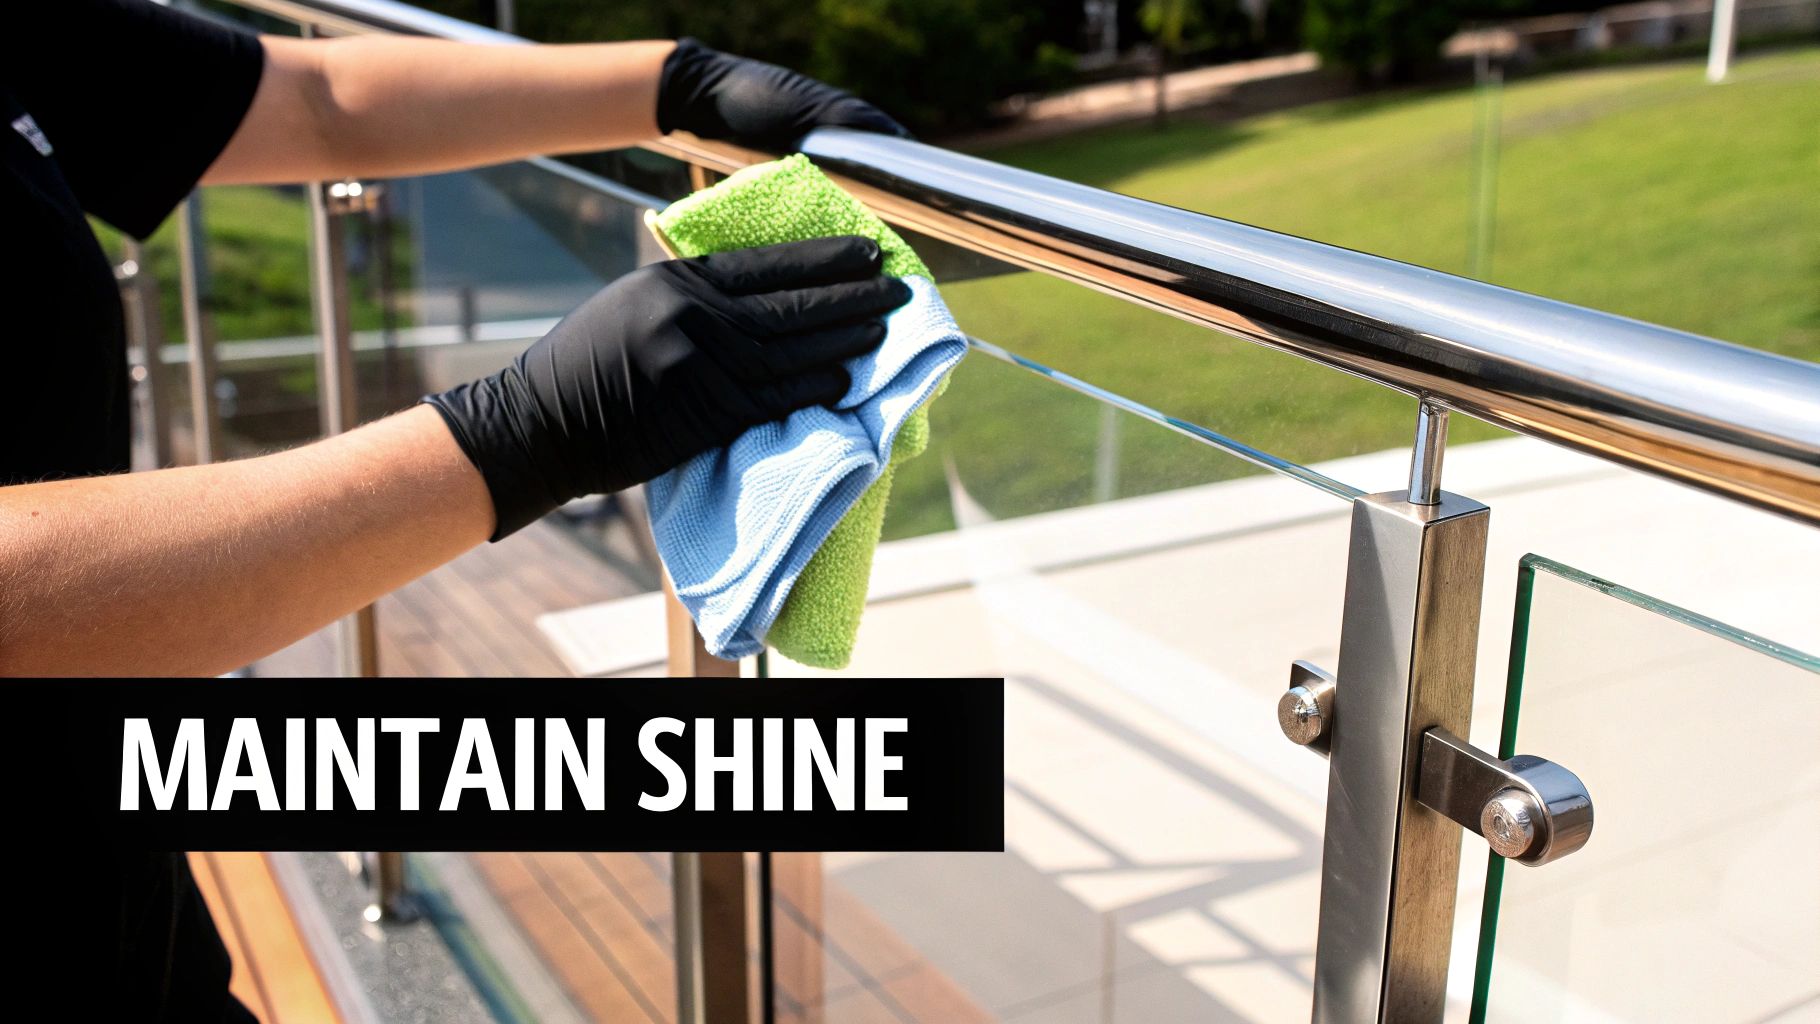
This proactive approach is vital for outdoor systems, particularly those exposed to the famously damp and unpredictable weather we get across the North of England. A bit of regular cleaning stops dirt and pollutants from building up, heading off potential issues before they even start.
Even top-quality Grade 316 stainless steel can develop superficial marks known as “tea staining,” especially if left uncleaned in coastal or industrial areas. It’s important to know this isn’t rust, but a cosmetic discolouration caused by airborne contaminants settling on the surface. The good news is that it’s completely preventable.
To keep your clamps looking their best:
This preventative care is essential for maintaining the visual appeal that makes glass balustrades so popular. Their popularity is soaring; in 2024, Europe saw sales of over 15 million glass hardware components. The UK was a huge contributor, with projects retrofitting historic buildings boosting demand. You can discover more about the trends in the glass hardware market.
Over time, you might notice small things, like a panel that feels a bit loose. Regular checks will help you spot these minor issues early, long before they become a bigger headache.
A loose glass panel isn’t usually a sign of a faulty clamp. More often than not, it just means a minor adjustment is needed. Catching this early ensures your balustrade remains perfectly secure.
If you spot a panel with a little more wobble than it should have, the solution is usually straightforward. Using the correct tool, you can carefully re-tighten the clamp screws. The trick is to apply pressure evenly, alternating between the screws to avoid creating stress points on the glass.
Remember, do not over-tighten. The goal is to make the panel firm and secure, not to apply brute force. If tightening the clamp doesn’t fix the wobble, or if you feel at all unsure, it’s always best to get an expert eye on it. A professional can quickly tell if it’s a simple fix or a sign of something more complex, ensuring your investment stays safe and looks impeccable.
Transforming a vision into a stunning, safe, and fully compliant glass balustrade takes more than just high-quality parts; it demands genuine local expertise. At Binks Glass Solutions, we are deeply rooted in the North of England, providing specialist guidance for projects ranging from modern new-builds in Newcastle to rustic barn conversions deep in the Yorkshire Dales.
We get the unique architectural styles and, just as importantly, the demanding weather conditions that define our region. This on-the-ground knowledge means we can recommend the perfect glass balustrade clamp and system for your specific needs—whether that’s a Grade 316 stainless steel finish to withstand salty coastal air or a sleek matte black design for a contemporary Leeds patio.
We believe the planning process should be as clear and straightforward as possible. To help you get a realistic idea of your project’s budget right from your home, we’ve developed a simple but powerful online tool.
Partnering with a local specialist means you get more than just materials; you get a team that understands your environment, your design aspirations, and the specific building regulations that apply right here in the North.
Our Online Balustrade Quote Calculator delivers an instant, tailored estimate in just a few clicks. Simply pop in your measurements, choose your preferred style, and our system generates a clear, detailed price for your project. It’s a fantastic way to explore different options and make informed decisions without any pressure.
While our calculator is a great starting point, we know every project comes with its own unique questions and challenges. This is where we go from being a supplier to your trusted project partner. Our team of experts, based right here in Yorkshire, is always on hand to offer personal, practical advice.
Need to double-check you’ve chosen the right glass balustrade clamp for a specific glass thickness? Want to discuss how your design complies with local building codes? Or maybe you just want a second opinion on the aesthetics. We’re here to help. We combine our technical know-how with a real passion for great design, ensuring your finished balustrade is not only safe and durable but a beautiful addition to your home. Feel free to contact us to get the conversation started.
When you’re planning a glass balustrade, it’s the small details that make all the difference. Getting your head around the technical side of things, like clamps, is key to a smooth project. We get asked these questions all the time by customers across Yorkshire and the North, so let’s clear up a few of the most common ones.
This is usually the first question on everyone’s lips, and for good reason. For most standard residential projects, the rule of thumb is two clamps for any glass panel up to 1200mm wide. This setup gives you a really secure, balanced hold that’s perfect for everything from garden decking to an indoor landing.
But this isn’t a hard and fast rule. If you’re using taller or heavier glass, you might need more clamps to keep everything rigid and safe, especially against wind or someone leaning on it. If your panels are bigger than the standard size, it’s always best to check the product specs or just have a quick chat with an expert.
Fantastic question, and the answer gets to the very heart of why modern glass balustrade clamps are so popular. No, you absolutely do not need to drill any holes in the glass.
Clamps work using a powerful friction-fit system. They grip the glass with immense pressure, cushioned by specialist rubber gaskets that also create friction. This clever design means you don’t need any complex, expensive, or time-consuming glass fabrication.
Drilling holes can actually introduce weak points into toughened glass. By using a clamp system, you keep the panel’s structural integrity completely intact, leading to a stronger, safer, and much more straightforward installation.
Yes, definitely. Glass clamps are ideal for angled jobs like staircases and ramps. The trick is that the clamp itself stays perfectly square to the glass, while the post it’s fixed to follows the angle of your stairs.
Whether you choose flat-back clamps for a wall or round-back clamps for a post, they can be fixed securely to angled surfaces. This lets you create a beautiful, continuous glass barrier that flows right up the staircase, giving you total safety without blocking any light or creating a closed-in feeling.
Getting this right is absolutely critical if you want your balustrade to look good for years to come. While they look identical to the naked eye, their performance in different environments is worlds apart.
Ready to start planning your own stunning glass balustrade project? The team at Binks Glass Solutions provides the expert advice and high-quality components you need. Get in touch with our local specialists for a no-obligation chat about your vision. Contact us today.