
A Practical Guide to Installing Glass Balustrade Systems
Installing a glass balustrade isn't just one job; it's a project with four distinct stages. You have your detailed planning […]

Installing a glass balustrade isn't just one job; it's a project with four distinct stages. You have your detailed planning […]
Installing a glass balustrade isn't just one job; it's a project with four distinct stages. You have your detailed planning and site check, gathering the right tools, the actual fitting of the system and glass, and finally, adding those professional finishing touches. Getting these steps right is the secret to a project that not only looks incredible but is also safe and fully compliant with UK regulations.
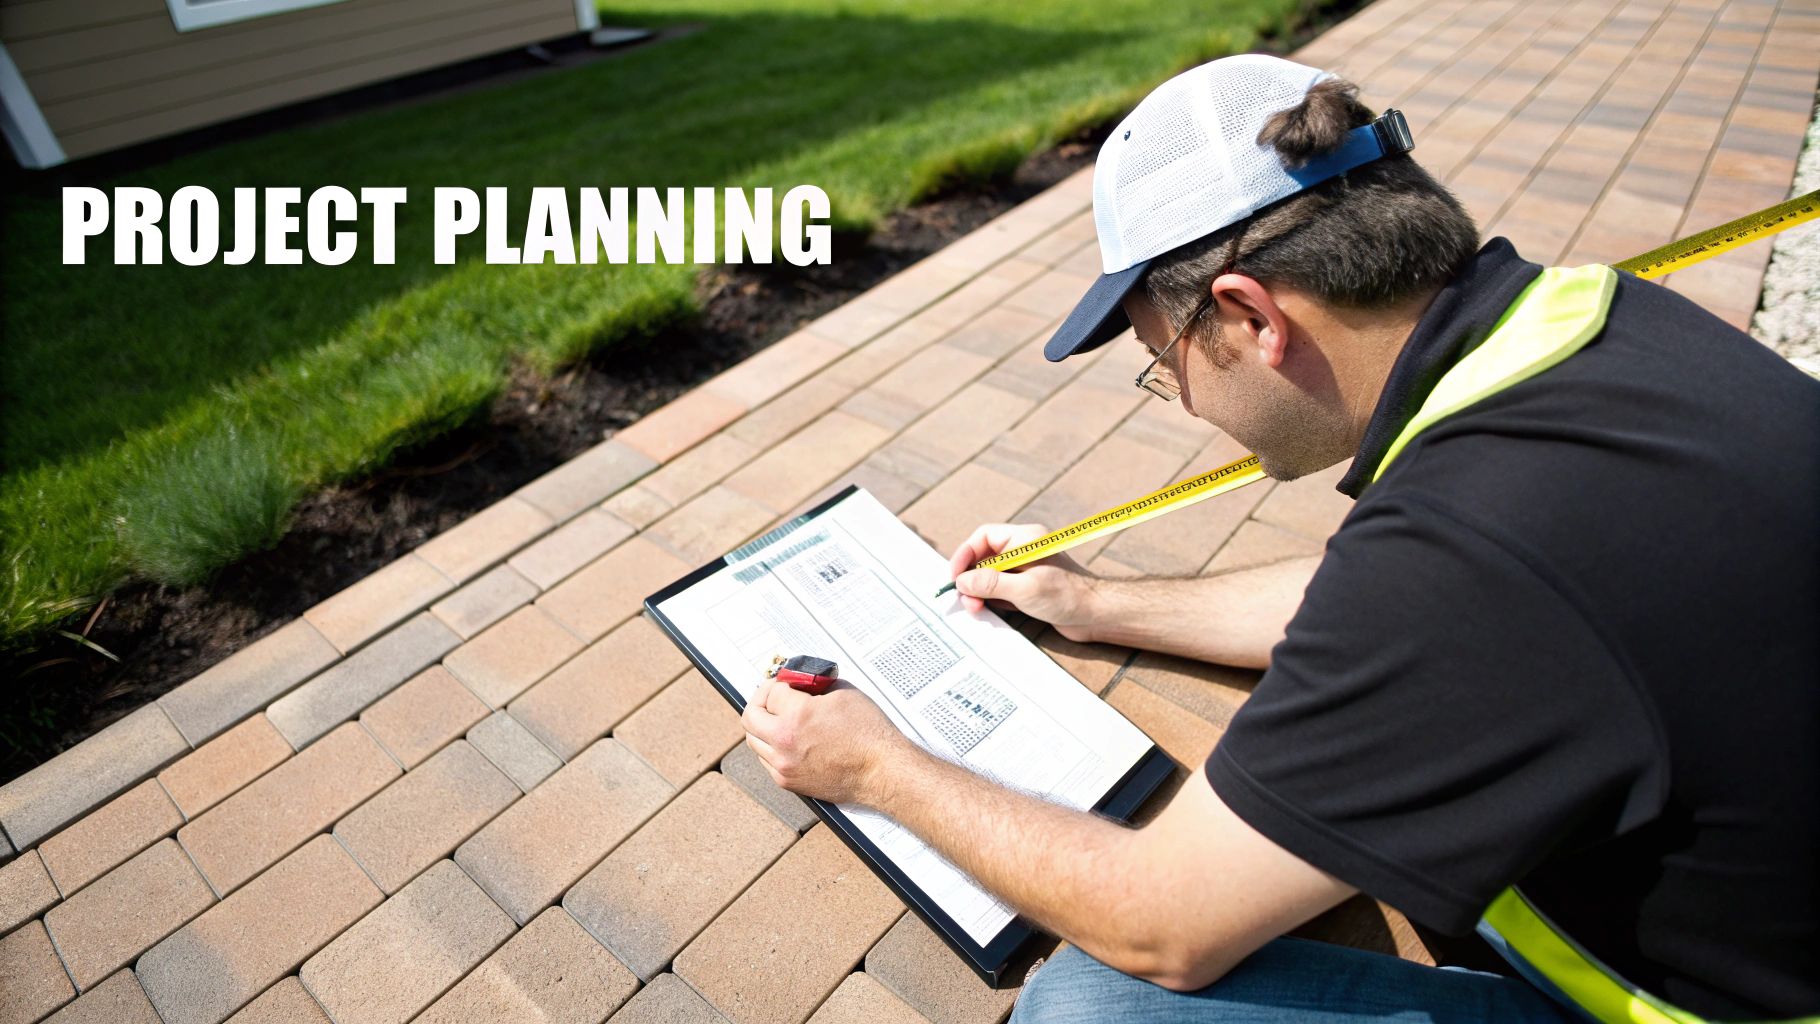
Before you even think about picking up a drill, remember this: the success of your entire installation hinges on the quality of your plan. This first phase is your blueprint. It's where you prevent costly mistakes and map out a smooth workflow from start to finish. We’re talking about more than just measurements; it's about really understanding the space, your materials, and the rules of the game.
The demand for glass systems has shot up recently, which makes sense. Everyone wants that modern architectural style that champions light and safety. It's a huge market – valued at USD 11.67 billion in 2024 globally and still growing. This growth is fuelled by better materials and a stronger focus on building safety standards, making careful, professional planning more critical than ever.
Every single site has its own quirks. Across the North of England, we often work on older properties with characteristically uneven surfaces, from rustic stone patios in Yorkshire to weathered timber decking in Cumbria. Your first job is to get out there and give the site a proper assessment.
Here's what to look for:
This isn't the part you can afford to skip. Compliance is non-negotiable for both safety and legality. UK building regulations, especially Approved Document K and BS 6180:2011, lay out the strict requirements for height, load-bearing capacity, and the type of glass you can use. For instance, any balustrade that protects a drop of over 600mm has to pass specific structural integrity tests.
A common mistake we see is people assuming all glass is created equal. Regulations often demand toughened laminated glass in 'critical locations'—like frameless systems or balustrades at height—because if it breaks, the interlayer holds it together, preventing a dangerous gap from opening up.
Getting your head around these rules is vital. For a full, detailed rundown, we recommend you review our comprehensive guide on building regulations for balustrades to make sure your project is 100% compliant.
The glass and fixing method you choose will define the project's final look, its safety rating, and the overall cost. The two main players are toughened and laminated glass. Toughened glass is incredibly strong but will shatter into lots of small, blunt pieces if it breaks. Laminated glass, on the other hand, has a plastic interlayer that holds the pane together even after an impact.
Your fixing system is what gives the balustrade its signature style. This table gives a quick overview to help you decide.
| Fixing Method | Best For | Visual Style | Installation Complexity |
|---|---|---|---|
| Base Shoe/Channel | Achieving a completely seamless, frameless look on patios and balconies. | Clean, minimalist, and uninterrupted. The "wall of glass" effect. | Moderate to High. Requires a perfectly level substrate and precise alignment. |
| Spigots/Clamps | Decking areas, pool surrounds, and ground-floor installations where a floating look is desired. | Modern and airy. Glass appears to float above the ground. | Moderate. Spigots must be perfectly aligned and securely anchored into the structure. |
| Stand-offs/Bolts | Fixing glass to the side of staircases, landings, or balcony edges. | The ultimate minimalist style. Fixings are discreet and elegant. | High. Requires absolute precision in drilling both the glass and the mounting surface. |
Each system has its place, and the best choice really comes down to the specific site conditions and the aesthetic you're aiming for.
While getting the technical side of the installation right is paramount, managing these projects often touches on wider business skills. Combining technical expertise with smart business practice is what truly sets a professional apart. You can find some general tips for small trade businesses that might help streamline your operations. This kind of forward-thinking is what turns a good installation into a great one.
Walking onto a job without the right gear is a surefire recipe for a frustrating day. When it comes to installing glass balustrades, preparation is everything. Having the correct tools and materials laid out before you even think about lifting a panel is what separates a smooth, professional job from a complete nightmare. This isn’t just about having a drill; it's about having the right drill bit for the job, whether you're fixing into timber decking in Leeds or a concrete patio in York.
Think of this phase as your pre-flight check. A high-quality, long spirit level is non-negotiable if you want a perfectly plumb installation. Likewise, you can't get by without a powerful core drill fitted with the correct diamond-tipped bit for concrete. If you're working with structural timber joists, a robust impact driver with high-tensile steel bits will be your best friend.
Getting your tools organised is the first real step towards a successful installation. While every project has its own quirks, there’s a core set of equipment that forms the foundation of any glass balustrade job.
Beyond the power tools, the smaller materials you choose will directly impact the longevity and structural integrity of your balustrade. This is where attention to detail really pays off.
For base shoe or channel systems, using a non-shrink grout is critical. Unlike standard cement mixes, this specialist grout actually expands slightly as it cures. This creates a rock-solid, void-free foundation that grips the channel securely in place. When it's time to fit the glass, high-quality rubber gaskets and plastic wedges are non-negotiable. They protect the glass from any direct metal contact, absorb minor vibrations, and ensure a tight, secure fit within the clamps or channel. When choosing your glass, understanding the differences between your options is key; you can explore a detailed comparison in our article on laminated and toughened glass.
Personal Tip: Always, always buy slightly more fixings (bolts, screws, washers) than you think you'll need. Dropping one from a balcony or discovering a stripped thread halfway through the job can bring the entire project to a grinding halt. Having a few spares on hand is a simple trick that has saved me a huge amount of time and hassle over the years.
Let’s be clear: working with heavy glass panels requires a serious approach to personal safety. Never, ever attempt to lift or move large glass panels on your own.
Your essential Personal Protective Equipment (PPE) list must include:
Once you have a clear list of what's needed, implementing an efficient inventory control system can be a game-changer for professional installers. It ensures you always have the right materials ready for every project, and frankly, this level of organisation is what separates the amateurs from the professionals.
Right, you've done the planning, gathered your kit, and now it's time to get your hands dirty. This is where meticulous preparation really starts to pay dividends. Installing a glass balustrade isn't a race; it's a job that rewards precision and a steady hand. Let's walk through the practical stages to make sure your installation is rock-solid and looks absolutely spot-on.
We'll cover everything from getting the surface ready and marking out, right through to gently setting the final glass panels in place. The aim is to give you the confidence to tackle your chosen system, whether that's a sleek base shoe, minimalist spigots, or side-fixed stand-off brackets.
The diagram below breaks down the core elements of getting started. It’s a simple reminder that the real work begins before a single fixing is drilled.
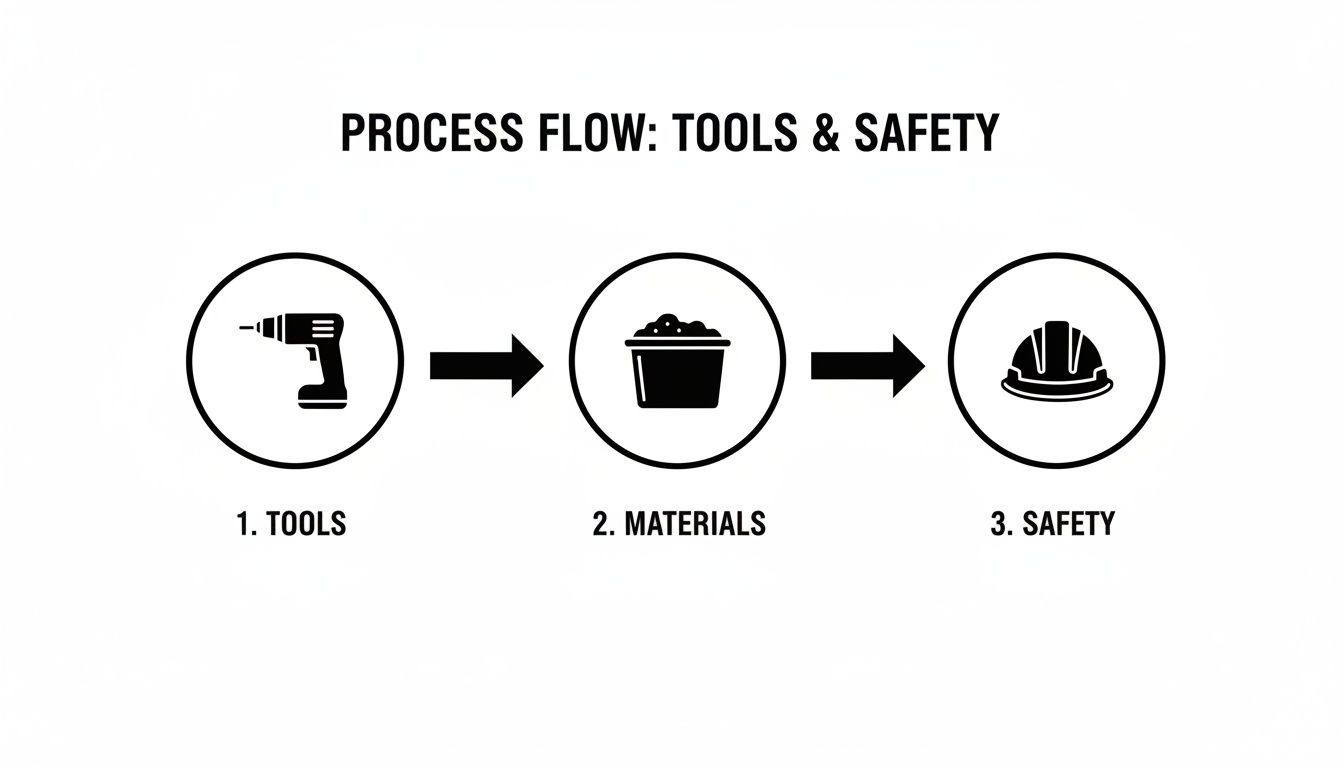
Think of it this way: having the right tools, the correct materials, and a solid safety plan is the foundation. Get that right, and the rest of the build will go much more smoothly.
First things first, get that substrate prepped. The surface needs to be absolutely spotless, dry, and free from any dust or debris. Even a tiny bit of grit left under a base channel can create a high spot, throwing the level out across the whole installation before you've even started.
Once it's clean, it’s all about accurate marking. Grab a chalk line and snap a dead-straight guideline for your base shoe or the centre line for your spigots. Measure everything twice—a mistake now is a headache to fix later on. If you're tackling corners, a good builder's square is non-negotiable for getting that perfect 90-degree angle.
Here’s a tip from experience, especially for outdoor patios in places like Leeds or Harrogate. Most patios have a slight fall built in for rainwater runoff. You absolutely must install your balustrade perfectly level, which means you’ll need to use packers or shims under the base channel to counteract that slope. If you skip this, you'll end up with a balustrade that looks noticeably wonky.
How you fix the system down depends entirely on the type you've gone for. Each has its own quirks.
This kind of hands-on work is becoming more popular across the UK. In fact, the flat glass processing industry, which makes the panels for these jobs, was projected to hit £1.6 billion in revenue in 2025. This is driven by a healthy UK construction market, where private housing starts saw a 7% bump in early 2025. You can find more industry stats in construction-focused publications.
Let's be clear: handling large glass panels is a two-person job, minimum. Always use professional suction lifters and wear decent protective gloves. Never, ever rest the glass directly on a hard surface like concrete. Use timber offcuts or rubber blocks to protect the edges and corners from chips.
When you're ready to set the glass into a base shoe, slide it into the channel gently. Use plastic packers to lift the glass to the right height and create a small, consistent gap at the bottom. This is vital for drainage and stops the glass from sitting in a puddle.
With a panel in position, get your spirit level out and check it's perfectly plumb. You can use temporary plastic wedges to hold it steady. For systems that use clamps, knowing how they work is crucial. Our guide on how to use a glass balustrade clamp breaks this down in detail for a secure fit.
Repeat this for every panel, using plastic shims to keep a uniform gap between them—usually around 10-20mm. The key is not to fully tighten anything until all the panels are in and you're happy with the alignment of the entire run. This gives you the wiggle room to make those tiny adjustments for a flawless finish.

With the main structure in place, your glass balustrade is really starting to take shape. This is the exciting part, but don't rush it. The final details are what separate a good DIY job from a truly professional, high-end installation.
These finishing touches aren't just for show; they're vital for safety, weatherproofing, and creating that seamless look you're after. Taking your time here, whether it’s for a patio in Harrogate or a balcony in York, will pay off for years to come.
A top rail or handrail provides more than just a sleek finish. It adds another layer of structural rigidity and gives you a comfortable, sturdy surface to lean on. Getting this part right is all about achieving a clean, continuous line.
For any corners, a perfect mitre joint is essential. You'll need a mitre saw fitted with a sharp blade designed for cutting stainless steel or whichever material you've chosen.
Creating a proper seal where your base channel meets the ground is your best defence against water getting in. This is especially critical for outdoor projects in the North of England, where the weather can be unforgiving. A good seal stops water from pooling in the channel and causing damage over time.
Make sure you use a high-quality, low-modulus neutral cure silicone. This type of sealant has excellent weather resistance and stays flexible, so it won’t crack as the structure expands and contracts with the temperature. Apply a thin, consistent bead along the outer edge of the base shoe for a discreet but highly effective seal.
The move towards these systems, especially frameless designs, is undeniable. Projections show the European market for frameless structural glass balustrades growing from USD 256.0 million in 2025 to USD 436.8 million by 2035. The UK is a huge part of this trend, holding a commanding 24.6% market share. It just goes to show how much this modern architectural style has been embraced. You can dig into more data on frameless structural glass balustrade market growth and trends for deeper insights.
With everything assembled, it’s time for the most important part: the final safety check. Your balustrade must be completely solid, with no give or wobble at all.
Walk the entire length of the balustrade and apply firm pressure to the top of each glass panel. The whole system should feel rigid and secure. Double-check that every clamp, bolt, and fixing is tightened to the manufacturer's recommended torque settings. Don't just guess by hand—use a proper torque wrench to be certain.
Your new glass balustrade is designed to be very low-maintenance, but a little bit of care will keep it looking brand new for years. A simple schedule is all it takes.
While there’s a massive sense of achievement in a DIY job done well, installing glass balustrades is a different beast altogether. This isn't like putting up a shelf or painting a room; safety is absolutely paramount, and there are times when calling in a professional is the smartest, safest, and most cost-effective move you can make.
Recognising your own limits isn’t a weakness—it's a strength. A seasoned installer brings years of on-the-ground experience, an encyclopaedic knowledge of building codes, and specialist gear that’s just not practical for a one-off job. They aren't just fitting glass; they are engineering a critical safety barrier that has to perform perfectly under pressure.
Sometimes a project looks simple on paper but throws up real-world challenges that scream for professional expertise. If you find yourself facing any of these situations, it's a clear sign to put down the tools and call for backup.
The true value of a professional is their ability to guarantee compliance with the latest regulations, like BS 6180:2011. This isn't just about ticking boxes; it's about making sure the balustrade is legally and structurally sound. Professionals also provide warranties on their work, giving you a level of peace of mind you simply can't get with a DIY installation.
When you decide to hire a pro, it's crucial to pick a reputable company that lives and breathes quality and safety. For anyone looking for installers in areas like Leeds, York, or Harrogate, asking the right questions is the key to sorting the experts from the amateurs.
Before you commit, make sure you put these critical questions to any potential installer:
Asking these questions helps you look beyond the price tag. It gives you a real insight into their professionalism, expertise, and commitment to doing the job right.
If you’re ready to get a tailored quote from a trusted local specialist, you can contact us for straightforward advice and pricing.
As we get to the end of this guide, you probably still have a few things you're wondering about. That's completely normal. This is the part where we tackle the most common questions we hear from homeowners and DIY installers across the North of England, giving you the straight answers you need to get your project over the line.
This is a big one. For most projects inside your home, or if you're just swapping an old balustrade for a new one of the same size and style, you’re unlikely to need planning permission.
However, it's a different story for external jobs. If you're putting a new balustrade on a raised patio, deck, or balcony, it could potentially overlook your neighbour’s garden and affect their privacy. In that scenario, your local council will likely want to have a say.
The best advice? Just give your local planning authority in Leeds, York, or wherever you are a quick call. They'll tell you exactly what's needed. And if your home is a listed building, you will absolutely need to secure Listed Building Consent before you even think about starting.
Understanding this is critical for safety. Toughened glass is a single sheet that’s been through a special heat treatment process, making it about four to five times stronger than ordinary glass. If it breaks, it’s designed to shatter into thousands of tiny, blunt cubes, massively reducing the risk of a nasty injury.
Laminated glass, however, is more like a glass sandwich. It’s made of two or more sheets of glass bonded together with a tough plastic interlayer. If it gets hit hard enough to break, the glass fragments stick to that interlayer, keeping the panel in one piece. This is why UK regulations often insist on laminated glass for frameless systems or anywhere protecting a high drop—it maintains a safe barrier even after it’s broken.
The simplest way to remember it is this: Toughened glass breaks into safe pieces. Laminated glass breaks safely by staying in place. For high-level applications where safety is paramount, laminated is the clear winner.
The final bill for a glass balustrade can vary wildly, depending on what you choose. A simple system with stainless steel posts will always be kinder on the wallet than a high-end, completely frameless channel system.
Here’s a quick look at what drives the cost:
As a rough starting point, you could budget from £200 per linear metre for materials on a straightforward DIY post system. For a top-spec, professionally installed frameless system, that figure could easily jump to over £400 per metre. The only way to know for sure is to get a detailed quote based on your specific design.
Yes, you absolutely can, and it looks fantastic. But it has to be done right. The substructure of your deck must be strong enough to support the weight of the glass and the force of someone leaning on it.
You cannot just screw the posts or base channel directly onto the deck boards. It's incredibly dangerous and is guaranteed to fail. You need to get underneath and add extra structural supports—like noggins or blocking—between the joists. This creates a solid anchor point that ties the balustrade securely into the main frame of the deck, making it safe and secure.
At Binks Glass Solutions, we know that every project has its own unique challenges. If you're planning an installation in Harrogate, Leeds, York, or anywhere across the North of England, our team is ready to offer expert advice and a clear, no-obligation quote to make your vision a reality.
Ready to get started? Contact us today for a personalised consultation.