
A Homeowner’s Guide to Deck Planning Permission in 2026
So, you’re thinking of adding a deck. It’s a brilliant move, transforming your garden into a proper outdoor living space. […]

So, you’re thinking of adding a deck. It’s a brilliant move, transforming your garden into a proper outdoor living space. […]
So, you’re thinking of adding a deck. It’s a brilliant move, transforming your garden into a proper outdoor living space. But then the nagging question pops up: "Do I need planning permission?" It can feel a bit daunting, but the good news is, for most projects, the answer is often a straightforward 'no'.
Lots of decking projects right here in the UK fall under what’s known as ‘Permitted Development Rights’ (PDR). Think of it as a set of pre-approved rules from the government that lets you get on with certain home improvements without getting bogged down in a full planning application. Stick within these limits, and you’re good to go.
Of course, the devil is in the detail. Key things like the height and size of your planned deck are what really decide whether you can crack on or need to have a chat with the local council.
Let's clear up the confusion. Permitted Development is your 'green light' for common home improvements. As long as your project meets the specific criteria, you can sidestep the time, cost, and paperwork of a formal application. It’s a common-sense approach designed to make life easier for homeowners.
For decking, it all boils down to three simple rules of thumb:
Before you even pick up a pencil to start sketching, run through these three questions. It's a quick and easy way to see if you're on the right track or if you'll need to dig deeper into the planning process.

As you can see from the flowchart, that 30cm height rule is the first and most important hurdle. If your design goes over that, it's almost certain you'll need to submit a planning application.
Use this quick reference to see if your decking project likely falls under Permitted Development or requires a formal application.
| Key Factor | Permitted (No Permission Needed) | Requires Planning Permission |
|---|---|---|
| Deck Height | 30cm or less from the ground. | Over 30cm from the ground. |
| Garden Coverage | Deck + other buildings cover less than 50% of the garden. | Deck + other buildings cover more than 50% of the garden. |
| Location | Built in the rear or side garden. | Built in front of the original house wall. |
| Property Type | Standard house or bungalow. | Listed building, flat, or maisonette. |
| Special Areas | Standard residential area. | Conservation Area, National Park, AONB, etc. |
This table is a great starting point, but always remember it’s a guide. If you’re in any doubt, a quick call to your local planning authority is always the safest bet.
If you can keep your project within these simple boundaries, you can often start building with confidence. But—and this is a big but—always remember that special rules can apply. If you live in a conservation area, a National Park (like the Yorkshire Dales or Lake District), or if your home is a listed building, these designations usually trump standard permitted development rights. A quick check with your local council is essential in these cases. For more hands-on building advice, take a look at our guide on how to lay decking boards.

Think of Permitted Development Rights (PDR) as your fast track to building a new deck without the headache of a full planning application. They're essentially a pre-approved checklist from the government. If your project ticks all the boxes, you can get started with confidence.
But these rules aren't just red tape. They exist for a good reason: to make sure your new deck doesn't upset the neighbours or spoil the look of the area. The regulations focus squarely on height, size, and where you build it, all to protect privacy and local character. Getting this right from day one saves a world of trouble later on.
If there's one rule you absolutely must remember, it's this one. The finished surface of your deck cannot be more than 30cm (about 12 inches) above the ground at any single point. This is measured from the very top of your deck boards down to the original ground level, not from an area you've built up.
Why so strict? A low-slung deck is seen as just another garden feature, like a patio. But the moment it gets higher, it can start to overlook next door's garden, creating privacy issues and changing its whole impact.
This is a massive stumbling block in the North of England, especially with the hilly terrain around Sheffield and the Yorkshire Dales.
The Sloping Garden Challenge
Picture a garden that slopes down and away from your house. You build a deck that's perfectly level with your patio doors. At the house end, it might be only 20cm high, but at the far end, it could easily be 50cm or more off the ground. In that common scenario, your deck breaks the 30cm rule and you'll need to apply for full planning permission.
Here’s the next big hurdle: size. Your new deck, when added to every other outbuilding on your property, must not cover more than 50% of your total garden area. We're talking about the garden's original size, not including the footprint of the house itself.
This rule is all about preventing people from paving over their entire back garden and preserving a bit of green space. It’s a classic pitfall where homeowners just think about the size of the deck on its own.
Before you do anything else, grab a tape measure and do a quick audit:
Forgetting about that old shed at the bottom of the garden is an easy mistake to make, and a costly one that could tip your project over the edge into needing a formal application.
Permitted Development Rights can be a different beast entirely if you live in a special designated area. If your home is in a Conservation Area, a National Park (like our local Yorkshire Dales or Peak District), an Area of Outstanding Natural Beauty (AONB), or is a listed building, you need to be far more careful.
In these sensitive locations, the standard PDR rules are often much tighter or don't apply at all. For example, any structure built more than 20 metres from your house might be limited to a tiny 10 square metres. You should always assume you need to speak to your local planning authority before drawing up any plans in these protected zones.
The planning landscape is definitely tightening up, but small home improvements are still hugely popular. In fact, householder projects like deck extensions made up 51% of all planning decisions in the first quarter of 2025 in England. For homeowners in Harrogate, Leeds, and York, this really highlights the advantage of designing within PDR to sidestep the whole process. You can read more about the latest trends in planning approvals here.

It’s a common mistake to think that if your deck dodges planning permission, you're free from all the rules. This is a trap many people fall into. While planning deals with what you can build and where, Building Regulations are all about how you build it, focusing squarely on safety and structural integrity.
Think of it this way: Planning Permission is like getting approval for the idea of your deck. Building Regulations, on the other hand, are the non-negotiable construction rulebook you must follow to make sure it won’t collapse and is safe for your family.
Even if your deck is small enough for Permitted Development, Building Regulations will almost certainly apply if it's raised off the ground.
The main trigger for Building Regulations on a deck is height. The rules are crystal clear and exist for one simple reason: to prevent dangerous falls.
Specifically, if any part of your decking is raised more than 600mm (that’s about 24 inches) above ground level, you are legally required to install a protective guardrail or balustrade. This isn't a friendly suggestion; it's a hard and fast rule.
It's this 600mm threshold that often catches people out, especially as it's double the 300mm limit for planning permission.
A deck could be 450mm high, meaning it needs planning permission but doesn't legally require a balustrade. But the moment you cross that 600mm line, safety barriers become mandatory under Building Regulations, no matter what its planning status is.
Getting your head around this difference is crucial. For homeowners across the hilly landscapes of Yorkshire and Cumbria, it’s easy for a deck on sloping ground to exceed this height, making a robust balustrade system an essential part of the plan from day one.
When a balustrade is needed, it can’t just be any old railing. It has to meet very specific criteria laid out in the government’s official guidance, primarily Approved Document K: Protection from falling, collision and impact. This is the bible for safety standards on stairs, ramps, and barriers.
For a deck on a normal family home, the key rules are:
A crucial part of ensuring deck safety involves understanding and adhering to structural integrity and material standards, which are a key focus of codes like The BCA (Building Code of Australia).
This is where your choice of materials becomes more than just a style decision—it's about legal compliance. A flimsy, poorly fitted railing simply won’t pass muster with a building control inspector, and worse, could fail when you need it most.
High-quality balustrade systems are designed and tested to meet these precise standards. Modern glass balustrades, for example, are a fantastic choice because they use toughened and laminated glass which is specifically engineered for safety.
This type of glass creates a tough, durable barrier that easily meets the strength requirements while giving you a completely clear, uninterrupted view of your garden. It ticks all the safety boxes in Approved Document K, ensuring your deck is not just beautiful but, more importantly, safe for everyone.
To get deeper into the specifics, it's well worth exploring the building regulations for balustrades to ensure your project is 100% compliant.
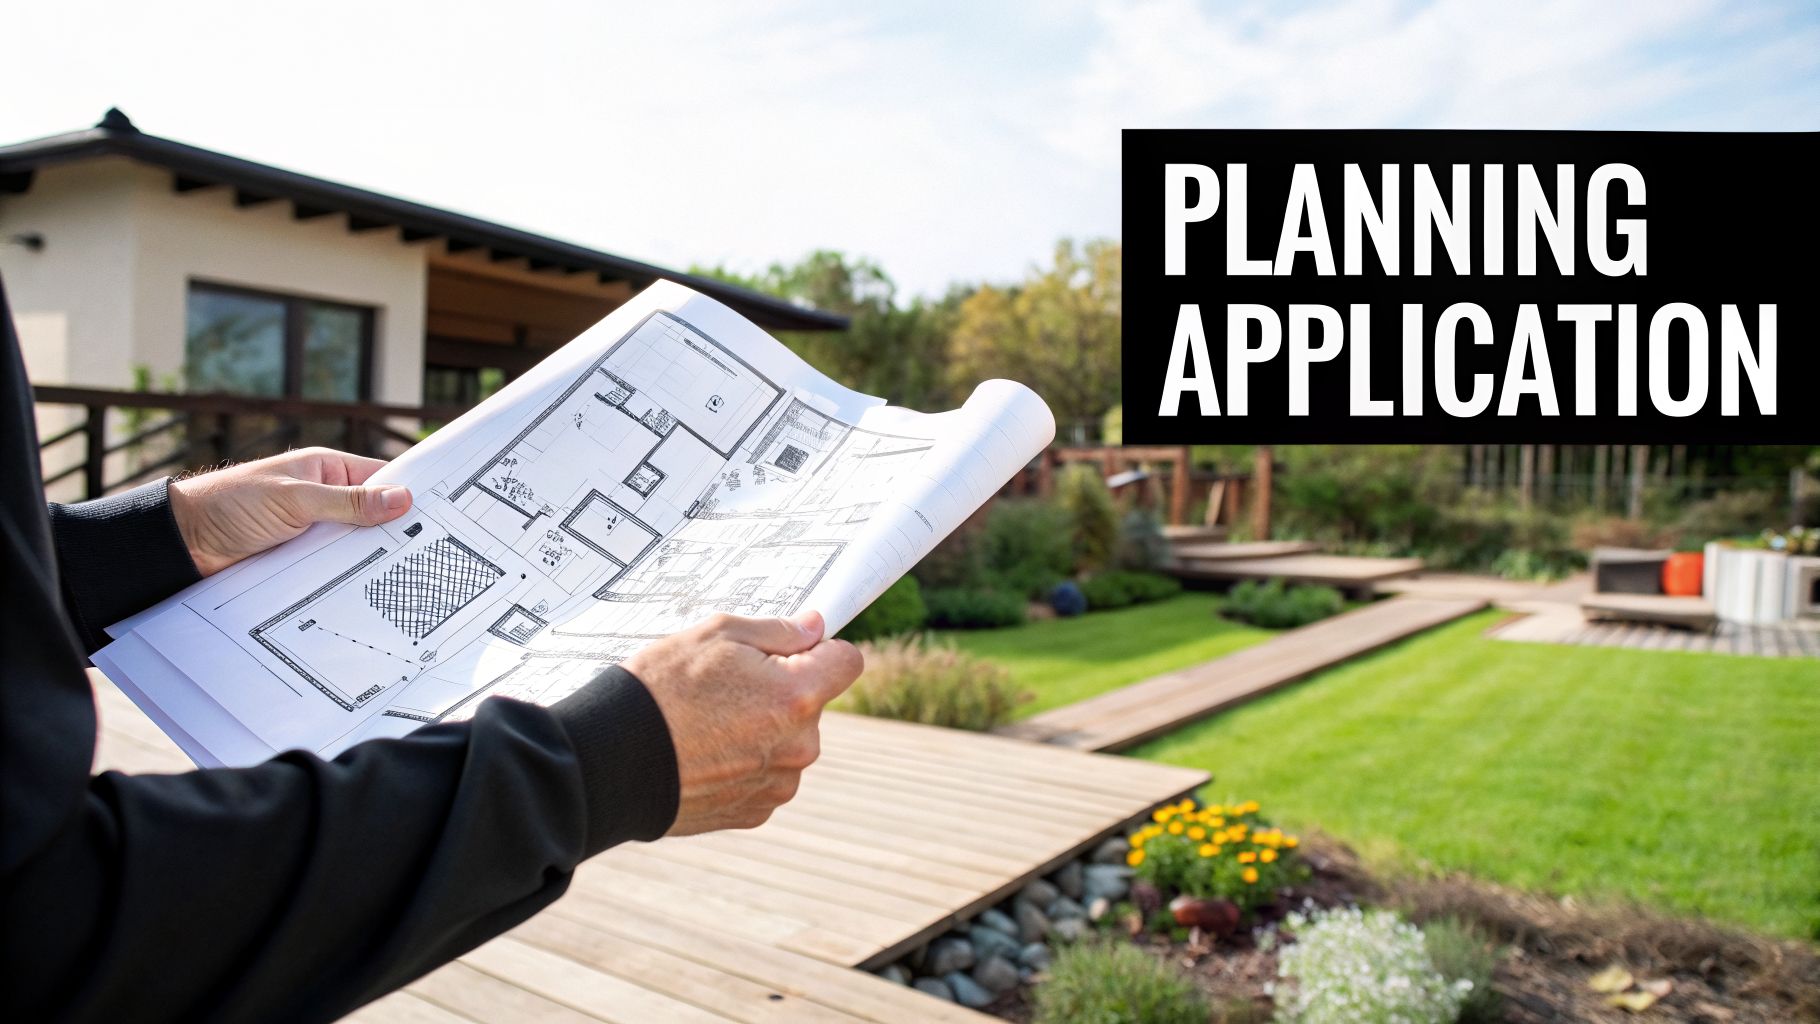
So, your dream deck falls just outside the Permitted Development rules. Don't worry, it's a common hurdle and far from a dead end. It simply means you need to make a formal case for your project, and the planning permission process is more manageable than many people think.
Think of it as showing the local council your homework. You're presenting a clear, professional vision of what you want to build, demonstrating how it respects the local area and your neighbours. With the right documents and a good understanding of the timeline, you can navigate the system with confidence.
Your journey begins online at the official Planning Portal. This is the central hub for submitting applications across England, ensuring a consistent process whether you're in York, Leeds, or a village in the Dales.
Before you can hit 'submit', you need to assemble the core of your application: the drawings. The council needs to see exactly what you're proposing, and that means clear, professional plans.
You'll almost certainly need to provide:
It's absolutely crucial that these drawings are accurate and properly scaled. While it’s possible to do them yourself, many people find it's a false economy. Hiring an architectural technician can save a lot of headaches, as they ensure your plans tick every box the council requires, preventing frustrating delays from simple mistakes.
Once your application is submitted and the fee is paid, the clock officially starts. The system follows a defined timeline, so you're not left guessing. For a typical household deck project, you should expect a decision within 8 to 12 weeks.
Here’s a simplified breakdown of what goes on behind the scenes:
Never underestimate the power of local policy. A council in a rural part of Cumbria will have very different priorities—like protecting stunning views—compared to a built-up authority in Cheshire, where the focus might be on preventing overlooking between terraced houses. Before you spend money on drawings, it’s always worth searching for your local council's "Local Plan" or specific "design guides".
One of the biggest stumbling blocks is overlooking. If your new raised deck gives a direct line of sight into a neighbour's lounge or garden, it’s a major red flag for planners. The best approach is to tackle this head-on in your design by incorporating privacy screens or strategically placed obscured glass panels. It shows the council you've been considerate.
It's no secret the planning system is under immense pressure. In the year ending September 2025, authorities in England dealt with a staggering 327,000 applications. While approval rates have dipped slightly, it proves that well-prepared, well-thought-out applications still get the green light. For anyone in Yorkshire and the North, this just reinforces the need to get it right the first time. You can find more details on these national planning application trends.
So, you’re thinking about a new deck. Navigating the world of planning permission involves more than just filling out a few forms. It’s about getting a firm grip on the real costs and sidestepping the common mistakes that can turn your dream project into a long, expensive headache.
Many people budget for timber and labour but forget about the other expenses that crop up when a full planning application is needed. These "hidden" costs can stack up fast, so it’s vital to get them on your radar from day one.
The fee for the application itself is just the starting point. To give your submission the best chance of success, you'll almost certainly need some professional help. Let's be blunt: cutting corners here is a false economy that often leads to delays or an outright refusal.
So what are you actually paying for?
Remember, you'll have to pay these costs before a single deck board is even purchased. Investing in professional plans isn't just about ticking a box; it’s about presenting your project clearly and professionally to the planning officer, which massively boosts your odds of a speedy approval.
Here’s a rough idea of what to expect when a full planning application is on the cards.
| Expense | Typical Cost Range | Key Considerations |
|---|---|---|
| Council Application Fee | ~£206 | A standard, non-refundable fee for a householder application in England. |
| Architectural Drawings | £400 – £1,000+ | Essential for producing the required elevations and site plans. Complexity drives the cost. |
| Planning Consultant Fee | £500 – £1,500 | Optional, but invaluable for complex cases or appeals to help navigate the system. |
| Tree Survey (Arboricultural Report) | £250 – £600 | Required if your deck is near or under the canopy of protected trees. |
| Ecological Survey | £400 – £800+ | May be needed if your site has protected species (e.g., bats, newts). |
This table provides a snapshot of the potential pre-construction costs in the North of England. While not every project will need every survey, it's crucial to factor these possibilities into your initial budget to avoid any nasty surprises down the line.
Beyond the money, a few classic blunders can cause serious delays and stress. Knowing what they are is the first step to avoiding them, especially with how busy planning departments are across Northern England right now.
The number one cardinal sin is starting work before you have formal, written approval. It’s so tempting to get a head start, but if your application is refused or needs changing, the council can hit you with an enforcement notice. That means you’ll have to tear down everything you’ve built. It's a financially crippling—and entirely avoidable—mistake.
Another huge issue is being too optimistic about council timescales. The official target might be 8-12 weeks, but the system is creaking under the strain. While permissions for new homes have hit a 13-year low, applications for home improvements are rocketing in some northern regions. In the third quarter of 2025, North Yorkshire saw an 84% jump in applications, while the North West exploded by a staggering 184%. This backlog means you must build a generous buffer into your project timeline.
Finally, don’t forget your neighbours. It's polite to let them know what you’re planning, but a formal application kicks off a public consultation. If your raised deck will overlook their garden, they have every right to object, and a neighbour's objection is one of the most common reasons for refusal. Be proactive. Think about addressing privacy concerns in your design from the start with clever screening or obscured glass panels. When you're weighing up materials that deliver both privacy and safety, it's smart to explore all the avenues. To get a clearer picture of what's involved, you might be interested in the costs of glass balustrades for your decking project.
Bringing a new deck to life is an exciting prospect, but it needs a bit of careful planning to get it right. This isn't about red tape for the sake of it; it's about making sure your project is smooth, safe, and doesn't cause any expensive headaches later on.
Think of this as your roadmap. We’ll walk through the process step-by-step, from scribbling your first ideas on a napkin to the final sign-off.
Before you even think about buying timber, get the fundamentals locked down. A little bit of homework here saves a world of pain down the line and will quickly tell you if you need to start thinking about a formal planning application.
This is where you cross the t's and dot the i's. It’s all about confirming your legal standing and, if needed, having a chat with your local council. For anyone building in Yorkshire and the North of England, this is a vital step, as local policies can have their own specific quirks.
Honestly, taking five minutes to confirm where you stand before buying a single plank is the most important thing you can do. A quick, friendly chat with your local planning department provides incredible peace of mind and stops costly mistakes in their tracks.
With all the planning sorted, your focus can shift to building a deck that’s not just beautiful, but safe and professionally constructed. As you finalise your plans, it's often wise to consult with blogs and guides from local Northern England experts to ensure your vision becomes a safe and solid reality.
Even with a comprehensive guide in hand, there are always a few specific questions that crop up right when you’re about to finalise your plans. We get it. To give you complete confidence, we’ve tackled some of the most common queries we hear from homeowners across Yorkshire about decking permission.
This is probably the number one concern we hear, and the answer hinges entirely on whether your project needs planning permission.
If your deck falls squarely within Permitted Development Rights, then legally, you don’t need your neighbours' blessing. That said, a quick chat over the fence to let them know what you’re planning is always a good idea. It’s simple courtesy and can prevent a lot of unnecessary friction down the line.
However, if you do need to submit a full planning application, the game changes. The council is legally required to notify your neighbours, giving them the right to formally object. A common complaint is a raised deck causing a loss of privacy. While an objection from a neighbour doesn’t automatically mean your application will be refused, the planning officer is bound to take it very seriously.
Honestly, it’s a massive gamble that can backfire badly. Building without the right permission can result in the council issuing an enforcement notice.
An enforcement notice is a formal, legal demand. It might require you to alter your deck to make it compliant or, in a worst-case scenario, to tear the whole thing down at your own cost. Ignoring it can lead to prosecution and hefty fines, and it will almost certainly cause major headaches when you try to sell your house.
This is a great question and a classic trap that catches many people out. You’d think replacing an old deck like-for-like would be straightforward, but it’s not always the case.
The critical issue is whether the original deck was compliant in the first place. If it was built years ago without the right permissions, simply rebuilding it doesn't make the new one legal. Your new deck must meet today’s Permitted Development rules. If your new design is higher or covers more ground than the current limits allow, you'll need to apply for planning permission, no matter what was there before.
No, not at all. In the eyes of the planning department, these are treated far more strictly. Verandas, balconies, and any similar raised platforms—especially those attached to an upper floor of your house—do not fall under Permitted Development Rights.
Structures like these almost always require a full planning application. The reason is simple: they have a much greater potential to overlook neighbouring gardens and windows, and protecting privacy is a top priority for any local planning authority.
Getting your decking project right from the very start is the best way to ensure it’s a safe, legal, and valuable addition to your home for years to come. If your design includes a raised area that needs a secure and stylish safety barrier, the team at Binks Balustrades is here to help. We specialise in crafting and installing beautiful, compliant glass balustrade systems that are perfect for modern homes.
Get in touch with our local experts today to chat about your project.