
How to Install Glass Balustrade A DIYer’s Practical Guide
Installing a glass balustrade isn't a weekend job you rush into. The final result—that stunning, seamless look—is born from careful […]

Installing a glass balustrade isn't a weekend job you rush into. The final result—that stunning, seamless look—is born from careful […]
Installing a glass balustrade isn't a weekend job you rush into. The final result—that stunning, seamless look—is born from careful groundwork. Getting this initial planning phase right is the single most important part of the entire project. It's where you prevent costly mistakes and make sure what you're building is safe, compliant, and will last for years.
A beautiful glass balustrade doesn’t just happen. It's the product of meticulous planning long before you even think about picking up a drill. Skipping these early steps is a surefire recipe for frustration, wasted money, and a potentially unsafe finish.
First things first, you need laser-precise measurements. Grab a quality tape measure and a spirit level to get the exact lengths, angles, and heights where the balustrade will sit. If you're working outdoors, a classic rookie error is measuring from bare joists or a concrete base. Always measure from the finished floor level—where you'll actually be standing.
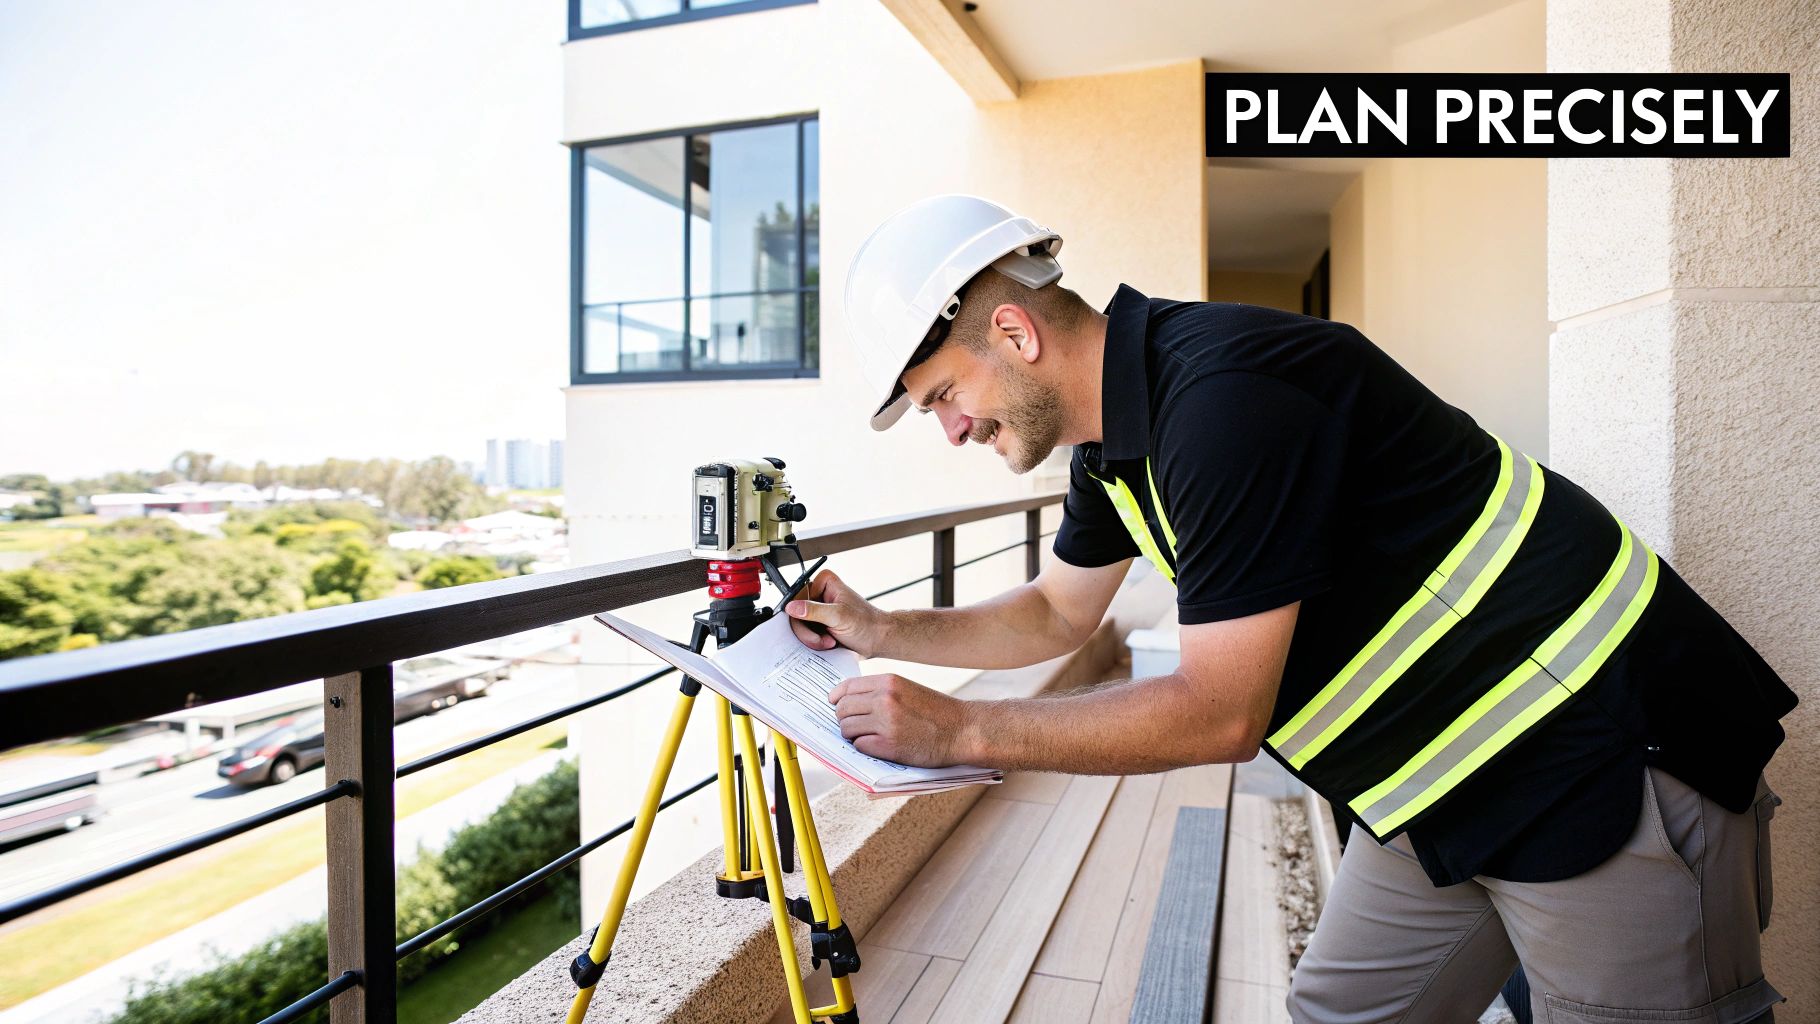
With your measurements in hand, it's time to look at what you're fixing into. Is it a solid concrete patio? A timber-framed balcony? Maybe a steel mezzanine? Each surface has completely different load-bearing capabilities and needs its own specific type of fixing. A heavy frameless base shoe system is usually fine on concrete, but a timber deck might need extra reinforcement between the joists to handle the weight and forces involved.
Once you’ve assessed the surface, you can pick a system that fits your home's style and your own DIY confidence. The most popular choices we see are:
This is the part you absolutely cannot afford to get wrong. UK Building Regulations are not just suggestions; they are legal requirements designed to keep people safe. When it comes to balustrades, Approved Document K is your bible, covering everything to do with protection from falling, collision, and impact.
A common mistake we see is people underestimating the forces a balustrade has to handle. It's not just there to hold up a piece of glass. It has to safely stop someone from falling if they lean or trip against it. That's why getting the regulations right is non-negotiable.
In the UK, the rules are strict. For guarding over stairs and ramps, for instance, your balustrade must be able to withstand a 0.74 kN line load. Installations also require specific toughened or laminated glass that meets BS EN 12600 Class 2B2 standards. These aren't just arbitrary numbers; they are proven standards that have significantly reduced accidents.
As you plan, it's also worth understanding glass properties and potential breakage points to avoid issues down the line. For a much deeper dive into how these complex rules apply to your home project, take a look at our dedicated guide on the building regulations for balustrades. Getting this right from the start means your installation will be more than just beautiful—it will be completely safe and legal.
After all the planning, it's time to get your hands dirty. A professional-looking glass balustrade absolutely demands a perfectly prepared surface. Any minor imperfection at this stage can become a major headache later on.
Honestly, taking your time here is what separates a sharp, flawless finish from a frustrating DIY disaster.
First things first, clear the decks. Get any furniture, plant pots, dirt, and general debris out of the installation area. A thorough sweep isn't just about being tidy; it's about making sure grit and stones don't get trapped under your base channels or spigots. That's a classic rookie mistake that can throw off your alignment and compromise the whole structure.
Once the area is clear, you need to check if the surface is truly level. Don't just eyeball it—grab a long spirit level and check the entire length where the balustrade will sit. Even a slight slope that’s invisible to the eye will result in leaning glass panels, creating a look that's both unsafe and unprofessional.
If your surface isn't perfectly flat, don't panic. You've got options:
A lot of DIY installers are tempted to skip the levelling process, thinking they can just adjust the glass later. This is a huge mistake. Trying to correct an uneven base by forcing the glass will put immense stress on the panels and fixings, risking failure down the road. Start level, end level.
With a clean and level surface sorted, you can now mark out your installation lines with precision. This is your guide for drilling and fixing, so accuracy is everything. Use a chalk line to snap a dead-straight line where the edge of your balustrade will go. For corners, a carpenter's square is essential to get that perfect 90-degree angle.
Measure and mark the exact placement for every single fixing point, whether it's for a continuous base shoe or individual spigots. Always double-check your measurements against your plans. This simple step prevents the nightmare of drilling holes in the wrong place—a mistake that's a real pain to fix, especially in concrete.
For any outdoor installation, particularly on the timber decking so common in North of England homes, waterproofing before you install is vital. You have to protect the timber from moisture getting in, which eventually leads to rot and a weak structure.
After drilling your pilot holes, apply a high-quality silicone sealant or a specialised decking joist tape over the area where your fixings will sit. This creates a waterproof barrier that protects the timber's integrity for years. For those looking at a complete setup, our comprehensive glass balustrade kit options include guidance on the right fixings for different surfaces, ensuring you start with the correct materials. This careful preparation is the foundation of a safe, stable, and long-lasting glass balustrade.
Right, this is the moment where all that careful measuring and site prep really comes into its own. The hands-on part of fitting the glass panels needs a steady hand and a bit of patience, but I promise you, getting it spot on is incredibly satisfying. We'll walk through the techniques the pros use for the most popular frameless systems to get that flawless, rock-solid finish.
First things first, get organised. Before you even think about lifting a panel, lay out all your components. Carefully unpack the glass, leaning each panel against a protected wall. A bit of cardboard or foam between each sheet is a must to stop any scratches. It sounds simple, but this little step saves a huge amount of faff and reduces the risk of expensive damage.
The diagram below really hammers home the foundation you should have already built – a clean, level, and accurately marked base is non-negotiable for a successful installation.
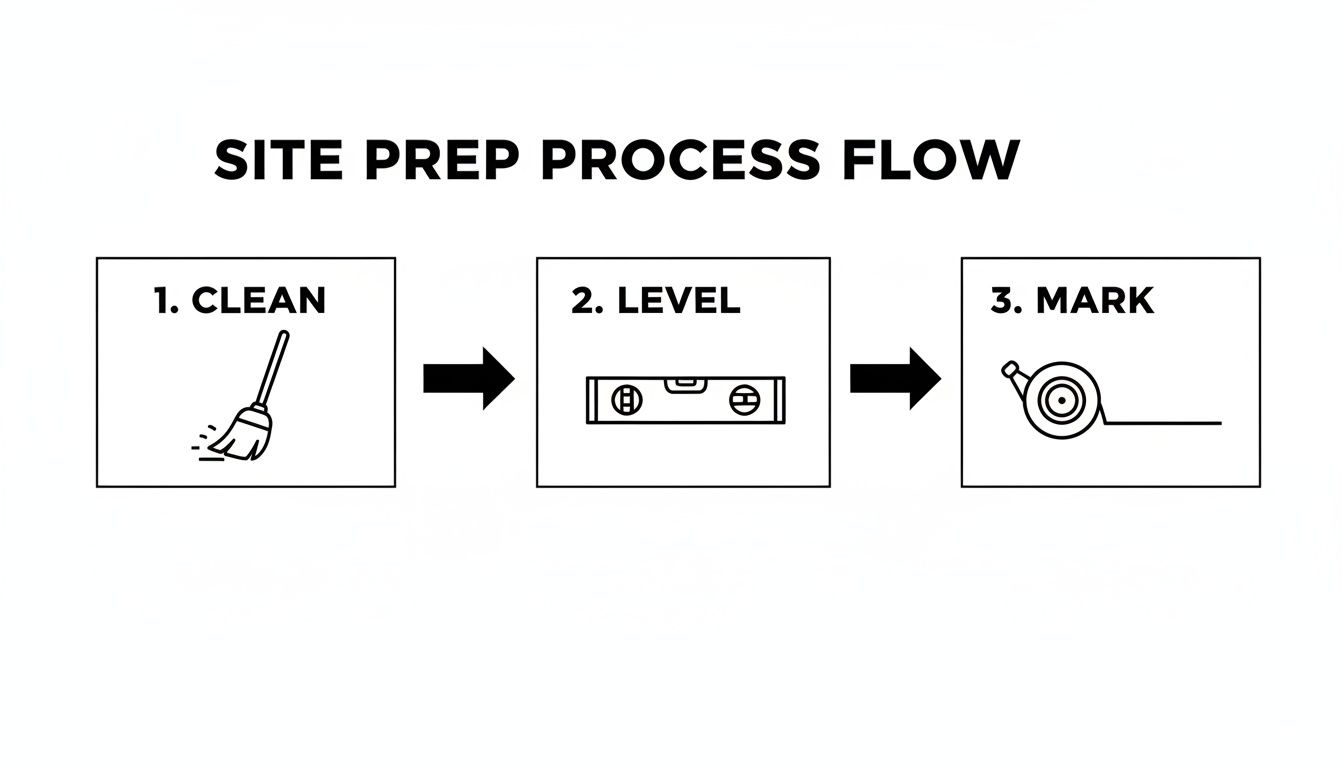
With this groundwork in place, you're ready to start fitting the glass.
The base shoe, or channel system, is what gives you that stunning, uninterrupted wall of glass. Your first job is to fix the aluminium channel to your prepared surface. Lay it along your chalk line and mark through the pre-drilled fixing holes onto the concrete or timber below.
Pop the channel aside and get your pilot holes drilled. For a concrete base, you'll need a decent hammer drill and a masonry bit. It's absolutely crucial to clear out every bit of dust and debris from the holes afterwards – a quick blast with compressed air or a brush does the trick. This ensures your anchors get the best possible grip.
Now you can secure the base shoe with M10 anchors or similar heavy-duty fixings. Don't go crazy tightening them all at once. Use a torque wrench and work along the channel, tightening them incrementally. This keeps the channel perfectly straight and stops it from warping under pressure. Overtightening can be just as damaging as leaving it too loose.
With the channel firmly in place, it’s time for the main event. A word of warning: these panels are seriously heavy and awkward. Always, and I mean always, use heavy-duty glass suction cups. They're non-negotiable for both your safety and your control over the panel. Never try to manhandle a panel by its edges; that's where it's most likely to chip.
Carefully lift the first panel and lower it into the channel. Most modern systems use a clever wedge or clamp mechanism to hold the glass tight. You'll slot plastic or rubber wedges on both sides of the glass, tapping them in gently with a rubber mallet.
Pro Tip: Don't hammer the wedges all the way home straight away. Get all your glass panels sitting in the channel first. This gives you wiggle room to make tiny adjustments, ensuring the gaps between panels are dead-on even and every single panel is perfectly upright.
Once a panel is sitting on its wedges, grab a spirit level and check it’s perfectly vertical (plumb). You can make fine adjustments by gently tapping the wedges. Repeat this for all the panels, keeping a close eye on the alignment. Only when you’re completely happy that everything is straight and evenly spaced should you go back and fully tighten the wedge system to lock the glass securely in place. Our guide on choosing the right glass balustrade clamp offers more detail on the specific hardware that makes these systems work.
If you're using a spigot system, the process is a bit different but demands the same level of precision. Once you've marked their positions, you need to fix the spigots to the surface. For ultimate strength, especially into concrete, core drilling is by far the best method.
We often core-drill fixings to a 100mm depth to achieve an immense 60kN pull-out strength, then seal the joints with a neutral-cure silicone that cures within 24 hours. It’s no surprise that a huge 70% of UK projects now use frameless systems like these, typically with 12-15mm heat-soaked toughened laminated glass to meet safety regulations.
After drilling the holes, the spigots are set in place using a non-shrink grout. This is a brilliant chemical compound that expands slightly as it cures, creating an incredibly strong, permanent bond that locks the spigot into the concrete. Once the grout is fully set, you can carefully lower the glass panels into the spigot clamps, adjust until they are perfectly plumb, and then tighten the grub screws to secure them. This method provides massive structural integrity, ensuring your balustrade is going nowhere.
With your glass panels firmly in place, you’re on the home straight. But the difference between a good installation and a truly great one lies in these final, crucial details. Getting the finishing touches right not only elevates the look of your project but also protects your investment from the elements for years to come.
These steps are what give your glass balustrade that polished, professional appearance and ensure its long-term durability, especially in the unpredictable weather we often see across Yorkshire and the North of England.

Even on frameless systems, a slimline top rail can add a touch of elegance and provide a comfortable, tactile element. It’s not just for looks, though; it also adds an extra layer of protection to the top edge of the glass.
First, accurately measure the total length you'll need. If you're tackling corners, you’ll need to make precise 45-degree mitre cuts to ensure the joints are perfectly seamless. A mitre saw with a blade suitable for stainless steel or aluminium is your best friend here. A pro tip is to "dry fit" the cut sections first to check for a perfect join before you commit to fixing them.
Most top rails are secured to the glass using a high-strength silicone or a clear polymer adhesive inside the rail's channel. Simply run a consistent bead along the inside, then carefully lower the rail onto the glass. Use masking tape to hold it firmly in place while the adhesive cures, which usually takes around 24 hours.
For any outdoor glass balustrade, proper sealing is non-negotiable. This is the step that stops water from seeping into base channels or around fixings, which can lead to corrosion, frost damage, and structural weakness over time. It’s a simple task that makes a huge difference.
You’ll want to use a high-quality, neutral-cure silicone sealant. This is crucial, as cheaper acid-cure silicones can react with the metal components of your balustrade, causing damage.
Use a sealant finishing tool or a wet finger to smooth the bead for a clean, professional line. This small detail prevents water ingress and protects the integrity of your entire installation. The adoption of toughened glass in balustrades has surged by 45% since 2020, partly because the material is so moisture-resistant and lasts much longer than traditional wood. Properly sealed systems contribute to this longevity and can even improve a building's energy performance; professionally installed systems show that 98% pass crucial air permeability tests. You can explore more data on modern glass balustrade materials and their performance.
The final step is to give your new balustrade a thorough clean to remove any fingerprints, dust, and sealant residue. This is where you really get to see your hard work shine.
Avoid using harsh, abrasive cleaners or rough cloths at all costs. These can leave microscopic scratches on the glass surface, which will dull its appearance over time and attract more dirt.
The best method is beautifully simple: a solution of warm water with a small amount of pH-neutral soap or a specialised glass cleaner. Use a soft, microfibre cloth to wash the panels, and a separate, clean squeegee to dry them. This technique will leave you with a sparkling, streak-free finish that truly shows off the clarity of the glass.
With the final clean-up done, your glass balustrade installation is complete. But before you step back and admire your handiwork, there are a few final, critical checks to run through. This isn’t just about making sure it looks good; it’s about confirming the entire structure is safe, secure, and ready to do its primary job. Rushing this last part can undermine all your careful work.
First, give it a proper stability test. Go along the entire length of the balustrade and apply firm, steady pressure to the top rail. What you’re looking for is any hint of wobble, flex, or movement. A properly installed system should feel completely rigid and solid. Any give or play is a red flag that a fixing isn't tight enough or there's an issue with the connection to the surface.
Next, it’s time to get up close and personal with every single fixing. Check each bolt, clamp, and anchor to confirm it's tightened to the manufacturer's specification. It’s not uncommon for things to settle slightly, so this double-check is non-negotiable. Finally, scan each glass panel, especially around the clamps and base shoe, for any signs of stress like tiny cracks or chips that might have happened during installation.
One of the best things about a glass balustrade is how low-maintenance it is, but "low" doesn't mean "no" maintenance. A little bit of care will keep it looking pristine and performing safely for decades. Luckily, you don’t need a complicated routine.
Here’s a simple schedule we recommend:
This simple routine does more than just keep your balustrade looking good. It’s an essential safety habit. Regular checks allow you to spot potential issues, like a loose fixing or damaged sealant, long before they become serious problems.
While this guide covers the nuts and bolts for many straightforward projects, it's just as important to know your limits. There are certain scenarios where calling in a professional installer isn't just a good idea—it's the safest and smartest choice you can make. Being honest about your own skill set and the complexity of the job is the key to a successful outcome.
You should seriously consider professional help if you're dealing with:
For homeowners across the North of England, from Harrogate to Leeds, having a local expert to rely on provides real peace of mind. If your project involves any of these complexities, or if you simply want the assurance of a professional finish, don't hesitate. You can always contact us for advice and a clear, no-obligation quote tailored to your specific needs. Sometimes, the best DIY decision is knowing when not to do it yourself.
Even the most detailed plan can throw up a few questions when you get down to the nitty-gritty of installation. It’s completely normal. To help you out, we’ve put together some clear, straightforward answers to the most common queries we get from DIY installers across the North of England.
The right glass thickness really comes down to your specific system and its location. For a completely frameless balustrade that has no handrail, UK regulations are quite strict—you'll typically need a minimum of 15mm toughened laminated glass. This robust, layered construction is crucial for safety; if one pane were ever to break, the other holds everything securely in place.
However, if your design uses posts or features a continuous top rail, you often have more flexibility. In these cases, 10mm or 12mm toughened monolithic glass is usually sufficient. Always have a look at Approved Document K and double-check with your supplier, because factors like wind load in very exposed areas can bump up the requirements.
Yes, you absolutely can, but this isn't a job to be taken lightly. Your standard timber deck just isn’t engineered to handle the unique point loads and leverage that a glass balustrade creates. The secret to a successful installation is reinforcing the deck's substructure directly beneath where the balustrade will be fixed.
This usually means adding extra blocking or noggins between the joists to create a solid, unyielding mounting point. It’s also vital to use stainless steel fixings made for timber and to seal every single drilled hole properly. This prevents water from seeping in and causing rot down the line. For the heavier frameless systems, getting a quick structural check of your deck is a very smart move.
Many DIYers wonder about the longevity and robustness of their glass installations. For broader ideas on enhancing the security and durability of large glass panels, you might explore methods for securing glass doors effectively.
Not always in a residential home, but it depends entirely on the type of glass you’re using. You can achieve that ultra-sleek, frameless look without a handrail only if you use thick toughened laminated glass—we’re talking between 15mm and 21.5mm.
This kind of glass is engineered to handle the required line loads all on its own, ensuring total safety even if a panel were to fail. For public or commercial spaces, however, a handrail is almost always mandatory to meet safety and accessibility standards, providing a secure, graspable surface that monolithic glass alone cannot offer.
If you're planning your project and need some expert advice tailored to your home in Harrogate, Leeds, or anywhere else in the North of England, the team at Binks Glass Solutions is here to help. Get a clear, no-obligation quote and professional guidance by contacting us today.
https://binksbalustrades.co.uk/contact-us