
A Practical Guide to Installing Glass Balustrades in Your Home
Before a single panel of glass is ordered or a drill is charged, the real work on your glass balustrade […]

Before a single panel of glass is ordered or a drill is charged, the real work on your glass balustrade […]
Before a single panel of glass is ordered or a drill is charged, the real work on your glass balustrade project begins. Getting the groundwork right is absolutely critical. It’s the difference between a stunning, safe installation and a project plagued by costly mistakes. Think of it as the essential pre-flight check for a smooth journey.
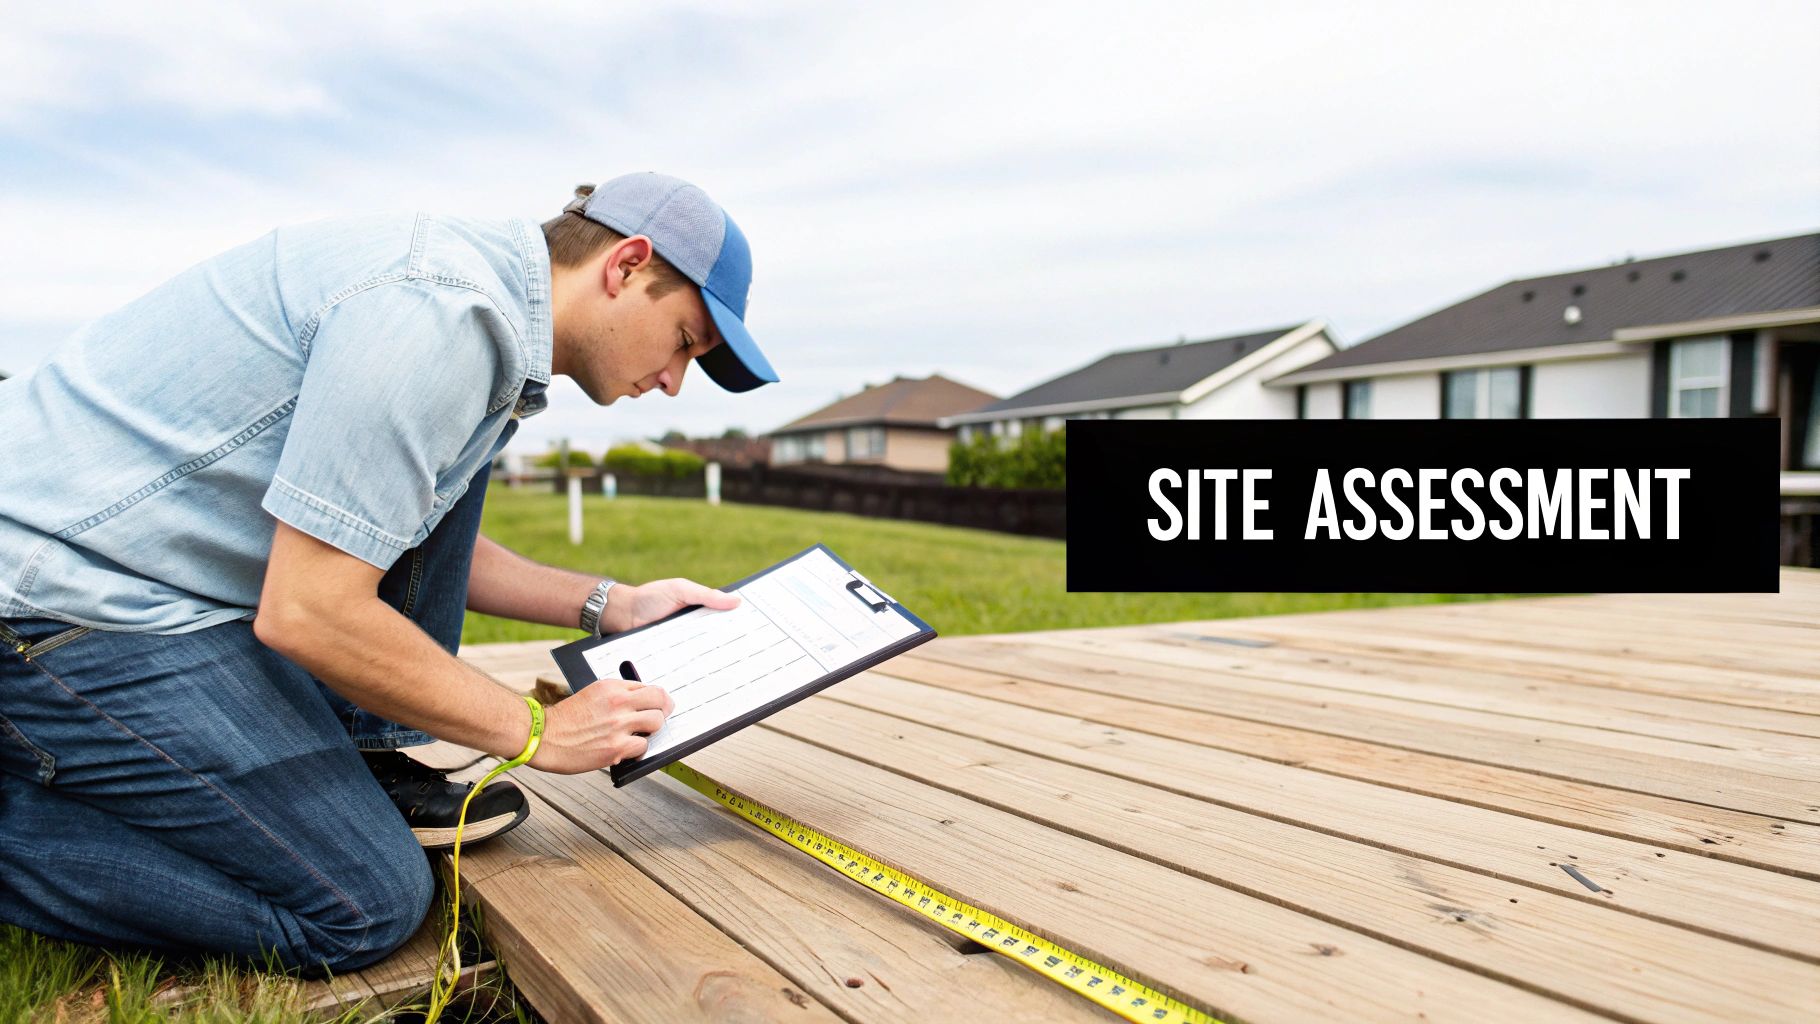
A beautiful glass balustrade doesn’t start with the installation; it starts with meticulous planning. This initial phase is where you set the foundation for a flawless finish, ensuring the final result is every bit as secure and spectacular as you imagined. When you’re taking on a job of this scale, it really pays to understand how to plan your home renovation effectively from the get-go.
This careful planning is more important than ever. Architectural glass is booming in the UK, with the flat glass processing sector forecast to hit a revenue of £1.6 billion in 2025-26. This surge is fuelled by a massive increase in construction, especially in private housing, where homeowners are increasingly demanding modern features like glass balustrades.
Your first practical job is to get out there and properly evaluate the installation area. What you're fixing into will dictate the entire approach. Whether it’s a timber deck in Leeds, a concrete patio in Harrogate, or a steel frame, each surface has its own set of rules.
With timber, you can't just screw the balustrade into the decking boards. That's a recipe for disaster. You have to locate the main joists of the subframe and fix directly into them for strength. Often, this means adding extra timber noggins between the joists to create solid fixing points right where you need them.
Concrete offers a rock-solid foundation, but you’ll need specific fixings like chemical resin anchors to get a grip that will never let go. Always check the condition and thickness of the concrete first to make sure it can take the strain.
There's no room for "near enough" here. Precision is everything. Being off by just a few millimetres can throw the whole project off when your custom glass panels arrive on-site.
Compliance isn't just about ticking boxes; it’s about keeping people safe. The key document you need to be aware of is BS 6180:2011, which sets out the critical requirements for protective barriers in the UK.
One of the most important takeaways from BS 6180 is the minimum height. For a home, the barrier must be at least 900mm high on internal stairs and landings. For external balconies, or anywhere with a drop of more than 600mm, that height increases to 1100mm.
These regulations also cover the load requirements—how much force the balustrade must be able to withstand. This directly impacts the thickness of the glass you need and the type of fixings you must use. Following these rules is non-negotiable. For a much deeper dive, have a look at our comprehensive guide on glass balustrade building regulations.
Finally, if your project is in a conservation area or a listed building, which we see a lot across Yorkshire and Cumbria, it’s always wise to have a quick word with your local planning authority. It’s a simple check to ensure you don’t need formal planning permission before you start.
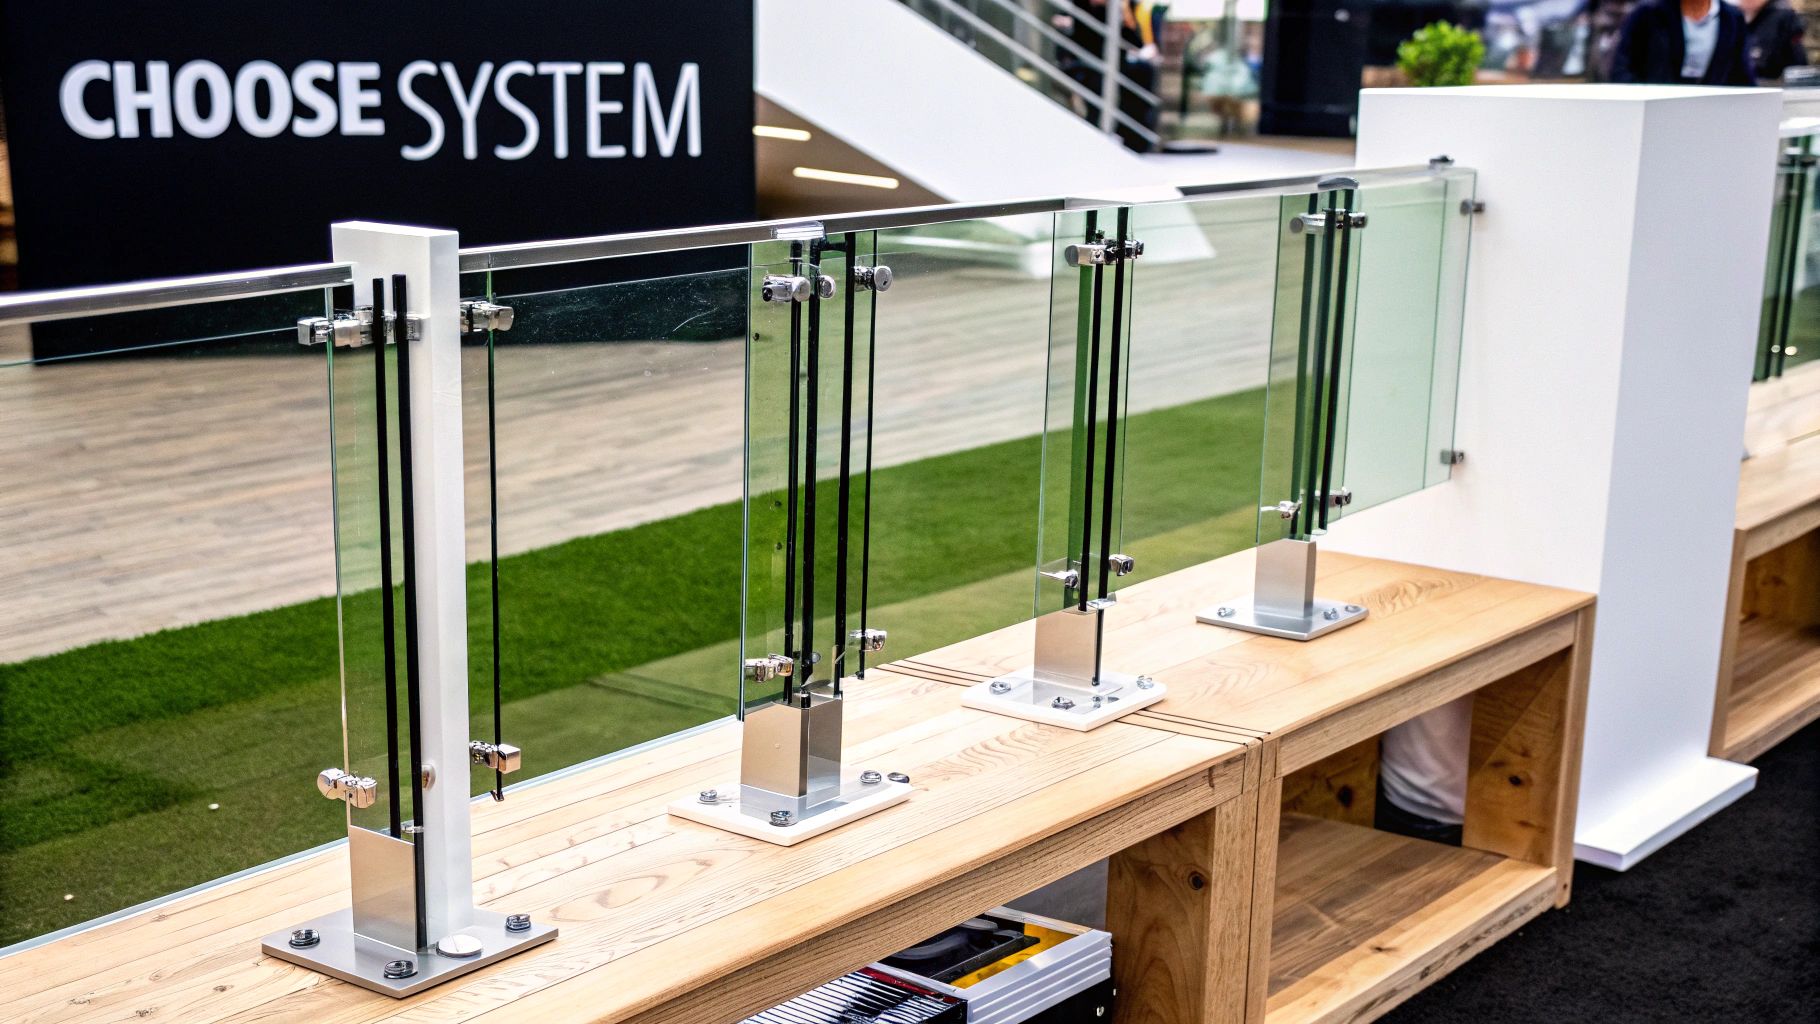
The system you choose is the single biggest factor in defining the final look and feel of your space. It's more than just a safety barrier; it’s a core architectural feature. Making the right choice ensures your investment not only looks spectacular but also functions perfectly for your specific needs.
Let's break down the main options to help you decide with confidence. We’ll look at the most popular systems we see across the North of England, from sleek city homes in Leeds to rustic countryside retreats in the Dales.
For that seamless, almost invisible finish, nothing beats a frameless system. This style uses a sturdy base channel or spigots to hold the glass panels securely at the bottom, leaving the top edge completely clear. It’s the perfect choice for maximising light and preserving a beautiful view.
It's no surprise this is a hugely popular choice for modern homes with gardens or patios in places like York and Harrogate. The UK's frameless structural glass balustrade market is a major player, holding a solid 24.6% share of the European market, driven by a love for clean lines and unobstructed views.
Post-mounted systems offer a more traditional, yet still very modern, appearance. Here, the glass panels are held in place by a series of vertical posts, typically made from stainless steel or powder-coated aluminium. The posts provide visible structure and can be fixed to a wide variety of surfaces, making this a highly versatile option.
This system is a brilliant all-rounder. For example, on a timber deck where you need a strong fix into the joists, posts can be positioned precisely where the support is strongest. The glass is secured using specialised fittings, and our guide on selecting the right glass balustrade clamp can give you a better idea of how these components work.
A key benefit of post systems is their adaptability. They can easily navigate complex corners and long runs, providing consistent support throughout. They feel incredibly robust, which offers great peace of mind.
While many systems can be installed without one, adding a handrail introduces an extra layer of visible security and a tactile element. This is often a preferred choice for family homes, staircases, or any raised area where people might naturally want something to hold onto.
The handrail can be fitted directly onto the top of the glass panels or fixed to the posts, adding a finishing touch to the design. A slim, round stainless steel handrail complements a minimalist aesthetic, while a chunkier, squared-off profile can make a bolder statement.
With the main styles covered, deciding which one is right for you can feel like a big decision. This table breaks down the key points to help you weigh up the options for your project.
| System Type | Primary Benefit | Best Suited For | Installation Level |
|---|---|---|---|
| Frameless | Completely unobstructed views and a sleek look | Patios, balconies, and indoor areas with a scenic outlook | Professional |
| Post-Mounted | High versatility and visible structure | Decking, complex layouts, and areas needing robust, clear posts | Intermediate-Pro |
| With Handrail | Enhanced safety and a finished aesthetic | Staircases, family homes, commercial spaces, and high-traffic areas | Intermediate-Pro |
Ultimately, the best system is the one that meets your aesthetic goals, practical needs, and the specific requirements of your site.
Choosing the right type of glass is just as important as the system itself, and it’s a crucial safety decision. This is not the place to cut corners.
Toughened Glass: This is standard safety glass that's been heat-treated to make it about four to five times stronger than regular glass. If it ever breaks, it shatters into thousands of small, cube-like pieces, which are far less likely to cause serious injury. It's a common choice for many domestic installations where another barrier remains in place if a panel breaks.
Laminated Glass: This is the top tier for safety. It consists of two or more layers of glass bonded together with a tough interlayer. If one of the glass panels breaks, the interlayer holds the fragments together, keeping the barrier intact. Laminated glass is mandatory for any balustrade protecting a drop, and it's the superior choice for frameless systems where there are no posts to provide backup support.
Turning your glass balustrade vision into a physical reality comes down to one thing: preparation. Having every tool and all the right materials lined up before you even think about starting is what separates a smooth, professional-quality job from a weekend of pure frustration. Think of this as your definitive checklist.
Walking into the job with the right gear isn't just about making life easier; it's fundamental to getting a safe, precise finish. If you rush it or try to make do with the wrong equipment, you risk misaligned panels, stressed glass, or fixings that just aren't secure. These are mistakes that are not only expensive but genuinely dangerous to fix later on.
You don't need a massive workshop, but a handful of key items are completely non-negotiable for getting a glass balustrade installation right. These will see you through everything from drilling solid anchor points to making those final, tiny adjustments.
Here's a pro tip that often gets missed: don't skip the torque wrench. It isn't a 'nice-to-have'; it's critical. Over-tighten the fixings and you can create dangerous stress points in the glass. Under-tighten them, and the whole structure's stability is compromised. A torque wrench is the only way to ensure every bolt is tightened to the manufacturer's precise specification.
Your tools do the work, but it's the materials that provide the strength. The fixings you'll need are dictated entirely by your substrate—the surface you are mounting the balustrade onto.
Beyond the obvious glass panels and supports, you'll need a selection of suitable fixings to anchor everything properly. If you're fixing into a concrete base, a chemical resin anchor system is usually the strongest and most reliable option. This involves drilling a hole, injecting a specialised resin, and setting a threaded stud into it, which creates an incredibly tough, permanent bond once it cures.
On the other hand, if you're fixing into a steel beam or solid timber joists, you'll be looking at mechanical fixings like heavy-duty bolts or specialised coach screws. It's absolutely crucial that these are long enough to bite deep into the core structural material, not just the surface layer.
Finally, never underestimate the small stuff. Plastic packers and shims are invaluable for making those tiny, millimetre-perfect adjustments to the height and alignment of your glass panels. They are the secret weapon for achieving those perfectly even gaps and a ruler-straight top edge.
You've done the homework—the site is checked, your system is chosen, and the tools are laid out. Now for the satisfying part: bringing it all to life. This is where meticulous planning really shows its worth. Instead of a rigid step-by-step list, let's walk through the actual flow of a professional installation, sharing the kind of hands-on insights that guarantee a rock-solid and stunning result.
It’s no surprise these systems are becoming so popular. The domestic UK market for glass balustrades was valued at USD 1.25 billion in 2025 and is on track to hit USD 2.30 billion by 2033. It's the frameless designs that are really leading the charge, making up 45.8% of the global market thanks to their clean aesthetic and proven reliability. These numbers show just how many homeowners across the UK are choosing this modern, elegant solution.
This diagram breaks the core workflow down into three common-sense phases.
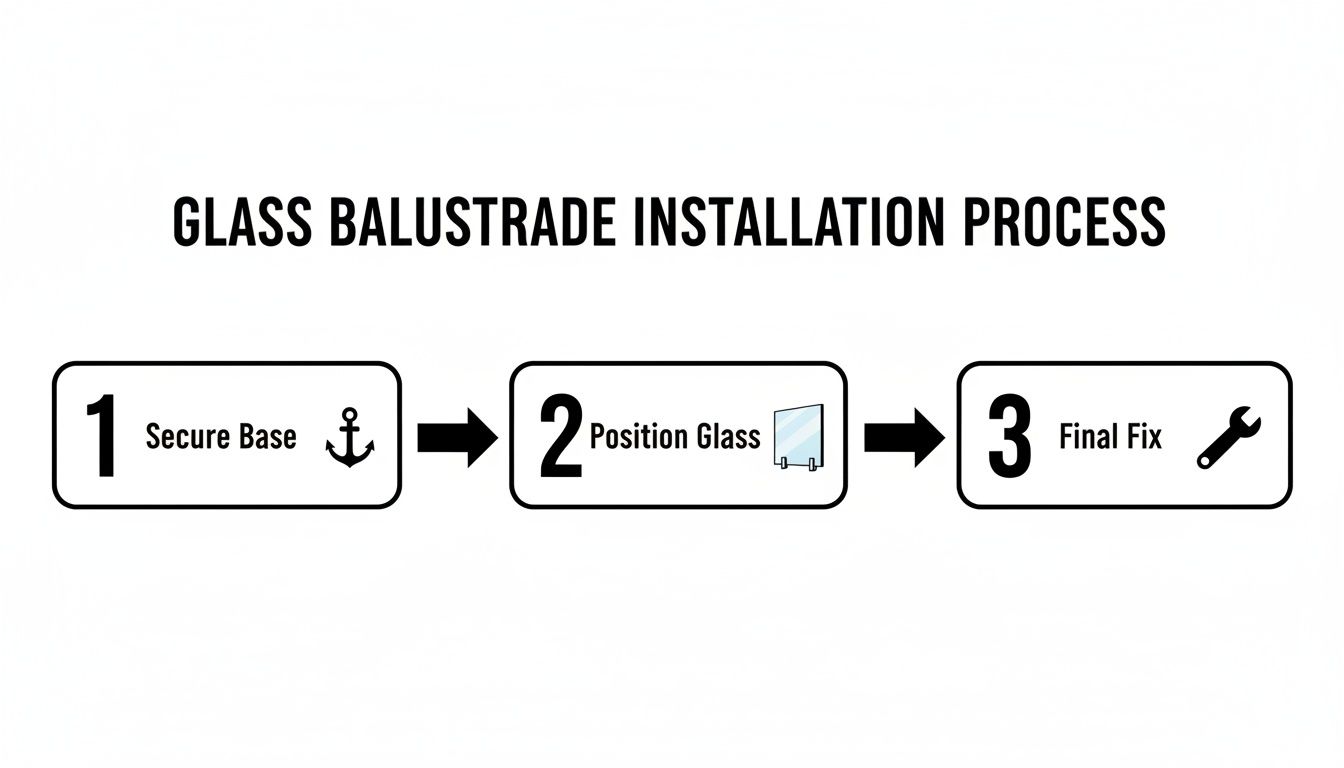
As you can see, a successful job is built on three pillars: a solid foundation, precise glass alignment, and meticulous final fixings. Get these right, and the rest falls into place.
Everything—and I mean everything—hinges on the base. Whether it’s a continuous channel for a frameless system or individual posts, its alignment and fixing are absolutely critical. Any error here, no matter how small, will telegraph up through every single panel you install.
Start by snapping a perfectly straight chalk line to mark out the run. Position your base channel or posts along this guide, then carefully mark out every fixing hole.
Your substrate determines your next move. If you're fixing into concrete, it’s vital to drill and then thoroughly clean the holes before injecting a chemical agent. For a detailed look at this pro technique, our guide on using a resin anchor bolt is essential reading. For timber, you’re not just drilling into decking; you must locate and fix into the centre of the structural joists below to get the grip you need.
With the foundation securely in place, it's time for the most visually rewarding phase: positioning the glass panels. This isn't a race. It requires patience, a steady hand, and the right technique to avoid any chips, scratches, or misalignment.
Using a good pair of glass suction cups, carefully manoeuvre the first panel into the channel or clamps. A key rule: never let the glass touch a hard surface directly. Always use packers to protect the edges when placing it down or sliding it into a metal channel.
Crucial Installation Tip: The single biggest mistake we see is people over-tightening the clamps when first placing the glass. This creates dangerous stress points that can cause a panel to shatter later on. The goal here is just to hold the panel securely enough for adjustment, not to torque it down for the final time.
Use plastic packers and shims to get the panel perfectly vertical and to set your gaps. Your spirit level is your best friend during this stage. Check each panel vertically, then lay the level across the top of adjacent panels to ensure they are perfectly level with each other. It’s this painstaking attention to detail that creates that flawless, professional finish.
Once every glass panel is in place, perfectly aligned, and evenly spaced, you can move on to the final fixing. Now is the time to tighten all the clamps and wedges properly, following the manufacturer’s torque specifications. Work systematically from one end to the other to apply even, consistent pressure.
With the glass locked in, it’s time to fit the finishing components. This could be the rubber gaskets that cushion the glass inside the base channel or decorative covers that hide the clamp fixings.
If your system includes a top rail or handrail, this is the final piece of the puzzle. Fit it carefully over the top edge of the glass, making sure it’s snug and secure. A handrail doesn't just add another layer of safety; it also helps distribute any load across multiple panels, which adds to the overall rigidity of the entire structure.
Finally, give it a thorough check. Gently push on the balustrade at different points—it should feel completely solid with no movement or flex. Once you’re satisfied, you can give the glass a final clean, stand back, and admire your newly transformed space.
Once your stunning new glass balustrade is installed, a tiny bit of care is all it takes to keep it looking pristine and performing safely for decades to come. Think of it less as a chore and more as a simple routine to protect your investment. With the right approach, you'll protect the glass, preserve the metalwork, and enjoy total peace of mind.
Regular cleaning is the most important part, and thankfully, it's straightforward. The golden rule is to steer clear of harsh, abrasive chemicals or scouring pads. These can easily damage the beautiful finish on stainless steel fittings and leave a nasty residue on the glass.
Honestly, the best method is usually the simplest. A bucket of warm water with a drop of pH-neutral soap is all you need. Use a soft, microfibre cloth to gently lift away dirt without scratching the surface, then rinse it all off with clean water. For a perfect, streak-free finish, grab a squeegee or a separate dry microfibre cloth to dry everything off.
Beyond a good clean, getting into the habit of a quick inspection every few months is a smart move. It only takes a couple of minutes but helps you catch minor issues long before they turn into bigger problems.
Here’s what you should be looking for:
A common issue we see, especially in coastal areas or industrial towns across the North of England, is staining on stainless steel. It often looks like rust, but it's usually just 'tea staining' – a surface discolouration. Don't worry, it's not corrosion! It comes off easily with a specialised stainless steel cleaner, restoring that brand-new shine in no time.
If your inspection does uncover a small problem, there's no need to panic. Most common issues are quick and easy to sort out yourself.
For instance, you might find a glass panel clamp has worked itself slightly loose over time. A simple re-tightening with the correct tool is often all that’s needed. Just be careful not to over-tighten; you just want it to be firm and secure. If you spot any stubborn discolouration on the metalwork or a gasket looks worn out, replacement parts are readily available and straightforward to fit. This kind of proactive care is what ensures your balustrade remains a stunning and safe feature of your home for years.
There’s a massive sense of satisfaction that comes from a successful DIY project, but real wisdom is knowing when to call in the experts. When it comes to installing glass balustrades, the stakes are incredibly high. A small mistake doesn't just look bad; it can seriously compromise safety and your entire investment. This isn't about admitting defeat—it's about guaranteeing a perfect, secure result.
Certain scenarios simply demand a professional touch. If you're planning to fix your balustrade to an unconventional or complex surface, a proper assessment is vital to ensure the fixings will hold securely over time. Likewise, big jobs like cantilevered balconies or large-scale commercial projects, maybe for a restaurant terrace in Manchester, involve specialised knowledge of structural loads and local building codes that go far beyond a standard domestic install.
A certified professional brings so much more than just an extra pair of hands. They bring years of experience, full accountability, and the right tools for any situation that might crop up. They’re trained to spot potential issues with the substrate—the surface you’re fixing to—that a DIYer might easily miss. Plus, they have the specialised lifting equipment needed to handle oversized or unusually shaped glass panels without risk.
Their in-depth, working knowledge of regulations like BS 6180 is invaluable. They understand how these codes apply in real-world situations, ensuring your project is not just beautiful but fully compliant and, most importantly, safe for everyone who uses it.
Ultimately, choosing a professional installer is about buying complete peace of mind. For intricate projects, or if you have even the slightest doubt about the structural integrity of your installation area, it’s the smartest decision you can make. It protects your property by ensuring the job is completed to the highest possible standard of quality and safety.
If you’re based in Yorkshire or across the North of England and feel your project would be better in professional hands, please don't hesitate to contact us at Binks Glass Solutions. We’ll provide the expert advice and service needed to get the job done right, first time.
Even with the best guide in hand, questions always come up once you get started on-site. We get calls all the time from homeowners and trade professionals across the North of England who are in the middle of an installation, so we've put together some straight answers to the most common queries.
If you remember one thing, make it BS 6180:2011. This is the British Standard that governs safety barriers, and getting it wrong isn't an option.
It clearly states the minimum heights for home projects. For any internal staircase or landing, your balustrade needs to be at least 900mm high. If you're installing one outside on a balcony, or anywhere with a drop of more than 600mm, that height jumps to 1100mm. This standard also covers the load-bearing forces the system has to withstand, which is why choosing the right glass thickness and fixings is so critical for a safe, compliant job.
Yes, you absolutely can – it's one of the most popular projects we see. But, and this is a big but, the strength of your deck's substructure is everything. You can never, ever fix a balustrade directly onto the surface deck boards; they simply aren't designed to take that kind of load.
Your posts or the base channel must be bolted securely into the main timber joists that make up the deck's frame. We often recommend adding extra timber supports, known as 'noggins', between the joists. This gives you solid, reinforced fixing points exactly where you need them. If you're in any doubt about how strong your deck is, it’s always best to get a professional to take a look.
Getting that flawless, professional finish really boils down to two things: patience and having the right bits and pieces to hand. Precision is non-negotiable here.
The real secret to perfect alignment is making tiny, incremental adjustments. Don't try to get it perfect in one go. Use plastic or rubber packers under each panel to tweak the height, then use shims on the sides of the glass within the channel to get the vertical alignment spot-on.
Your spirit level is your best friend during this stage – check, double-check, and triple-check every panel. Before you do the final tightening of all the fittings, run a tape measure along the gaps between each panel to make sure they're perfectly consistent from top to bottom. It's this meticulous approach that gives you the crisp, straight top edge that separates a DIY job from a professional installation.
Ready to get your project off the ground but could use some expert advice or a detailed quote? The team at Binks Glass Solutions has the local know-how and technical expertise to make sure your project is a success. Contact us today for a no-obligation chat.