
Railing on wall: Your Complete Installation Guide
A modern railing on wall installation does two jobs at once: it provides essential safety and creates a striking design […]

A modern railing on wall installation does two jobs at once: it provides essential safety and creates a striking design […]
A modern railing on wall installation does two jobs at once: it provides essential safety and creates a striking design feature that can completely transform a staircase or landing. The real art is in choosing a style and material that not only looks right for your home’s architecture but is also securely and robustly fitted.
Whether you’re drawn to minimalist glass panels or a classic timber handrail, the best choice will come down to your personal taste, your budget, and, crucially, what your wall is actually made of.
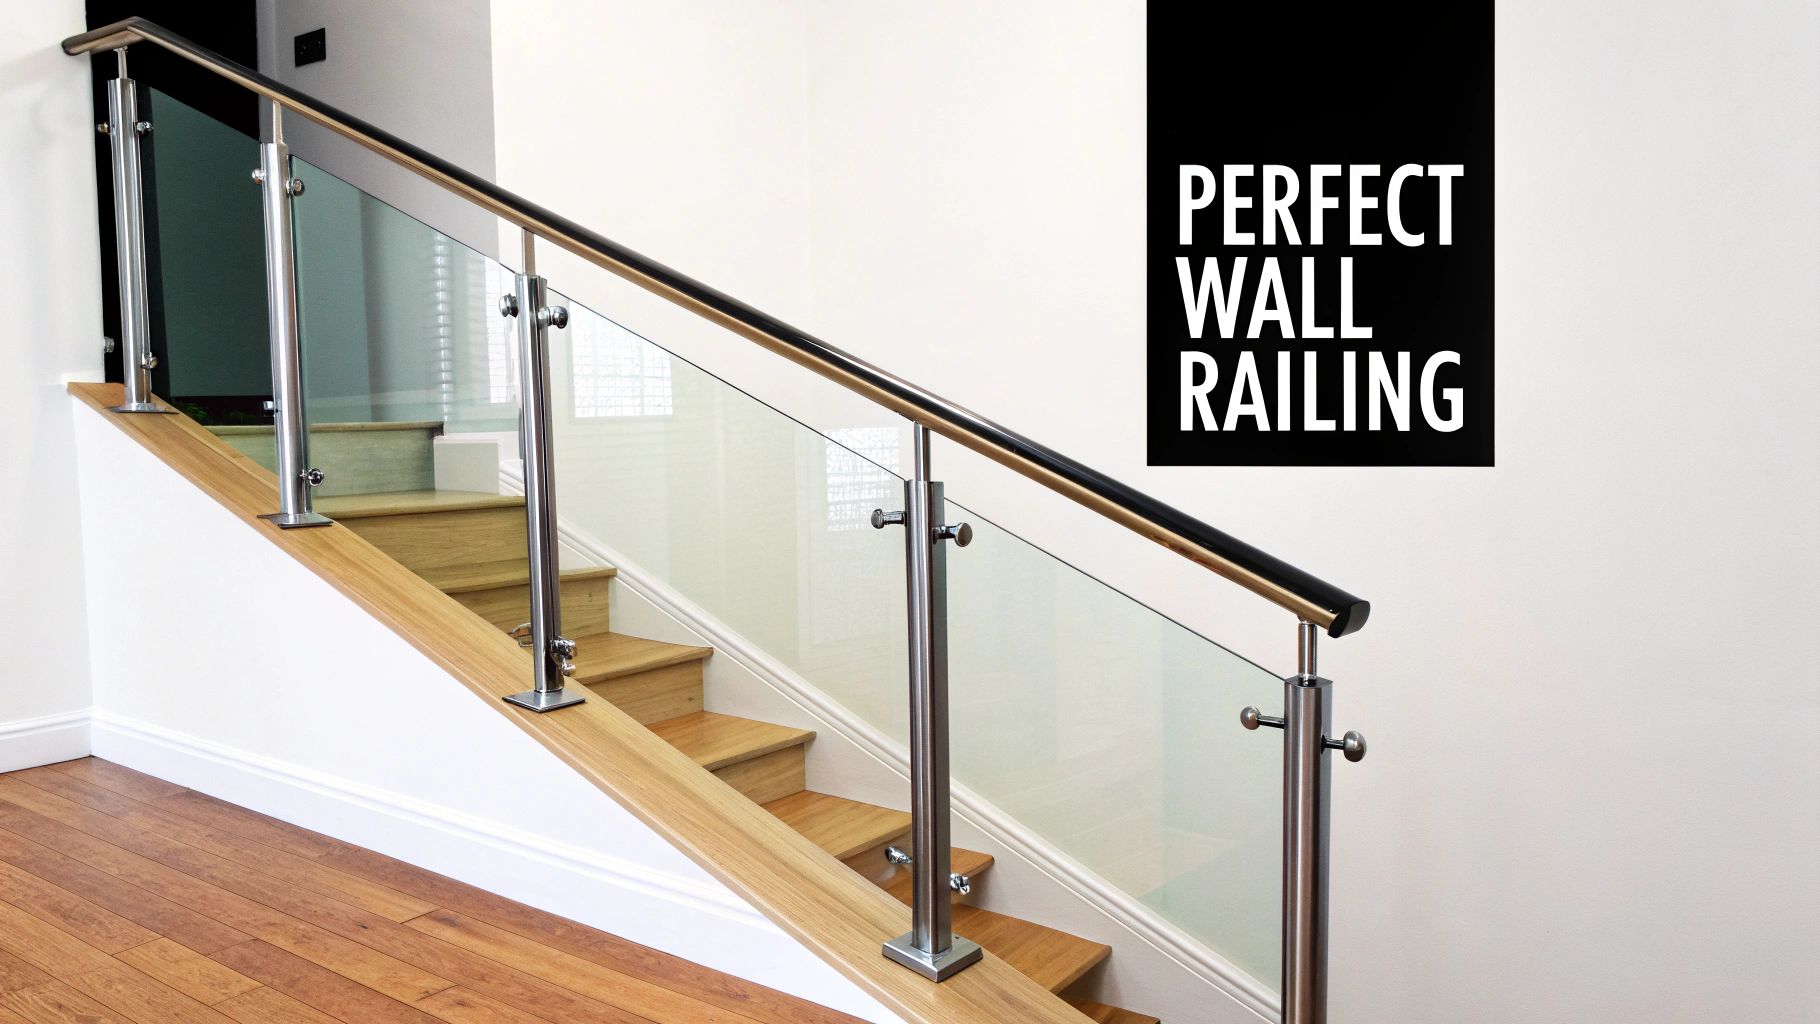
The first step on your journey is a simple one: which material feels right for your space and lifestyle? This decision will shape the project’s entire look, how it feels to the touch, and how much looking after it will need over the years.
This is especially true here in the North of England, where we see such a wonderful mix of architectural styles. For a contemporary new-build in Leeds, a sleek, frameless glass balustrade is often the perfect fit, giving you those clean lines and an uninterrupted sense of space. Head out to the Dales, though, and a traditional Yorkshire stone cottage might call for a warm, timeless wooden handrail to add character and honour its heritage.
We’re seeing a real surge in demand for high-quality, stylish solutions. In fact, the UK railing market is projected to grow steadily, driven by homeowners wanting durable and beautiful designs in glass, stainless steel, and even modern wrought iron. You can learn more about these railing market trends from this in-depth industry analysis.
Before you fall in love with a particular design, it’s vital to get to know your wall. Is it solid brick, modern plasterboard, or rugged stone? The answer will dictate the kind of fixings you absolutely must use to guarantee a safe and secure installation for years to come.
Deciding on the right material can feel overwhelming, so here’s a quick rundown to help you compare the most popular options.
| Material | Best For | Typical Maintenance | Style |
|---|---|---|---|
| Glass | Maximising light and creating a sense of space in modern or minimalist homes. | Regular cleaning with glass cleaner to maintain clarity and remove fingerprints. | Contemporary, sleek, high-end. |
| Stainless Steel | Both interior and exterior use, especially where durability and a modern look are key. | Wipe down with a soft cloth. Use a specialist cleaner for stubborn marks. | Modern, industrial-chic, clean. |
| Wood | Traditional or period properties needing a warm, classic touch. Highly customisable. | Requires periodic sealing, staining, or painting to protect from wear and moisture. | Classic, traditional, warm, rustic. |
Each material brings its own character to a project. A glass balustrade is all about light and space, steel offers that crisp, industrial feel, and wood provides a classic warmth that’s hard to beat. The key is to pick the one that complements your home’s existing style.
The safety and integrity of your railing on wall installation comes down to one thing: how well it’s anchored.
A solid brick or block wall is the ideal foundation. It gives you a strong base to use heavy-duty fixings like masonry bolts that can anchor deep into the structure, ensuring the railing can handle significant force without budging.
Things get a bit trickier with a plasterboard or stud wall. You can’t just fix into the plasterboard itself—it simply won’t hold.
Pro Tip: For plasterboard walls, you must find the wooden or metal studs behind the board. Your brackets need to be fixed directly into these studs to provide the structural support required to meet safety standards.
Using the wrong fixings for your wall type is a common and dangerous mistake. It completely undermines the railing’s stability and puts anyone using it at risk. Always figure out what your wall is made of before you buy anything—it ensures you get the right anchors for a safe and solid job.
When you’re fitting a railing to a wall, safety isn’t just best practice—it’s a legal requirement. It’s easy to focus on the aesthetics, but getting the technical side right is what turns a decorative rail into a genuine safety feature you can rely on. In the UK, this is all governed by some very specific Building Regulations.
Before starting any project, it’s worth getting familiar with the rulebook. The key document here is Approved Document K, which covers ‘Protection from falling, collision and impact’. Think of it as the official guide that translates complex legal requirements into practical, actionable advice for installing handrails on stairs, landings, and anywhere else there’s a drop.
Following these guidelines ensures your installation is more than just a finishing touch; it becomes a structurally sound safety device that protects you and your family every single day.
So, what are the big rules you need to know? One of the most critical is height. For a typical domestic staircase, the top of the handrail must sit somewhere between 900mm and 1000mm from the pitch line—that’s the imaginary line running along the very front edge of your steps.
This isn’t just a random number. It’s the result of extensive research to find the sweet spot for the average person, providing a comfortable and secure grip to prevent overbalancing. For landings, that minimum height requirement is 900mm.
But it’s not just about height; strength is equally important. Regulations demand that a railing on a wall can withstand a significant amount of force. It has to hold firm if someone stumbles and grabs it for support, and this is where your choice of fixings and the spacing of your brackets become absolutely vital.
A properly installed handrail should feel completely solid. Grab it, give it a firm push—there should be zero wobble or give. That stability is the true sign of a safe, professional installation that ticks every legal box.
To achieve that rock-solid feel and meet the required load-bearing strength, your brackets need to be anchored securely into the wall’s core structure. If you’re fixing into solid brick or blockwork, it’s relatively straightforward with the right masonry anchors. Plasterboard walls are a different story; you absolutely must locate the timber studs behind the board and fix directly into them. Skimming the surface just won’t do.
The spacing between these brackets is also a non-negotiable part of the equation. As a rule of thumb, they should be positioned no more than one metre apart. This ensures any load is distributed evenly along the rail, preventing it from flexing or, in a worst-case scenario, pulling away from the wall under strain. These safety principles are just as crucial for other systems, like those we cover in our guide on railings for balconies, where structural integrity is everything.
By sticking to the guidance in Approved Document K, you can be confident that your project isn’t just looking good—it’s fully compliant and, most importantly, completely safe for everyone in your home.
A professional finish for any railing on wall project starts long before you pick up a drill. It all begins with precise, careful measurements. Getting this stage right is the difference between a seamless, elegant installation and one that looks slightly off, so it’s absolutely worth taking your time.
Measuring for a railing isn’t just about noting the total length from one end to the other. You need to account for tricky angles, landings, and the specific quirks of your home, whether it’s a modern townhouse in Manchester or a characterful cottage in Cumbria.
Before you even reach for a tape measure, I’ve got a simple but incredibly effective trick for you: use a string line. Tautly stretch a piece of string along the wall where you plan to fit the railing, following the exact angle of your staircase. This gives you a perfect visual guide for the handrail’s path.
This technique is a game-changer for staircases because it helps you accurately determine the true length needed from the top to the bottom, following the slope precisely. It also lets you see exactly where the brackets will land in relation to the steps and any other architectural features.
Pro Tip: Once your string line is in place, take a step back and have a proper look. Does the height feel natural and comfortable as you walk up and down? This quick visual check helps confirm the placement aligns with the 900mm-1000mm height regulation and, just as importantly, looks right in your space.
With your path now clearly mapped out, you can get down to the core measurements. For a straight run along a landing, this is pretty straightforward. Staircases, however, need a bit more attention.
Once you have your total length, it’s time to plan your bracket placement. As a firm rule, brackets should be spaced no more than one metre apart to ensure the railing is strong, sturdy, and compliant. Mark their proposed locations lightly on the wall with a pencil.
This is also the moment for a crucial safety check. Before you even think about drilling, you absolutely must check for hidden pipes or electrical wires. A simple stud finder with a built-in detector can save you from a costly and dangerous mistake. Run it over your marked spots to ensure the area is clear.
After you’ve taken these detailed measurements, you’re ready for the easy part. You can input these figures directly into our online Balustrade Calculator to get an instant, accurate quote for your project. This tool simplifies the planning process, translating your hard work into a clear cost for your bespoke railing on wall system.
You’ve done the prep work, checked your measurements, and have all your materials laid out. Now for the satisfying part: the physical installation. This is where your careful planning comes to life, turning a box of components into a stylish and secure feature for your home. Getting a railing on wall installation right all comes down to two things: using the correct fixings for your wall type and ensuring every single bracket is perfectly level.
Whether you’re a seasoned DIY pro or picking up the tools for the first time, a methodical approach is your best friend here. From drilling the first clean pilot hole to the final tightening of the handrail, each step is crucial. Taking your time now is the secret to a flawless, sturdy finish you’ll be proud of for years.
This simple workflow is a great reminder of the essential steps to take before you even think about drilling.

Stick to this map-measure-mark process, and you can be confident your plan is spot on before making any permanent changes to your wall.
Before you start, get everything you need together in one place. It’ll save you from frustrating trips back and forth to the garage and help the whole job run smoothly.
Your essential toolkit should include:
That last point is absolutely non-negotiable. If you’re fixing into solid brick or blockwork, you need heavy-duty masonry bolts like M8 or M10 anchor bolts to get a solid grip. For plasterboard walls, you must locate the timber studs behind the board and use specialised toggle or hollow-wall anchors that fix directly into the wood. Never, ever rely on a fixing that’s only holding onto the plasterboard itself.
Pro Tip: When drilling into a plastered wall, stick a piece of masking tape over your mark first. It’s a simple trick that helps stop the plaster from chipping around the hole, giving you a much cleaner, professional-looking finish.
Begin by carefully drilling the pilot holes at your marked bracket locations. Keep your drill perfectly perpendicular to the wall; this ensures the fixings go in straight and achieve the strongest possible hold. With the holes drilled, pop in your wall plugs or anchors and loosely attach the first bracket.
Don’t tighten it all the way just yet. Place your spirit level on top and adjust the bracket until the bubble is dead centre, then secure the final screws. This first bracket is now your reference point. Use your long level or the string line you set up earlier to make sure all the other brackets line up perfectly with it. Even a slight misalignment will cause the handrail to sit unevenly or feel unstable.
For glass systems, this alignment is even more critical. The precision required when fitting a glass balustrade clamp is immense, as any error will be immediately obvious.
Once all the brackets are securely in place and perfectly aligned, you can finally attach the handrail. Lay it carefully onto the brackets and fix it from underneath with the screws provided. Give it a firm shake – it should feel completely solid, with absolutely no wobble or movement. This final step is what brings it all together, creating a safe and sturdy railing on wall that looks fantastic.
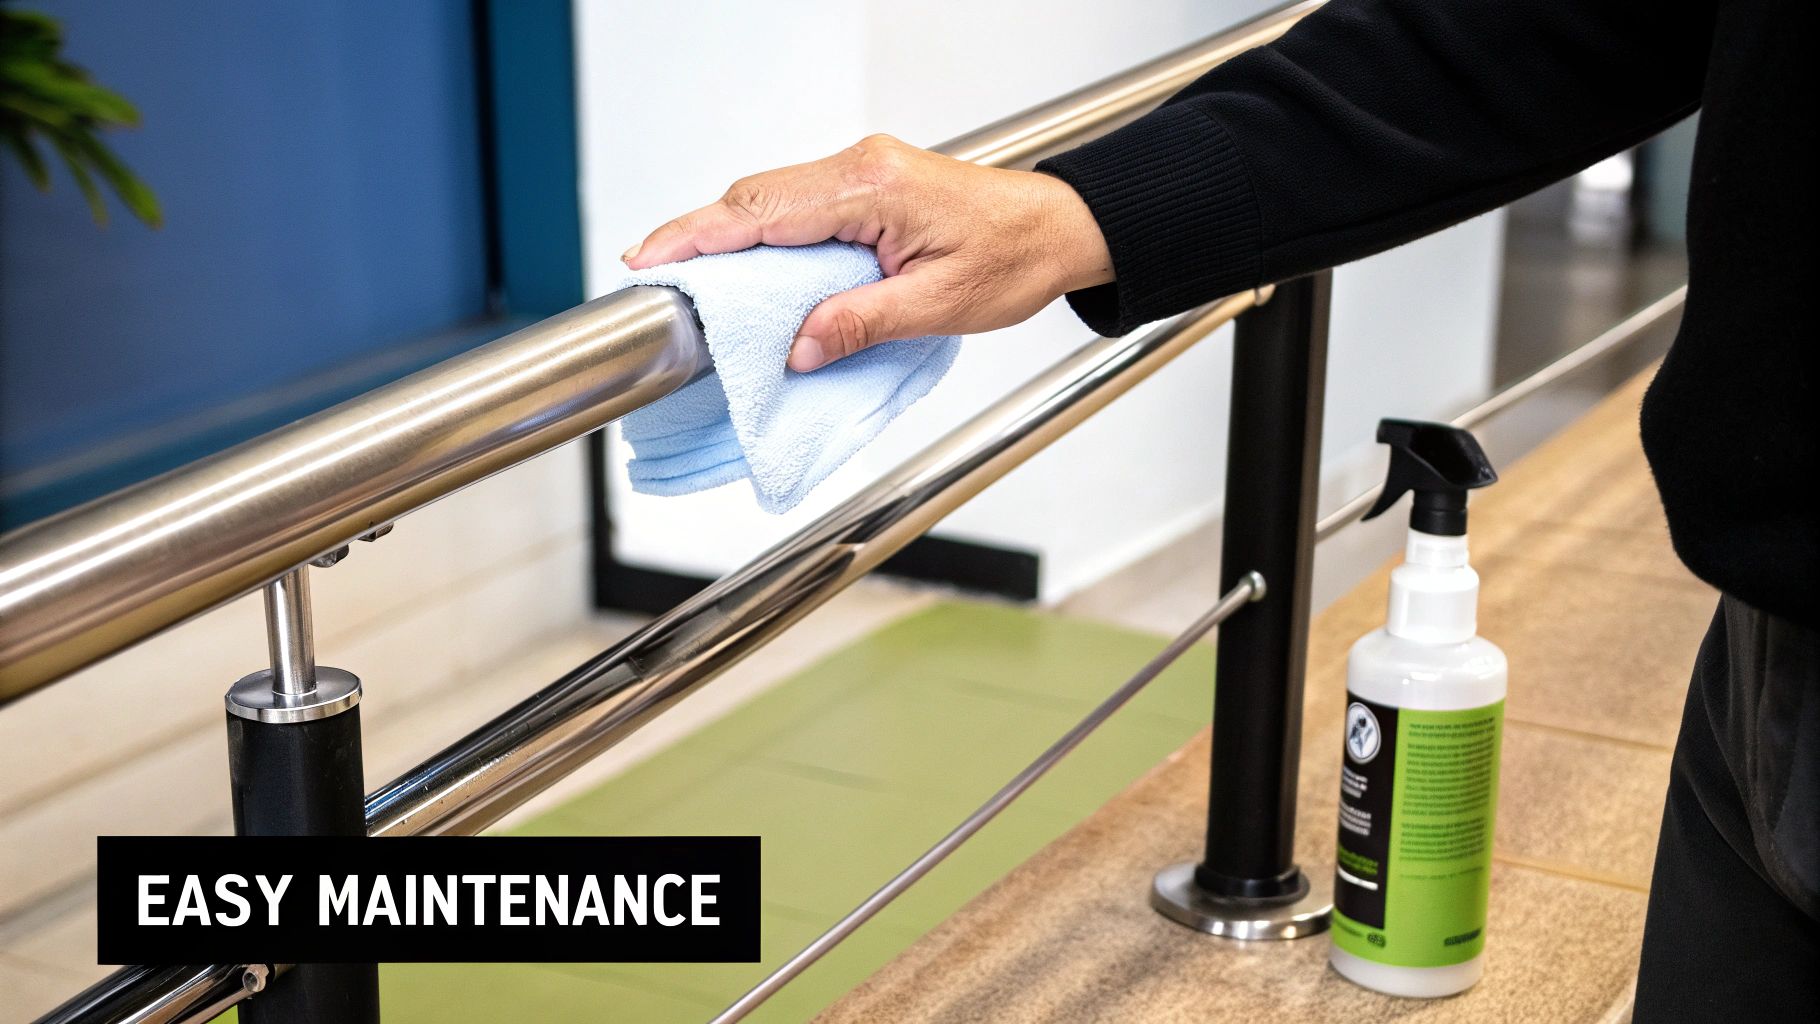
So, your new railing on wall installation is complete, and it looks fantastic. Now the goal is to keep it looking that way for years to come, which thankfully, is simpler than you might think.
A little bit of care goes a very long way. With just a few minutes of attention every now and then, you can protect your investment and ensure it looks as good as the day we installed it.
Naturally, the upkeep your railing needs depends entirely on what it’s made from. Each material has its own quirks, but the good news is they’re all straightforward to look after.
Regular cleaning isn’t just about looks. It’s the perfect opportunity to give everything a quick once-over and spot any potential issues, like loose fittings, before they turn into a real problem. Think of it as a quick check-up that provides long-term peace of mind.
Beyond keeping things looking sharp, regular safety checks are absolutely vital. This is especially true for railings exposed to the wonderfully unpredictable weather we get across Northern England. The constant cycle of rain, wind, and sun can put fixings under stress over time.
Once or twice a year, take a moment to physically check each bracket. Give the handrail a firm (but not aggressive!) shake at a few different points along its length. You should feel absolutely no movement or wobble.
If you feel even the slightest give, it’s a clear sign that a fixing has worked itself a little loose and needs tightening.
Take a close look at the screws or bolts holding the brackets to the wall. Using the right tool, just check they are all snug and secure. This simple five-minute job is all it takes to ensure your railing on wall remains a solid, reliable safety feature for you and your family.
While this guide walks you through a DIY installation, there are times when calling in the experts is the smartest move you can make. Some projects just demand a professional touch to get that flawless, high-end finish.
Maybe you’re dealing with a complex staircase with multiple turns, an older property where no wall is truly straight, or you simply want the complete peace of mind that comes with a professional job. These are all excellent reasons to hand your railing on wall project over to the pros.
Opting for professional support takes all the guesswork out of the equation. An expert will carry out a precise site survey, spot potential structural issues you might easily miss, and guarantee every single regulation is met to the letter. This is especially valuable in the diverse homes we work with across the North of England, from a modern Manchester townhouse needing a sleek glass balustrade to a period property in Newcastle that calls for a more traditional design.
Here at Binks Glass Solutions, we’re proud to offer dedicated, hands-on support for customers right across the region. Our team has seen it all, working on projects of every shape and size, and we know how to deliver an installation that perfectly suits your home’s character and your personal vision.
We offer a fully bespoke design and installation service that includes:
It’s no secret the UK’s home improvement market is booming. With a projected value of £16.67 billion by 2033, there’s a huge appetite for quality upgrades, and railing installations are a big part of that as homeowners look to boost both safety and style. You can see more on how these home renovation statistics reflect market growth.
Putting your project plan into action couldn’t be simpler. The measurements you’ve already taken for length, angles, and bracket positions are everything you need to get a clear, itemised price for your materials.
Our online Balustrade Calculator is designed to turn your measurements into an instant, accurate quote. It lets you play around with different styles and materials to see how they affect the cost, helping you find that perfect balance between your dream design and your budget.
This tool puts you in complete control of the planning process, giving you transparent pricing right from the start. It’s the ideal first step, whether you plan to fit the railing yourself or you’d like our team to manage the entire project for you.
Ready to take the next step? Get in touch with our local experts at Binks Glass Solutions for some friendly advice, a site survey, or to talk about our professional installation service.