
How to Lay Decking Boards A Practical UK Guide
Any seasoned professional will tell you that a successful decking project is won or lost long before the first board […]

Any seasoned professional will tell you that a successful decking project is won or lost long before the first board […]
Any seasoned professional will tell you that a successful decking project is won or lost long before the first board is laid. It all comes down to the groundwork – a solid plan, meticulous measurements, and choosing the right kit for the job. Get this foundation right, and you're setting yourself up for a deck that's not just stunning, but also safe and built to last, especially against the famously unpredictable British weather.
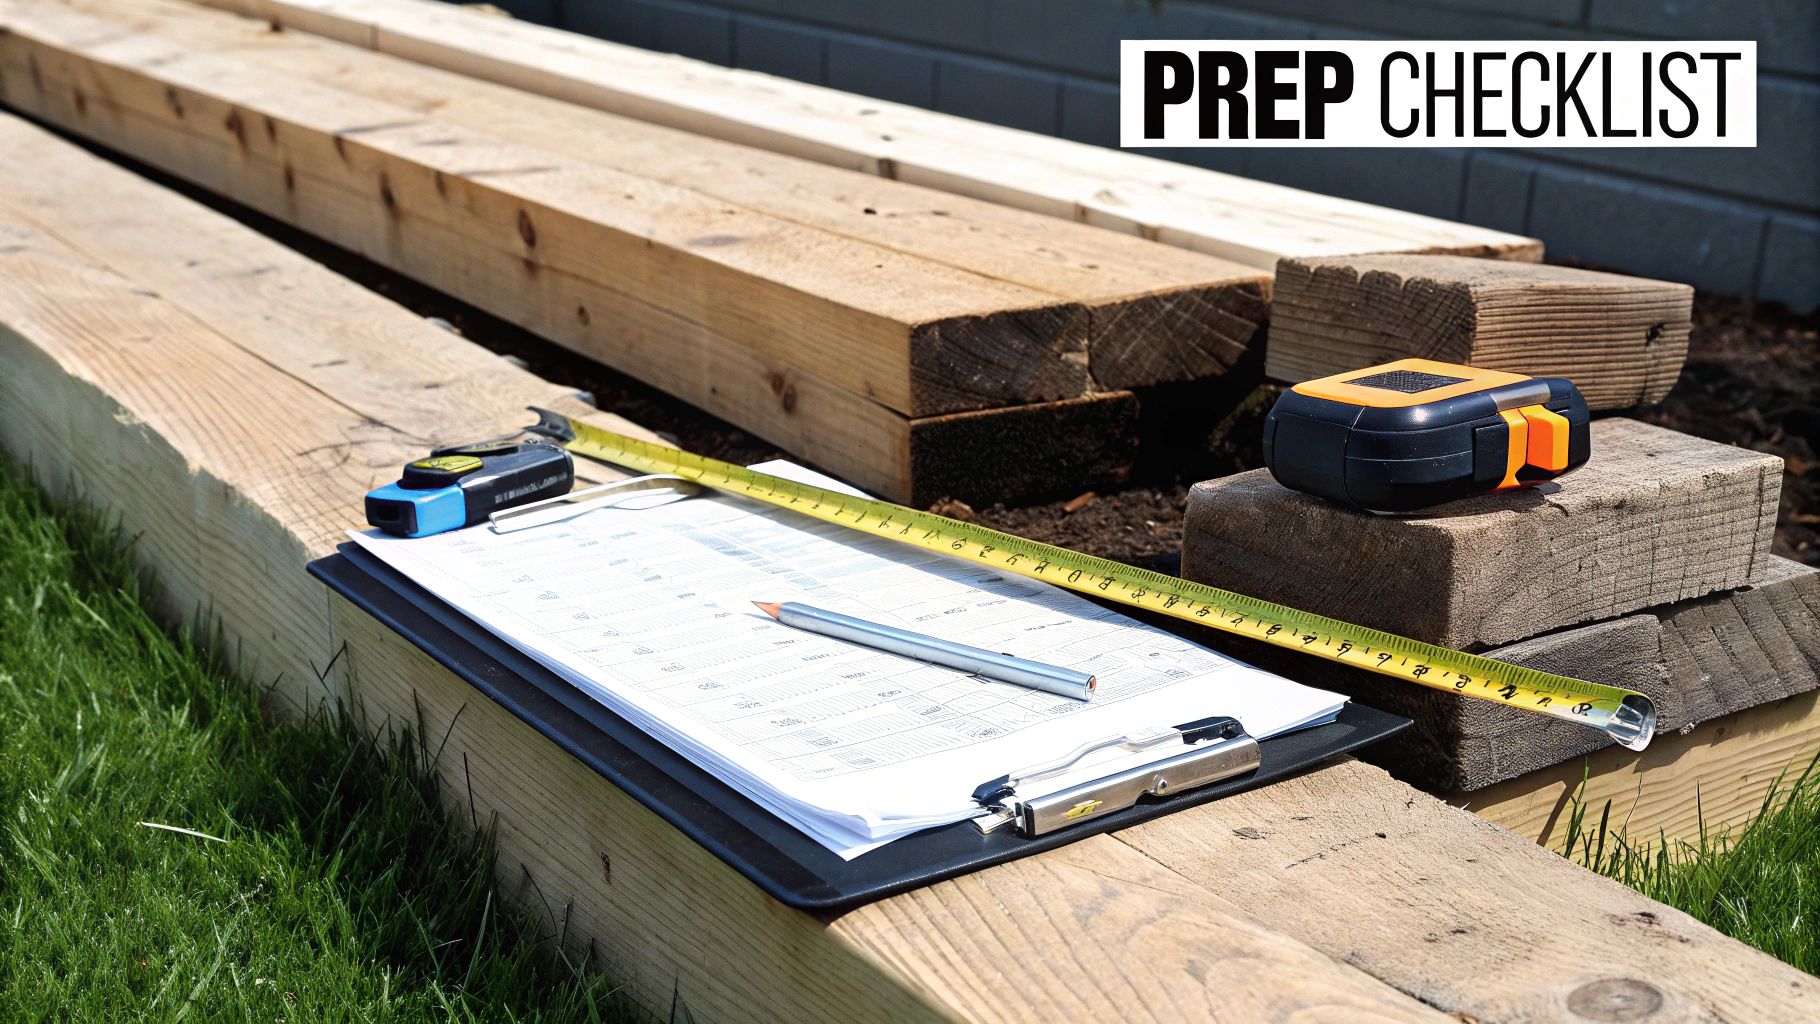
Before you even think about cutting a board, remember this: preparation is everything. This isn’t just about having your tools ready; it’s about creating a clear blueprint for a structure that will stand firm against the elements and years of family barbecues. I’ve seen it time and again – rushing this part is the single biggest mistake people make, and it always leads to wobbly decks, wasted materials, and a whole lot of future headaches.
From marking out your garden to clearing the ground, every single step you take now is crucial. Think of it as setting the stage for a smooth, hassle-free installation and a professional-looking finish that will genuinely add value to your home.
Right, get your tape measure out. Accuracy is your best mate here. Start by marking out the exact footprint of your deck with some simple stakes and string. Measure the length and width, then double-check everything by measuring the diagonals. Here's a pro tip: if the two diagonal measurements are identical, your corners are perfectly square.
Once you’ve got the total square footage, you can work out how much material you’ll need. A golden rule is to add 10% extra to your order for both decking boards and the sub-frame timber. This little bit of contingency is a lifesaver, covering you for any miscuts, awkward angles, or the odd split board. Trust me, it’s far better than a last-minute dash back to the builders' merchant.
Here's a quick rundown of what to calculate:
As part of your initial planning, you need to lock in your choice of materials. It's well worth taking the time to understand the pros and cons of composite vs timber decking before you commit. Here in the UK, especially in the damper northern regions like Yorkshire and Cumbria, your choice will have a huge impact on how long your deck lasts and how much work it is to maintain.
Take a look at how the two main options stack up.
| Feature | Treated Timber Decking | Composite Decking |
|---|---|---|
| Initial Cost | Lower | Higher |
| Maintenance | High (annual staining/oiling) | Very Low (occasional cleaning) |
| Lifespan | 10-15 years (with good care) | 25+ years |
| Aesthetics | Natural wood grain and feel | Consistent colour, modern look |
| Durability | Prone to rot, splintering, warping | Resistant to rot, fading, and insects |
| Sustainability | From renewable sources (check FSC) | Often made from recycled materials |
Ultimately, treated softwood is the traditional, budget-friendly choice. It’s easy to get hold of but demands annual TLC to protect it from rot. Hardwood is a step up in durability and looks fantastic, but it comes with a premium price tag. On the other hand, composite decking—a modern blend of wood fibres and recycled plastic—is a brilliant low-maintenance alternative that won’t rot or fade, though the initial outlay is higher.
A key thing to remember is our climate. Wood decking is hugely popular, but it's vital to leave a 5-10mm expansion gap between boards. This allows the timber to cope with the 8-12% moisture fluctuation we see in British weather. Getting this right is the secret to preventing warping and keeping your deck structurally sound for years.
A great deck must have a solid foundation. First things first, clear the entire area of turf, weeds, and any big stones. The ground doesn’t need to be perfectly level at this stage, but it absolutely must be firm and free from any soft, boggy spots.
Next, lay down a high-quality weed control membrane over the whole area, making sure to overlap the edges by at least 100mm. This is a non-negotiable step to stop weeds from forcing their way up through the gaps in your deck. To finish, cover the membrane with a decent layer of gravel. This helps hold it down, improves drainage, and keeps things tidy underneath.
Even if you’re planning on finishing your project with stylish glass panels, it’s this unseen foundation work that really dictates the quality and lifespan of your deck. For those already thinking about the final touches, you might find some inspiration in these stunning balustrade ideas for your deck.
The decking boards might get all the attention, but it’s the hidden sub-frame that does all the heavy lifting. Think of it as the skeleton of your deck; its strength and precision are absolutely vital for a long-lasting, safe, and professional-looking finish. Get this part right, and your deck will feel solid underfoot for decades to come.
A well-built frame provides the essential support structure, preventing the annoying bounce and sag that plague poorly constructed decks. It's the unseen foundation that ensures every board laid on top stays straight, level, and secure.
First things first, you need to build the perimeter. The outer frame sets the footprint for the entire structure and is typically built from the same pressure-treated timber as your internal joists (think 4×2 or 6×2). You'll assemble this into a rectangle or square, and it's absolutely crucial that every corner is a perfect 90-degree angle.
A simple carpenter's square is handy for a quick check, but for a large frame, nothing beats the 3-4-5 method or measuring the diagonals. If the two diagonal measurements are identical, your frame is perfectly square. This is a non-negotiable step that guarantees your decking boards will line up neatly later on.
You have two main approaches for positioning your frame:
Once the outer frame is secure, it's time to fit the internal joists. These are the parallel timbers running inside the frame that provide the direct support for your decking boards. The spacing between these joists is one of the most important decisions you'll make for your deck’s stability.
If the joists are too far apart, the deck will feel spongy underfoot and can even become unsafe over time. The correct spacing depends entirely on the type and thickness of your decking boards.
A common mistake is assuming all decking requires the same joist spacing. For standard timber boards, 400mm centres are typical. However, composite decking often demands much closer spacing, sometimes as little as 300mm. Always, always check the manufacturer's guidelines to avoid invalidating your warranty.
Getting the sub-frame calculations right is critical. To ensure you're meeting safety and structural standards, using reliable deck joist spacing calculators can be a massive help when planning this crucial stage.
A perfectly flat deck is a recipe for disaster in the damp UK climate. You need to build in a very slight slope, or 'fall', to allow rainwater to run off effectively and prevent it from pooling on the surface. It's a detail many DIYers miss, but it's essential for preventing rot and algae growth.
The ideal slope is a gentle gradient of about 1 in 80 to 1 in 100, running away from your property. This translates to a drop of around 10mm for every metre of deck width. It’s so subtle you won't even notice it when you're using the deck, but it’s more than enough to handle a typical downpour.
Use a long spirit level and string lines stretched across the frame to constantly check your levels as you build. Keep adjusting the height of your support posts or pads until you achieve that gentle, consistent fall across the entire structure.
Even if you’re splashing out on high-end composite decking boards, the sub-frame should always be constructed from pressure-treated timber. This wood has been infused with preservatives under high pressure to protect it from the inside out against rot, fungal decay, and insect attacks.
The frame sits close to the ground, exposed to constant moisture. Using untreated timber would be a false economy, leading to structural failure within just a few years. Spending that little bit extra on properly treated joists is one of the best investments you can make for the longevity of your entire project.
With your sub-frame solid and level, you’ve hit the most rewarding part of the job. This is where your vision truly comes to life as you start laying the decking boards themselves. Getting this bit right is all about precision, a bit of patience, and knowing how timber behaves.
The very first board you lay is the most important one of the entire build. Seriously. It sets the line for every other board that follows, so it absolutely must be dead straight. Take your time here, measure twice (or three times!), and you’ll lay the foundation for a flawless, professional-looking deck.
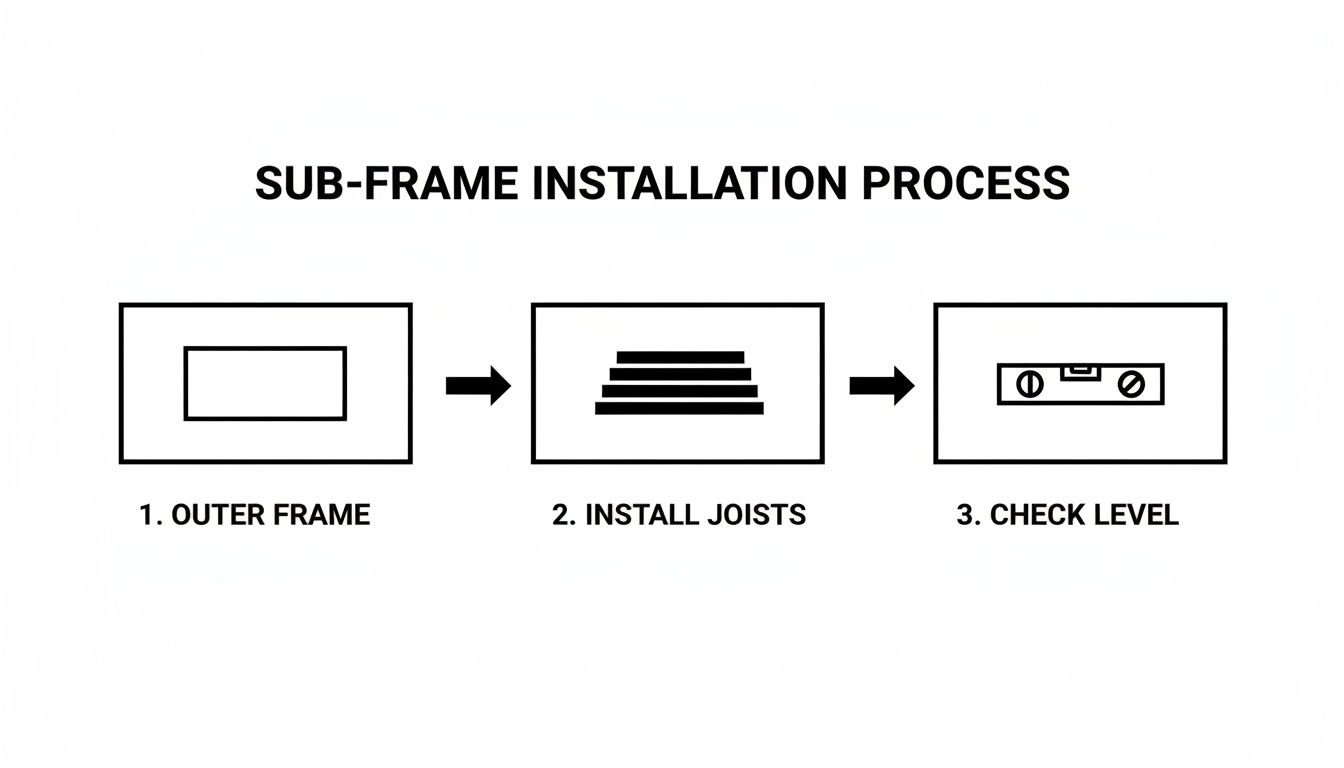
This diagram shows the core stages of getting the sub-frame right—building the outer frame, installing the joists, and levelling everything up. All this has to be spot-on before that first board goes down. It's a great reminder that a beautiful deck surface is completely dependent on the quality of the structure you can't see.
How you attach the boards to the joists has a big impact on both the look and the lifespan of your deck. The two main ways to go about it are traditional face-screwing or using a more modern hidden clip system. Each has its pros and cons.
Face-Screwing is the classic method, where you drive screws straight through the face of the board into the joist below. It’s strong, simple, and generally the most budget-friendly option. The secret to making it look professional is keeping all your screw lines perfectly straight and evenly spaced.
Hidden Clip Systems are made for grooved decking boards, which are common with composite materials. These clips slide into the grooves on the side of the boards and are then screwed into the joists. The result is a clean, seamless surface with no screws in sight. While it gives a premium finish, this method costs more and can be a bit more fiddly to install.
For most timber projects here in the North of England, face-screwing is still the go-to for its sheer reliability. Whatever you choose, it’s vital to use the right fixings. High-quality, corrosion-resistant screws are a must to stop rust stains and ensure a secure, lasting hold. If you're weighing up your options, our guide on stainless steel deck screws has some great advice for picking the best ones for your project.
One of the most critical details is the gap you leave between each board. This isn't just for looks; it's essential for drainage and giving the timber space to expand and contract with the UK's ever-changing weather.
A consistent gap of 5-8mm is the industry standard for most pressure-treated softwood. An easy trick is to use a proper decking spacer tool, or even just a spare nail, as a guide while you work. Forgetting this gap is a fast track to buckled, warped boards down the line.
This spacing lets rainwater drain away properly, stopping it from pooling and causing premature rot. It also allows the timber to breathe, which is fundamental to its long-term health and stability.
If your deck is longer than a single board, you'll need to join boards end-to-end. The golden rule here is to stagger the joints, just like brickwork. This simple technique avoids creating a weak seam right across the deck and makes the whole structure much stronger and more stable.
A good rule of thumb is to make sure each end-joint is at least two or three joists away from the joint in the row next to it. This spreads the load more evenly and also creates a more pleasing, random visual pattern that looks far more professional than having all the joints lined up.
When you’re fixing boards down, especially near the ends, always pre-drill pilot holes for your screws. Timber, particularly treated softwood, has a nasty habit of splitting if you drive a screw in too close to the edge without a pilot hole.
This simple action takes a few extra seconds per screw but will save you the headache and cost of split, wasted boards. Your pilot hole should be slightly smaller than the screw's diameter to ensure it still bites and holds tight. Experience from countless installations shows this one step can cut material waste by as much as 15%.
Following a precise layout is critical for a deck's longevity. Research shows that decking failures drop by 50% when boards are laid perpendicular to joists set at 400-600mm centres, using 65mm galvanised screws to meet structural load standards. Ensuring a 10-15mm air gap underneath for ventilation is also vital, as poor airflow is a leading cause of rot in UK decks. You can discover more insights about treated wood and its performance on grandviewresearch.com.
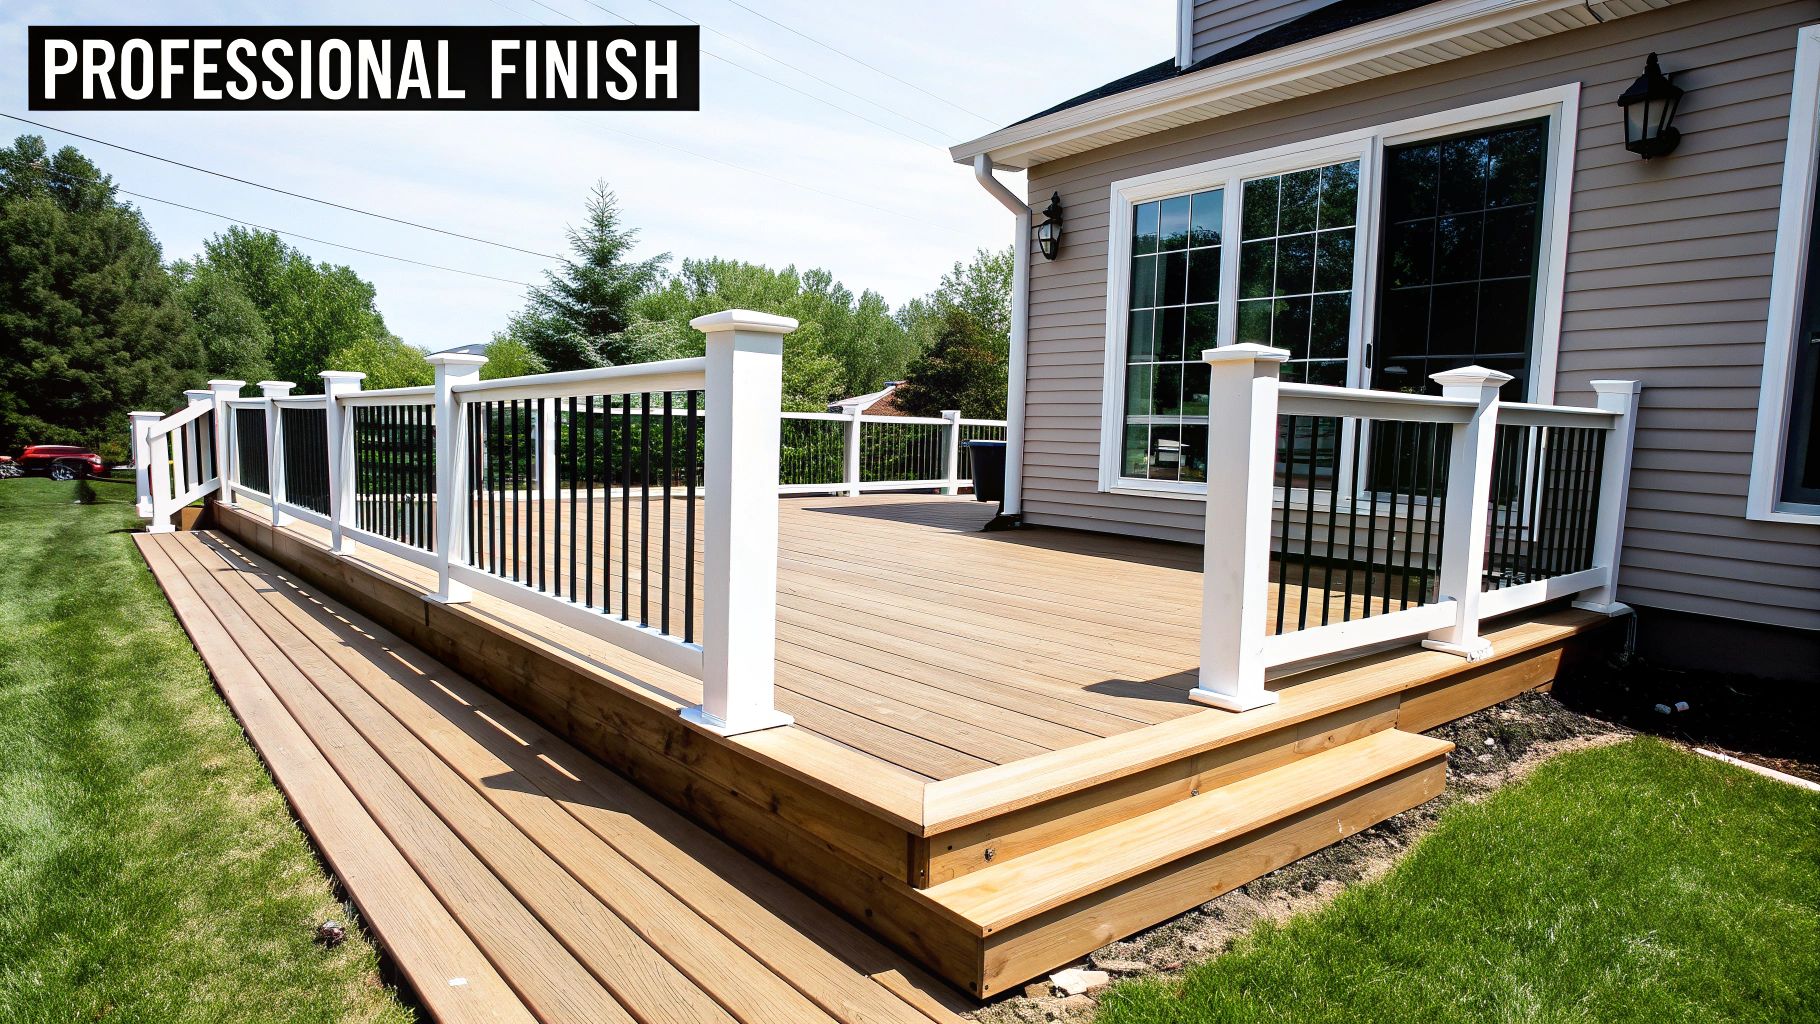
With the main surface of your deck laid, you’re on the home straight. But it’s these final details that truly separate a decent DIY job from a professional-quality installation. Finishing touches aren't just about looking good; they add durability, hide rough edges, and make the whole structure safe for years of enjoyment.
This is the stage where a functional platform becomes a real standout feature in your garden. From getting the perimeter cuts dead-on to installing stylish borders, every detail contributes to that polished, high-end appearance.
First things first, let's get those edges clean and uniform. You’ve almost certainly got uneven, overhanging board ends, and trimming them flush is essential for a sharp, tidy look.
The best tool for this job is a circular saw guided by a straight edge—it’ll give you a perfectly straight cut every time. For trickier spots or tight corners, a jigsaw offers more control. The goal is a crisp, clean line that defines the deck’s final shape.
Now, what about the exposed joist ends and the cut edges of your decking boards? Leaving them visible can look unfinished. This is where fascia boards or a picture-frame border make all the difference.
A picture-frame design not only looks fantastic but also helps to define the space, especially on larger decks. It does require some careful mitre cuts at the corners for a seamless join, but the result is absolutely worth the extra effort.
A key benefit of a picture frame is that it neatly contains the main decking area, offering a more deliberate and high-end design. It's a technique that instantly separates a standard deck from a custom-built one.
If your deck sits more than 30cm off the ground, steps and a balustrade aren't just a nice-to-have—they're essential for safety. And they need to be just as robustly built as the deck itself.
When building steps, make sure the risers (the vertical height) and treads (the horizontal depth) are consistent to avoid creating a trip hazard. The supporting framework for the steps, known as stringers, must be securely bolted to the main deck frame.
Your balustrade is the primary safety barrier, so it needs to be solid. In the UK, regulations state that for a raised platform, the balustrade must be at least 1100mm high, with no gap wider than 100mm. This is crucial for preventing children from squeezing through.
While traditional timber spindles are a popular choice, modern materials can completely transform the look of your deck. Homeowners across the North of England are increasingly choosing sleek, contemporary designs. If you're looking for a stylish yet secure option, you can learn more about integrating striking and durable glass panel decking into your project. This choice offers a safe and visually stunning perimeter that opens up the space without obstructing the view of your garden.
With the final board screwed down and the edges looking sharp, your new deck is officially built. But hold off on the celebrations for just a moment — the job isn’t quite finished. To make sure your investment stands up to the famously damp and unpredictable UK climate, a little proactive care now will pay dividends for years to come.
Getting a simple maintenance routine in place from day one is the secret to getting the most out of your deck's lifespan. It’s all about stopping small issues from turning into major headaches and keeping the surface looking its best, so it remains a safe and inviting space.
Timber is a fantastic, natural material, but it needs a bit of help to fight off moisture and UV damage. Your first line of defence is a quality decking treatment, whether you go for an oil or a stain.
A crucial tip for new pressure-treated timber decks: you have to let them weather for a few months before you even think about applying a treatment. This gives the initial preservatives time to settle and lets the excess moisture in the wood dry out. If you don't, the oil or stain just won't soak in properly. As a rule of thumb, plan to treat your deck once a year, ideally in spring, to get it ready for the summer months.
If you've chosen composite boards, congratulations – your maintenance schedule is going to be far simpler. The clever blend of wood fibres and recycled plastic makes composite decking incredibly resistant to rot, warping, and insect attacks. You can forget about annual sealing or staining.
However, "low-maintenance" doesn't mean "no-maintenance". A regular sweep to get rid of leaves and other garden debris is still important. If you let organic matter sit, it can trap moisture and become a breeding ground for mould or algae. For a deeper clean, a simple wash with soap and water a couple of times a year is usually all it takes to keep it looking fresh.
In the UK, the move towards easier-to-care-for options is undeniable. The composite decking market is projected to see a robust 13.7% compound annual growth rate from 2025 to 2033. Capped composites, prized for their superior UV and slip resistance, are especially popular. This technology can slash maintenance tasks by as much as 80% and potentially save homeowners between £200-£500 a year on treatments alone. You can learn more about the UK composite decking market trends here.
No matter what your deck is made of, getting into the habit of a quick annual inspection is a smart move. It’s a simple walk-around that helps you catch any potential issues before they escalate into costly repairs.
Here’s what to keep an eye out for:
No matter how carefully you plan, a few head-scratchers are bound to pop up during a decking project. It happens to everyone. Drawing on years of hands-on experience, we’ve put together a list of the most common queries we hear from DIYers, answered with practical, straightforward advice based on UK standards.
Think of this as your go-to guide for those tricky moments. Nailing these details is the key to a deck that’s not just stunning but also safe, compliant, and built to last.
This is a classic, and the answer has two parts: one for strength, one for looks.
Structurally, your decking boards must always be laid perpendicular (at a 90-degree angle) to the joists. If you lay them parallel, there's nothing underneath to support them, and you’ll end up with a dangerously weak and bouncy deck. Simple as that.
Aesthetically, running the boards parallel to the longest wall of your house often looks best. It creates a seamless flow from inside to out, making your garden feel like a natural extension of your home. You should also think about drainage. If your boards are grooved, lay them so the grooves run away from the house – it’s a simple trick to help channel rainwater off the deck.
Joist spacing is absolutely critical. Get it wrong, and you're building in a spongy, unsafe bounce from day one. The maximum spacing isn't a one-size-fits-all number; it depends entirely on your chosen decking material.
When in doubt, go closer. Reducing the spacing between joists only makes your sub-frame stronger. Pushing it beyond the recommended maximum is a guaranteed recipe for a sagging deck down the line.
For most straightforward decking projects in the UK, the answer is no – it falls under 'permitted development'. But don't assume you're in the clear, as there are some very important exceptions.
You will almost certainly need to apply for planning permission if your deck:
Be extra cautious if you live in a designated area like a National Park (such as the nearby Yorkshire Dales or Peak District) or a conservation area, where the rules are much stricter. Before you lift a single tool, the safest move is always to have a quick chat with your local planning authority.
Leaving a consistent gap between each board isn't optional – it's essential. This gap does two crucial jobs: it lets rainwater drain away freely and gives the timber room to expand and contract as the weather changes.
For pressure-treated softwood, a gap of 5-8mm is the industry standard. A simple pro tip is to use a dedicated decking spacer tool or even a chunky nail to keep the gap uniform as you fix each board down.
With composite decking, the required gap can vary a lot between brands. It's absolutely vital you consult the manufacturer's installation manual. Skipping this step will cause your boards to buckle and warp when the seasons change, and it could completely ruin all your hard work.
At Binks Glass Solutions, we specialise in helping homeowners across Harrogate and the North of England add that premium, professional finish to their decking with our stunning glass balustrade systems. If you're ready to elevate your new outdoor space with a touch of modern elegance, we’re here to help.
Get in touch with our local experts today for a no-obligation quote.