
How to Install a Staircase a Complete Homeowner’s Guide
Before you even think about picking up a tool, your staircase project needs a solid plan. It's all about getting […]

Before you even think about picking up a tool, your staircase project needs a solid plan. It's all about getting […]
Before you even think about picking up a tool, your staircase project needs a solid plan. It's all about getting the measurements right, picking a style that works for your home, and understanding how your material choices—like glass—will affect the structure from day one. A well-thought-out plan is truly the most critical factor in getting a result that’s safe, compliant, and looks fantastic.
Starting a staircase installation can feel like a huge task, but if you break it down into a clear plan, the whole process becomes much more manageable. Before any sawdust flies, your focus needs to be on creating a detailed blueprint. This first stage is more about tape measures and sketches than hammers and nails, but these decisions will define the project's success.
Think of this plan as the foundation for the entire installation. One small miscalculation here can spiral into expensive mistakes, serious safety issues, or a final look that just doesn't hit the mark. From our experience helping homeowners across the North of England, from Leeds to Cheshire, the projects that run smoothest are always the ones that started with the most meticulous planning.
The first practical job is to get the exact dimensions of the area where the staircase will go. When it comes to measurements, precision is everything.
A critical tip from the field is to take every single measurement at least twice. Floors and ceilings are rarely perfectly level, so measuring in a few different spots and using the average can save you from nasty surprises later on.
These two core measurements—the rise and the run—are the bedrock of your entire design. They determine how many steps you'll need, the height of each riser, and the depth of each tread, all of which are strictly controlled by UK Building Regulations.
Once you have your dimensions sorted, you can start thinking about the style of staircase you want. The layout of your home is going to be a massive influence here. A sprawling, open-plan barn conversion in Cumbria has completely different options compared to a terraced house in York.
As you draw up your blueprint, think about how the design will work with the rest of your home's look, especially if you're working with modern home plans. A sleek, minimalist staircase with a glass balustrade is a natural fit for contemporary architecture, while a classic timber design might be better suited to a traditional property.
This planning stage is also the right time to consider how your project fits into the bigger picture. The UK home improvement market was valued at a massive £11.2 billion in 2024 and is expected to grow to £16.67 billion by 2033. While things like loft conversions get a lot of attention, you can see from these UK home renovation statistics that homeowners are increasingly focused on staircase improvements. This shows a growing trend towards staircases that are more than just functional—they’re becoming central design features and a valuable investment.
Before a single tool comes out, it’s absolutely vital to get your head around the legal side of things. Installing a new staircase isn’t just about looks; it must meet the strict safety standards set out in UK law. Getting this wrong isn't just a slap on the wrist—it's a legal requirement that building control inspectors will check, and a failed inspection can stop your project dead in its tracks.
For any home in England, these rules are laid out in a government guide called Approved Document K (Protection from falling, collision and impact). Don't worry, you don't need to be a lawyer to understand it. The core ideas are all about making sure your new staircase is safe for absolutely everyone, from young children to the elderly. Whether you’re working on a period property in Harrogate or a modern build in York, these rules are non-negotiable.
This diagram helps visualise the core elements you’ll be juggling during the design phase—the dimensions, the style, and the materials. Every single one is directly tied to the building regulations we’re about to cover.

The first thing a building inspector will look at is the fundamental geometry of your stairs. These rules are there for a very good reason: to stop a staircase from being too steep or having steps that feel awkward or unsafe.
A great rule of thumb we use in the trade is this: twice the rise plus the going (2R + G) should fall somewhere between 550mm and 700mm. If your maths checks out here, you're on the right track for a staircase that's both comfortable and compliant.
To make things easier, here's a quick reference table summarising the key measurements from Approved Document K that you'll need for a standard domestic staircase.
| Staircase Element | Requirement (Domestic) | Why It Matters |
|---|---|---|
| Max Pitch | 42 degrees | Prevents the staircase from being too steep and difficult to climb. |
| Step Rise | 150mm (min) to 220mm (max) | Ensures steps are a comfortable and consistent height, reducing trip hazards. |
| Step Going | 220mm (min) | Provides enough space for a secure footing on each tread. |
| Headroom | 2 metres (min) | Guarantees enough clear height to prevent users from hitting their head. |
| Handrail Height | 900mm (min) | Positions the handrail at a safe and accessible height for support. |
| Balustrade Gaps | No gap can allow a 100mm sphere to pass through | A critical child safety rule to prevent falls through the barrier. |
This table is a great starting point, but always remember that a professional survey is the only way to guarantee full compliance for your specific project.
Another non-negotiable safety check is headroom. You need to make sure there's enough clear space above the stairs so that no one risks hitting their head. The minimum headroom, measured vertically from the pitch line (an imaginary line running up the nosing of the treads), is 2 metres.
In specific situations like a loft conversion where the roofline limits space, you might get away with 1.9 metres at the centre of the stair width. But honestly, you should always aim for the full 2 metres wherever possible for comfort and straightforward compliance.
Landings are just as important. You must have a clear landing at the top and bottom of every flight of stairs. The key rule here is that the landing's length and width must be at least as big as the narrowest part of the staircase. It gives people a safe place to stop, turn, or open a door without stepping backwards onto the stairs.
Once the steps themselves are sorted, your focus shifts to the balustrade—the protective barrier. These rules are especially critical if you're planning a modern staircase with glass panels.
This 100mm rule is precisely why professionally designed glass balustrade systems are so crucial. The clamps, channels, and panel dimensions are all engineered to work together to ensure these gaps are never exceeded. When you source a system from a specialist, like us here at Binks Balustrades, you get the peace of mind that every component has been tested to meet and exceed these safety standards. This makes getting approval from building control in places like Leeds or Darlington a much smoother process. For more helpful advice on selecting the right system, you might find our homeowner's blog for the North of England useful.
The materials you pick are what will ultimately define the character, durability, and feel of your new staircase. This isn't just about looks; it's a practical decision balancing your budget, the style of your home, and how much time you're willing to spend on maintenance down the line.
Getting this choice right is what turns a simple staircase into a real centrepiece.
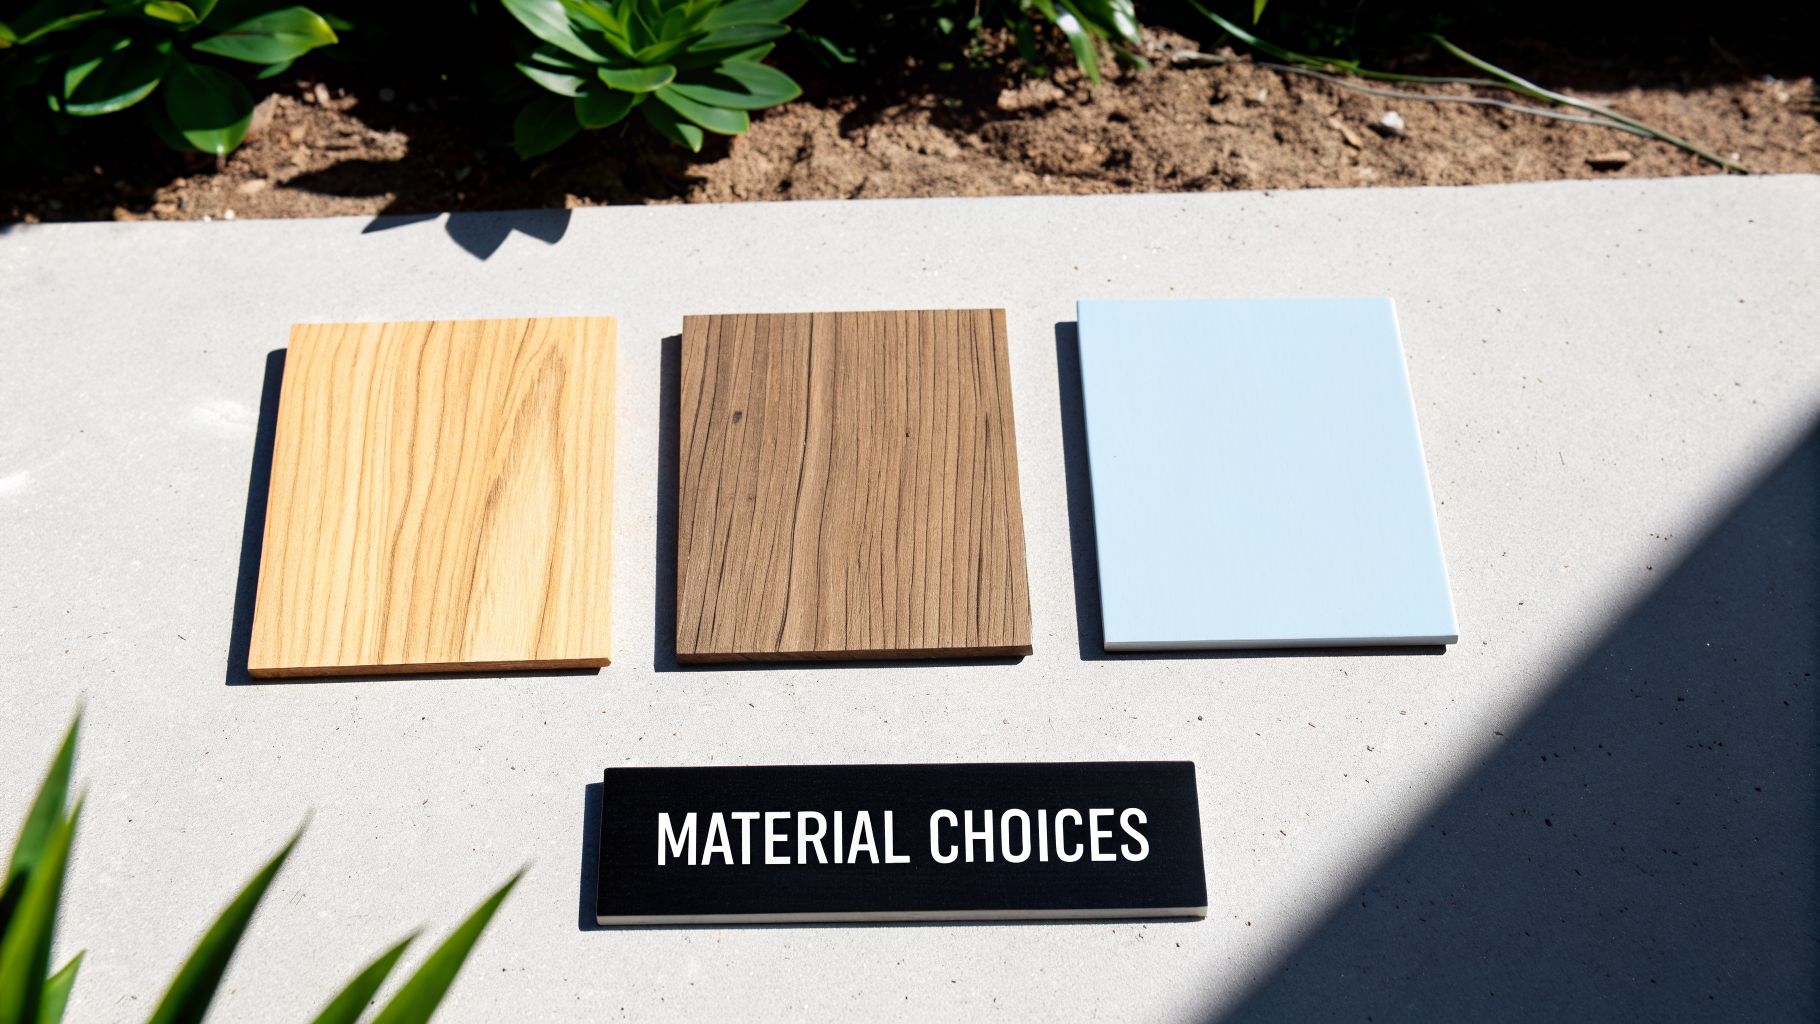
From the timeless warmth of traditional timber to the clean, modern lines of glass, your options are broad. Let's break down the pros and cons of the most popular choices so you can make a decision you’ll be happy with for years.
For centuries, timber has been the go-to for staircases, and for very good reason. It brings a natural warmth and classic appeal that works in almost any home, whether it’s a traditional terrace in Hull or a rustic barn conversion in the Yorkshire Dales.
Your main timber choices usually fall into one of these categories:
While a full timber staircase is a classic, some of the most exciting designs we see today are all about mixing materials. This approach lets you combine the best qualities of different elements to create something truly striking and personal.
There’s been a major shift towards modern, light-filled aesthetics, and open-plan staircases with glass balustrades are becoming a signature of contemporary design. You’ll often see beautiful combinations like warm oak treads paired with sleek glass panels and brushed steel fixings. As noted in a recent look at modern design trends shaping homes, this approach transforms a staircase from a purely functional item into an architectural focal point.
Combining materials is where you can truly inject personality into your project. Imagine the rich, solid feel of an oak handrail contrasting with the almost weightless appearance of a clear glass balustrade. This pairing brings light, texture, and a high-end feel to any hallway.
A popular combination we install across the North of England is using oak for the parts you touch and see most—the handrail and newel posts—while using toughened glass for the balustrade panels. This design maximises the flow of natural light, making hallways and landings feel significantly bigger and brighter. You can explore how these elements come together in our guide on choosing a stair balustrade kit.
If you’re planning to install a staircase with a glass balustrade, picking the right type of glass isn’t just about aesthetics—it’s a critical safety requirement. Standard window glass is never an option. You must use safety glass specifically engineered to withstand impacts and provide a secure barrier.
You will come across two main types:
For most home projects, 10mm toughened safety glass is the industry standard. It provides a robust, beautiful, and fully compliant solution. Sourcing your glass from a specialist ensures it meets and exceeds the required British Standards, giving you complete peace of mind.
Right, you’ve got your plans finalised and the materials have arrived. This is the exciting part—where sketches and ideas become a solid, tangible part of your home. It’s where timber, glass, and steel start to look like a proper staircase.
But this stage is all about precision and patience. While some parts might seem straightforward for a keen DIYer, remember that fitting a staircase is structural work. A mistake here isn't just a cosmetic issue; it's a safety one. Let's walk through the key stages so you know what’s involved, whether you're tackling it yourself or keeping a close eye on your hired pros.

First things first, the old staircase has to go. This isn't a demolition job with a sledgehammer. It’s a careful disassembly, done with real care to avoid trashing your walls, plasterwork, and flooring.
Once the space is clear, it's time for a proper inspection. You need to get a good look at the floor joists where the new stairs will land at the top and bottom. Are they solid? Level? Any signs of rot or damage? These joists are the foundation for your new flight, so they have to be absolutely sound.
This is a non-negotiable safety check. Weak joists mean an unsafe staircase, no two ways about it.
With a clear, solid site, the main build can begin. Most standard staircases arrive in kit form, consisting of two main 'strings' (the diagonal boards holding the steps), the treads you walk on, and the risers (the vertical parts between steps).
The build-up generally follows this path:
Pro Tip: Want to avoid that dreaded staircase squeak? Use a high-quality construction adhesive in every single joint where timber meets timber. It creates an unbreakable bond that stops the tiny movements that cause noise down the line.
The newel posts are the bedrock of your balustrade. These are the big, chunky posts at the top, bottom, and any turns, and they provide the main structural support for your handrail and glass panels.
Getting these right is absolutely critical for a safe, sturdy balustrade. They must be bolted securely to the floor joists or directly into the new staircase string itself. A wobbly newel post means a wobbly, unsafe balustrade—it's that simple.
Once the newels are rock-solid, the handrail is measured, cut to the perfect length, and fixed between them. This creates the top line of your safety barrier and requires precise angles and strong joints. For a more detailed look at this specific job, you can find out more about how to install stair railings and the techniques needed.
Now for the finishing touch. Fitting a glass balustrade is a job of pure precision. The concepts might be simple, but the execution has to be flawless for both safety and that high-end look. This is often where even the most confident DIYer decides to bring in a specialist.
The process varies a little depending on your chosen fixing style:
The final act is carefully lifting each heavy panel of toughened safety glass into place, a job for specialised suction cups. Every panel is meticulously spaced and levelled before being secured for good. The end result is a balustrade that feels incredibly solid yet allows light to pour through your home, completely changing the feel of the space.
Before you even think about designs, getting a firm grip on the investment required is one of the most important steps to install a staircase. A clear budget does more than just prevent financial surprises; it focuses your design choices, making sure your grand vision aligns with what you’re actually prepared to spend.
The final bill for a new staircase really comes down to a mix of three things: materials, the complexity of the design, and the labour involved. Costs can vary dramatically, so let’s get into what you can expect.
A simple, straight flight made from affordable pine or MDF (perfect for painting) will always be your most budget-friendly route. On the other end of the spectrum, a bespoke curved staircase in premium oak with a custom glass balustrade represents a much more significant investment.
The materials you settle on will be the single biggest driver of the price. A basic pine staircase might set you back a few hundred pounds for the materials, but swapping that for a beautiful hardwood like oak can easily triple the cost from the get-go.
Your design choices also make a massive difference. Here are a few examples to put it into perspective:
To plan your project properly, you have to understand the full financial picture. The same logic applies to other home improvements; looking at a comprehensive budgeting guide for installation costs can offer some great insights. While it focuses on fencing, the principles of breaking down materials, labour, and unexpected costs are universal for any home renovation budget.
Never underestimate the cost of professional labour. It's a huge part of the budget for a very good reason—fitting a staircase is skilled structural work that is fundamental to the safety of your home.
Across the UK, you can expect a good carpenter or joiner to have a day rate of around £200 to £300. This will vary a bit depending on where you are and their level of experience.
A simple, like-for-like straight staircase replacement might be a 1-2 day job for a professional. But if you’re looking at a more complex installation involving structural changes, a bespoke design, or an intricate balustrade, it could easily take a week or more. Always get detailed quotes that clearly separate the costs for materials and labour.
For an even more detailed breakdown of what to expect, you might find our guide on the cost to install a staircase useful.
It's always a smart move to set aside an extra 10-15% of your total estimated cost as a contingency fund. This little buffer can be a lifesaver for those unexpected issues, like needing to reinforce floor joists or dealing with minor plastering repairs once the old staircase is ripped out.
According to recent industry data, the average cost for a standard UK staircase installation falls somewhere between £1,500 and £4,000. While a basic straight staircase can be supplied and fitted for as little as £750, premium options climb quickly; bespoke glass staircases can average £15,000 and metal ones around £6,000. Labour is a major factor, with carpenter day rates hovering around £250, which really shows how important it is to get professional quotes. You can explore more data on staircase installation prices on Checkatrade.
To give you a clearer idea of how these factors come together, we've put together a rough guide to typical costs. Remember, these are just estimates—your final price will depend on your specific design, location, and chosen installer.
| Staircase Type | Average Material Cost | Estimated Total Installed Cost |
|---|---|---|
| Basic Pine (Straight) | £300 – £600 | £750 – £1,800 |
| MDF for Painting (Straight) | £400 – £700 | £900 – £2,000 |
| Standard Oak (Straight) | £1,200 – £2,500 | £2,500 – £5,000 |
| Oak (Quarter-Turn) | £1,800 – £3,500 | £3,500 – £7,000+ |
| Bespoke Glass & Steel | £5,000+ | £8,000 – £15,000+ |
As you can see, the jump from a simple, functional staircase to a custom architectural feature is significant. The key is to find the right balance between the look you want, the materials you love, and a budget you're comfortable with.
Embarking on a staircase installation is a major step, and it’s completely normal to have questions swirling around. After all, this is a significant structural and design feature of your home. We get calls from homeowners all over the North of England, and many of the same queries pop up.
Getting clear, straightforward answers now can save you a world of headaches later on. Let's tackle some of the most common questions we hear.
This is the big one, and the answer really hinges on the scale of your project. If you're doing a straightforward, like-for-like replacement—pulling out the old stairs and putting the new ones in the exact same spot—you generally won't need planning permission.
However, you must always adhere to UK Building Regulations. This is non-negotiable. If you're cutting a brand-new opening in a floor, moving the staircase, or making any other major structural changes, you will almost certainly need building regulations approval. In some cases, you might need planning permission too, so it's vital to have a chat with your local council's planning department, whether you're in Manchester or Sheffield, before a single tool is lifted.
While a very skilled DIYer might be able to piece together a basic kit staircase, this is one of those jobs where mistakes are not just costly, but genuinely dangerous. We always advise hiring a qualified joiner or carpenter for the core installation.
Think of it this way: a professional fits staircases every week, while for a homeowner, it might be a once-in-a-lifetime job. The experience and specialist tools a professional brings are invaluable for ensuring the structure is safe, solid, and perfectly fitted.
When it comes to more specialised elements like glass balustrades, an experienced fitter is absolutely essential. This isn't just about getting that flawless, high-end finish; it's about making sure every single component is installed safely and meets strict regulations. A good compromise can be to let a pro handle the structural work, then you can take over the finishing touches like painting yourself.
The timeline can vary quite a bit. For a standard, straight-flight replacement, a good professional can often have the job done in just 1-2 days.
Of course, more complex projects will naturally take longer, sometimes stretching to a week or more. This is common for installations that involve:
Don't forget, that's just the installation itself. You'll need to factor in time for follow-up jobs like plastering, decorating, or fitting new flooring around the base and top of the stairs. Always get an estimated project duration when you're collecting quotes.
One of the best features of glass balustrades is just how easy they are to keep looking pristine. For any timber elements like the handrail or newel posts, all you need is a quick wipe-down with a soft, damp cloth.
As for the glass panels, you can forget about expensive chemical cleaners. A simple bowl of water with a dash of washing-up liquid and a microfibre cloth is the secret weapon for a streak-free, sparkling finish. It's also wise to give the clamps and fixings a quick check every so often, just to make sure nothing has worked its way loose over time.
At Binks Balustrades, we provide expert advice and high-quality glass balustrade systems for homeowners across the North of England. If you're planning a staircase renovation and want a modern, safe, and beautiful result, we’re here to help. Get in touch with our friendly team to discuss your project.