
A Guide to Installing Sliding Glass Patio Doors
Getting your sliding door project started on the right foot is about more than just picking a pretty frame. A […]

Getting your sliding door project started on the right foot is about more than just picking a pretty frame. A […]
Getting your sliding door project started on the right foot is about more than just picking a pretty frame. A truly successful installation begins with some solid planning, a realistic budget, and a good grasp of the local building rules. It’s about choosing the right materials for our often-unforgiving Northern climate and making sure any structural work, like adding a lintel, is planned for from day one.
Before you even think about picking up a tool, the groundwork for a great installation needs to be laid. This is especially true for us here in Northern England. Whether you're in a classic Yorkshire stone cottage or a new build in Manchester, our homes have unique character and face weather that demands a bit of extra thought.
Jumping into a project like this without a clear plan is a recipe for surprise costs, headaches with building control, and a finished job that just doesn’t hit the mark. A bit of proper preparation ensures your new doors don't just look the part but perform perfectly for years. It’s all about asking the right questions now to save yourself time, money, and hassle later on.
Choosing a new door isn’t just about what you like the look of; it's about finding something that feels right for your home and is legally compliant. The style needs to complement the building, whether that’s a period property in Harrogate or a contemporary home near Leeds.
Aesthetics aside, you've got to think about UK Building Regulations. The UK door market, valued at a massive £2.41 billion in 2023, is now heavily focused on energy efficiency. For you, this means any new door must meet strict thermal performance standards.
Right now, new doors need to achieve a U-value of 1.4 W/m²K or better. Going for high-performance double or triple-glazed units is a smart move that will genuinely cut down your heating bills.
A critical point that's easy to miss is safety glazing. Any glass in what's called a "critical location"—and that includes all full-height doors—must be toughened or laminated. If it breaks, it has to do so safely. This isn't just a recommendation; it's a legal requirement to keep your family safe.
To help you decide, here’s a quick rundown of the most common materials and how they stack up against the demands of our northern weather.
A straightforward comparison of common sliding door materials to help you select the best fit for your home's style, durability needs, and the local weather.
| Material | Pros | Cons | Best For |
|---|---|---|---|
| Aluminium | Incredibly strong and durable; allows for very slim frames and huge glass panes; excellent weather resistance; low maintenance. | Can be more expensive upfront; lower-end products may have poor thermal performance without a proper thermal break. | Modern homes and extensions where maximising light and views is the top priority. |
| uPVC | Most budget-friendly option; good thermal insulation; very low maintenance and won't rot or corrode. | Frames are bulkier than aluminium; can discolour over time; less premium feel. | Homeowners looking for a cost-effective, practical, and energy-efficient solution for a wide range of property styles. |
| Timber | Fantastic natural insulator; beautiful, traditional aesthetic; can be painted or stained to any colour. | Requires regular maintenance (staining/painting) to prevent rot; can be expensive; may warp in very damp conditions if not maintained. | Period properties or homes where retaining a classic, warm character is essential. |
| Composite | A hybrid of materials (e.g., timber core with aluminium exterior); excellent thermal performance and durability; low maintenance. | Often the most expensive option; design choices can be more limited than other materials. | Those wanting the best of all worlds: the look of timber with the durability and low maintenance of aluminium. |
Choosing the right material from the start ensures your investment not only looks good but also stands up to the wind, rain, and cold for decades to come.
Nailing down a realistic budget is probably one of the most vital steps. The price tag on the door itself is only one piece of the puzzle. Homeowners, especially those with older properties across Yorkshire and the North, really need to factor in potential hidden costs.
One of the most common surprises is the need for new structural support. If you’re making an opening wider or swapping a window for a big patio door, you’ll almost certainly have to install a new lintel to support the weight of the wall above. Not figuring this out early on can stop your project in its tracks and add a nasty, unexpected bill.
Your budget should always account for:
And don't forget, if your new doors open onto a patio or balcony that’s raised off the ground, you’ll need to think about compliant edge protection. You can find out everything you need to know in our comprehensive guide on building regulations for balustrades. Planning for both the doors and any balustrades at the same time is the best way to get a safe, seamless result.
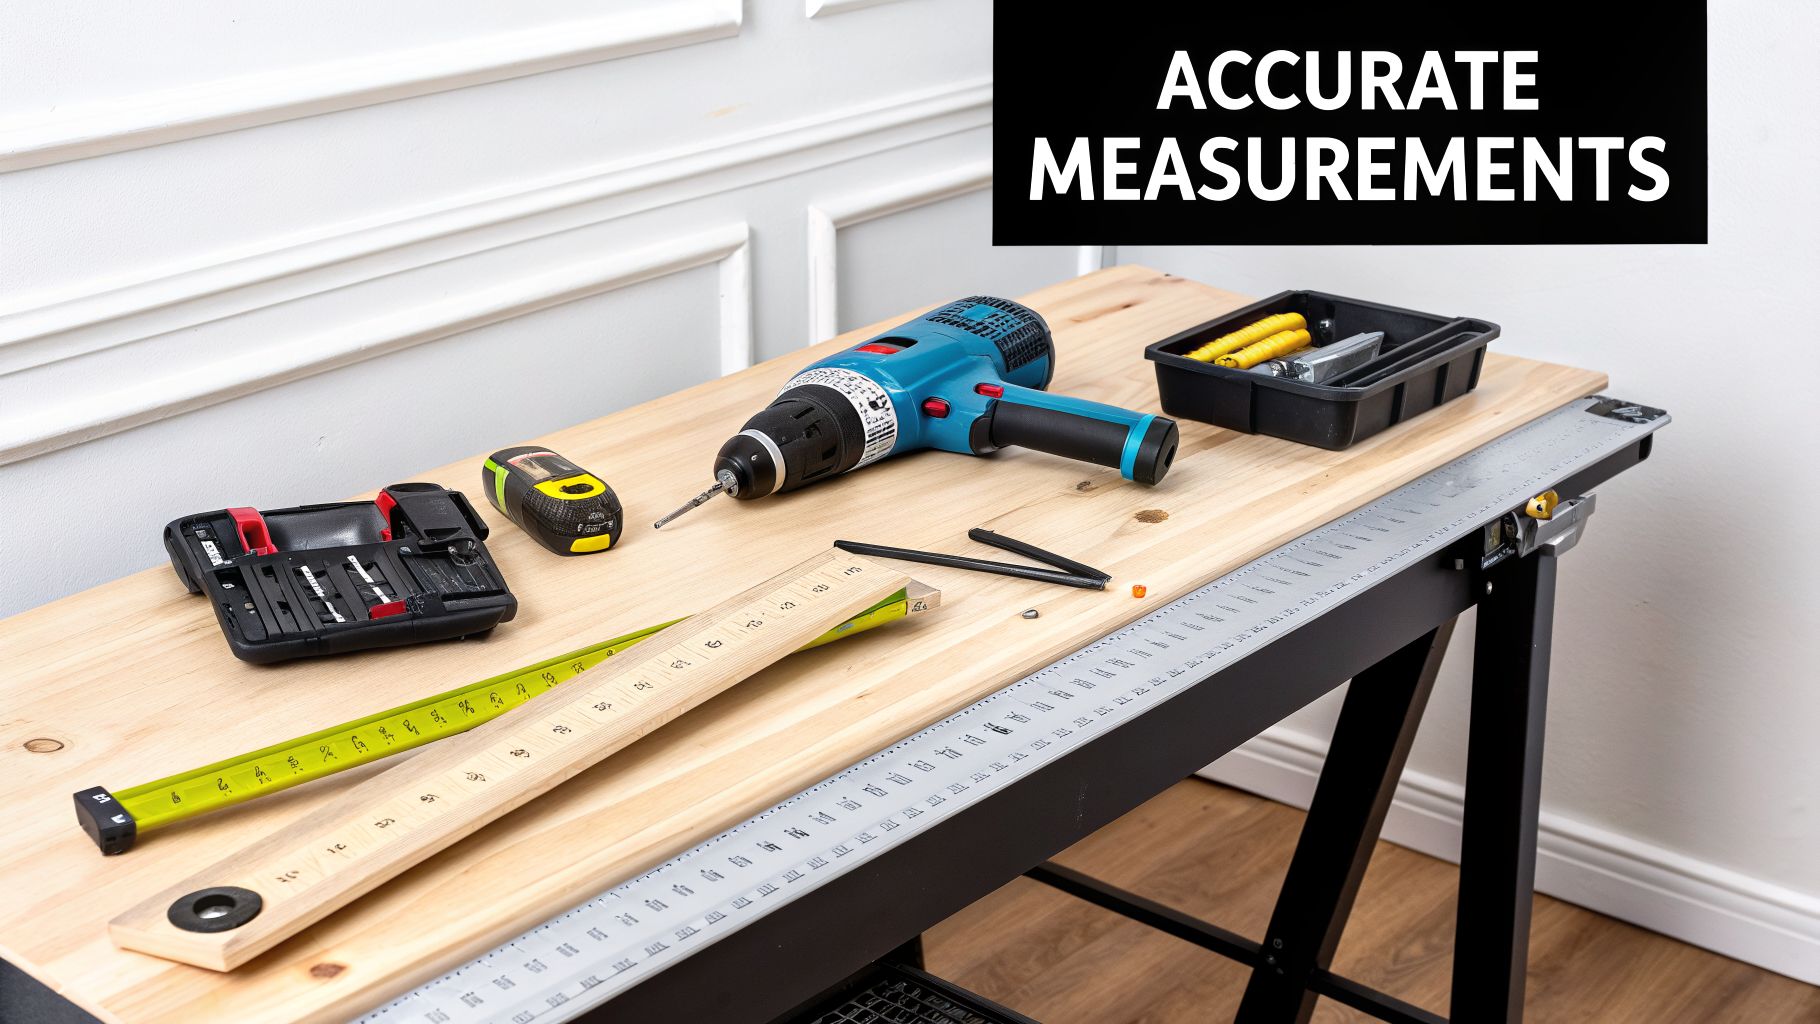
With your ideal door chosen, we move from the drawing board to the practical prep work. This is where the old saying, “measure twice, cut once,” has never been more true. A flawless sliding door installation really boils down to two things: having the right tools on hand and taking meticulously accurate measurements.
Get this stage wrong, and you're setting yourself up for a battle with draughts, leaks, or a door that judders and scrapes in its tracks. A bit of patience here saves a world of grief when you're trying to coax a heavy frame into place.
Turning up to a job unprepared is the quickest way to make it twice as hard. Before you even think about touching the old frame, get your gear laid out and ready. It’s not just about owning a drill; it’s about having the right kind of drill and all the bits that go with it.
Your checklist should be a mix of solid hand tools and a few bits of specialist kit that make the job a whole lot easier and, more importantly, safer.
One of the most common oversights is underestimating just how heavy modern double or triple-glazed units are. A pair of heavy-duty glazing suction cups might feel like an added cost, but they provide the grip and control you need to safely guide a panel weighing upwards of 80kg into position.
Measuring for a new door isn’t just about getting a single height and width. It’s about truly understanding the structural opening you’re working with. This is especially vital in older North of England properties, where perfectly square and plumb walls are a rare find.
Picture an opening in a Harrogate period property. Those old stone walls have likely settled over the decades, meaning the aperture is anything but a perfect rectangle. If you only measure across the middle, you’re in for a nasty shock when your brand-new, perfectly square door frame arrives and won’t fit.
To dodge this bullet, you need to be systematic:
From your smallest height and width, you then subtract a 10-15mm tolerance. This gap is your fitting allowance, giving you the wiggle room to get the frame perfectly level and plumb using packers before sealing it with expansion foam. This principle is fundamental to a good fit, whether you're working on a door or figuring out how to install a glass balustrade; precision and tolerance are everything.
With your measurements double-checked and your tools laid out, we get to the really transformative part of the job. This is where you wave goodbye to the old unit and prepare the way for the new. Taking out an existing door or window and preparing the structural opening—what we call the aperture—is a task that demands a steady hand, a good eye, and a healthy dose of respect for your home’s structure.
This isn't about brute force. A clumsy removal can easily lead to damaged brickwork, cracked plaster, and a much bigger, costlier repair job than you ever planned for. A methodical, careful approach is the key. It protects your property and lays the perfect groundwork for a seamless, weatherproof installation.
Before you even think about picking up a crowbar, your first job is to create a clean, safe work area. You'll be amazed at the amount of dust and debris that opening up a wall can generate, even for a short time. A bit of prep work now will save you hours of cleaning later.
Start by laying down heavy-duty dust sheets both inside and out, taping them securely to the floor. Any furniture that can't be moved to another room should be completely covered with plastic sheeting. It’s also a smart move to seal off the doorway to the rest of the house, especially on one of those characteristically windy Yorkshire days.
The removal process itself will change depending on what you're taking out, but the core principles are always the same:
Always remember that the frame you're removing might have been part of the building's original structure. Go carefully and resist the urge to just start smashing it out. A bit of patience now prevents expensive repairs to your brickwork or render down the line.
Once the old frame is out, you'll have a clear view of the structural opening. This is a critical moment. You must now assess the lintel—the horizontal support beam, usually concrete or steel, that spans the top of the opening and holds up the weight of the wall above.
In many older properties across Northern England, it’s not unusual to find the original window or door frame was actually doing some of the structural work. Taking it out can leave the brickwork above dangerously unsupported. You have to check if a separate, adequate lintel is in place. If there's any doubt whatsoever, or if you've made the opening wider, you must install a new one. This isn’t a suggestion; it's a fundamental safety requirement.
Ignoring a missing or inadequate lintel can lead to sagging, cracks appearing in your walls, and in the worst-case scenario, structural failure. If you're not 100% confident, please get a structural engineer or an experienced builder to take a look. Getting this right is the single most important part of the entire installation.
A beautifully gliding door depends entirely on a perfectly level base. The threshold area where your new door will sit needs to be completely flat and solid. Get your spirit level out and check it across both its width and depth. Any high spots in the concrete or brick can be chiselled down, while any dips should be filled with a good, strong sand and cement mortar mix.
At the same time, you have to think about damp proofing—a constant battle in our often-wet climate. Find the existing damp-proof course (DPC), which is the black plastic membrane you can see in the mortar joint of the brickwork. Your new door's threshold must sit correctly in relation to this DPC to stop moisture from getting across the cavity and causing damp inside your home.
This kind of meticulous prep work is what separates a professional, long-lasting job from a problematic one. It’s also part of a bigger picture. The UK windows and doors market is set to grow from US$8.8 billion in 2025 to US$10.7 billion by 2033, a huge increase driven by homeowners just like you investing in energy-efficient upgrades. To learn more about these market trends, you can read the full research about the UK windows and doors market. Ensuring your new doors are installed perfectly is how you make sure that investment pays off, improving both your home's warmth and its value.
With your aperture now structurally sound, perfectly level, and properly waterproofed, you’re finally ready for the exciting bit—fitting the new frame.
Right, the old doors are out and you’ve got a clean, prepped opening. Now for the good bit. This is where your new sliding patio doors stop being a pile of components and start becoming a part of your home. It’s a stage that’s less about brute force and more about precision and a bit of patience.
Getting this part right is what gives you a door that glides like it’s on air and keeps the Yorkshire weather firmly on the outside. We’ll walk you through setting the frame so it’s perfectly plumb and level, and then cover the right way to handle and tweak those heavy glass panels. This is where the project really comes to life.
This three-step flow shows the basic workflow for preparing the opening, from removal right through to getting a level base.
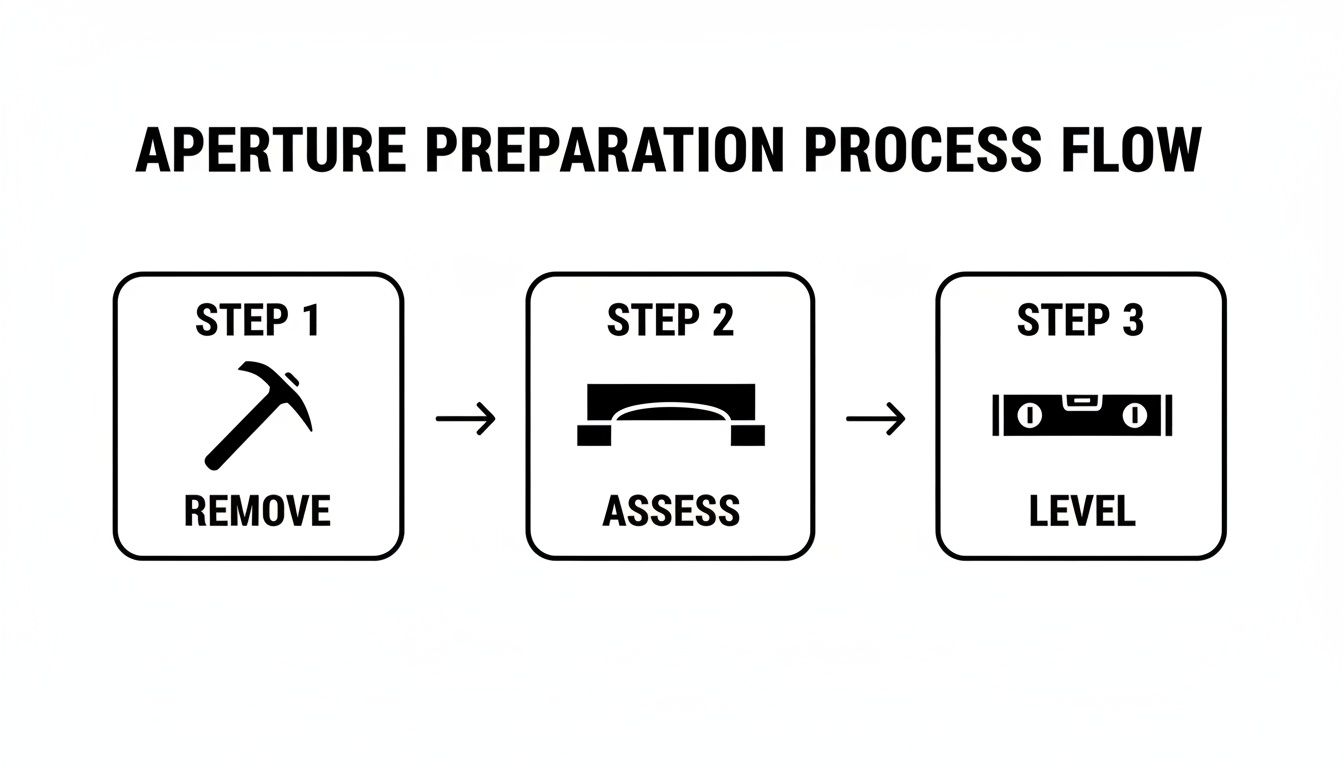
It’s a simple reminder that a fantastic installation is built on a methodical approach, starting with safe removal and ending with a perfectly level foundation.
Your first move is to lift the new outer frame into the prepared opening. Don't even think about picking up a drill yet. The immediate goal is to get it sitting just right, using packers to create a consistent 10-15mm gap all the way around between the frame and the brickwork.
This gap is your wiggle room, your zone for adjustment. Start at the bottom, placing packers under the threshold until your spirit level tells you it’s dead level. Once the base is sorted, you can move on to the sides (the jambs) and the head.
Drill your pilot holes through the frame and into the structure, then loosely drive your fixings home. Don't go tightening them fully just yet – you'll do one last check before you lock it all down.
The most common mistake we see is people overtightening the frame fixings. Cranking them down too hard can easily bow the frame, pulling it inwards. That slight bend is all it takes to make the doors a nightmare to operate. Secure is good; stressed is bad.
This is a non-negotiable two-person job. A modern double or triple-glazed unit is seriously heavy and incredibly awkward. Trying to manhandle one on your own isn’t just asking for trouble, it’s downright dangerous.
Grab your glazing suction cups and get a solid purchase on a panel. Lifting together and talking to each other, carefully guide the top of the sash into the upper channel of the frame. Once it’s slotted in at the top, you can swing the bottom of the panel in and gently lower it onto the rollers in the bottom track.
You should feel it drop into place with a satisfying thud. Give it a gentle slide to make sure the rollers are running freely. Now, do the same for the other sash.
This is the point where you really appreciate the importance of proper safety glazing. To get your head around the options, you can learn more about laminated and toughened glass in our detailed article. Both are engineered to break safely if the worst should happen.
Now for the installer’s secret weapon: the toe-and-heel adjustment. This fine-tunes how the glass unit itself sits inside the sliding sash, which in turn ensures the whole door hangs perfectly square in the outer frame. If your locks don't quite line up or the door scrapes on the track, this is almost always the fix.
You’ll find the adjustment screws on the bottom edge of the sash, usually tucked away behind a small plastic cover.
Taking a few extra minutes to get the toe-and-heel just right is what separates a decent job from a professional one. It’s what delivers that effortless, one-finger glide your doors were designed for and prevents long-term stress on the whole system.
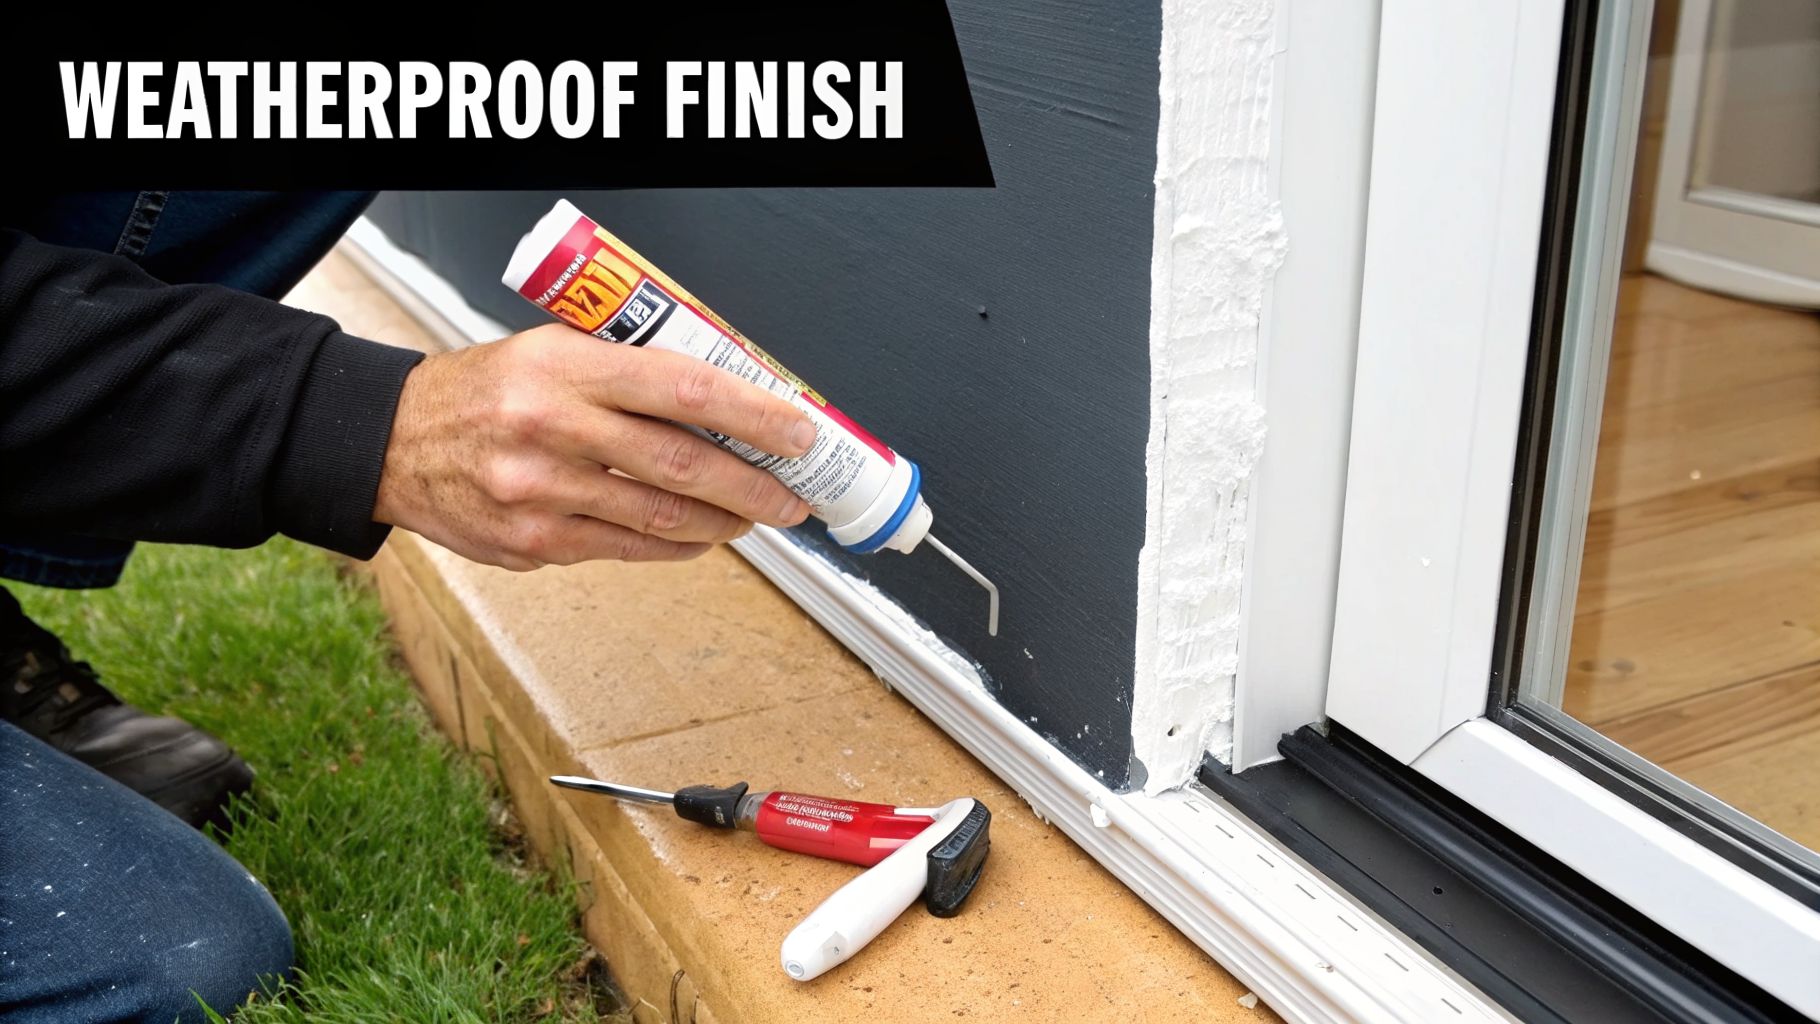
You’ve got the frame in and the doors are gliding perfectly. Now for the bit that really separates a professional job from an amateur one: the sealing and finishing. This is where you make your new installation a truly integrated part of your home, ready to face whatever the Yorkshire weather throws at it.
Getting these final details right ensures your doors are airtight, watertight, and secure. It’s meticulous work, but it’s what delivers that polished, seamless result you’ve been aiming for.
That 10-15mm gap you left around the frame is your crucial defence against the elements. Sealing it properly is non-negotiable for thermal performance and stopping any water from getting in. I always recommend a two-stage approach for a bulletproof, long-lasting seal.
First, grab some low-expansion polyurethane foam and fill the gap between the door frame and the surrounding wall. This stuff is brilliant—it expands to fill every nook and cranny, creating an excellent insulating barrier. Apply it steadily; you don’t need to go mad and overfill it, as it will keep expanding as it cures.
Once the foam is fully cured (always check the can for timings), trim any excess flush with the frame using a sharp Stanley knife. Now you’re ready for stage two: applying a top-quality silicone sealant to create a flexible, waterproof barrier on both the inside and outside.
For the external seal, don't just use any old silicone. You absolutely must use a low-modulus neutral cure (LMN) silicone. It offers fantastic adhesion and, crucially, flexibility. This allows it to cope with the tiny movements between the frame and your brickwork during temperature changes, preventing cracks and failure down the line.
With the frame sealed, it's time to fit the final hardware. This means the handles, the lock keeps on the frame, and any trickle vents your doors might have.
Once the locks are fitted, test everything. The door must lock and unlock easily without you having to lift, shove, or pull the handle. If it feels tight or stiff, you’ll likely need to make a tiny final adjustment to your toe-and-heel settings to get the alignment spot on.
The heavy lifting is done. Now it's time to make good on any mess created during the install. Inside, this usually means sorting out the plasterwork around the new frame. You might be lucky and get away with just a neat bead of decorator's caulk, or you may need to apply a skim of finishing plaster for that perfect, crisp edge.
Externally, you’ll want to tidy up the render or pointing around the frame to create a neat, professional finish. This final touch makes a world of difference to the finished job. It's this level of detail that homeowners are increasingly looking for. This boom is driven by people wanting energy-efficient, high-quality renovations, making a professional-standard weatherproofing job a massive selling point.
Once your new patio door is in, you might think about adding a screen to enjoy those warmer Yorkshire evenings without the bugs. Finding a company that provides custom screen installation can complete the project and add another layer of comfort to your home.
Even the best-laid plans can hit a snag, and when you’re tackling a project as significant as fitting new sliding patio doors, questions are bound to come up. We get calls all the time from homeowners and trades across Yorkshire and the North.
Here are some straight answers to the queries we hear most often, designed to give you the clarity and confidence to get the job done right.
The good news is, for a straightforward swap – replacing your existing doors with new ones of a similar size and style – you’re unlikely to need planning permission. This kind of job typically falls under your ‘permitted development’ rights.
However, the game changes if your plans are a bit more ambitious. You will almost certainly need to contact your local council for planning permission if you’re creating a brand-new opening, making an existing one much wider, or if your property is a listed building or sits within a conservation area. This is a common situation in historic areas like York or the Peak District.
It's always smart to have a quick chat with your local council's planning department before a single tool is lifted. That one phone call can save you a world of headaches and expense down the line, ensuring your project is above board from day one.
A U-value is simply a score for how good a door or window is at keeping heat inside your home. The rule is easy to remember: the lower the U-value, the better the insulation. For anyone living in Northern England, this is a figure you can't afford to ignore.
Current UK Building Regulations (Part L) are very clear: any new doors you install must have a U-value of 1.4 W/m²K or lower. When you're dealing with a large expanse of glass like a patio door, aiming for a product with an excellent U-value is a no-brainer. It keeps your project compliant, makes your home feel cosier, and takes a welcome chunk out of your heating bills.
While a very competent DIYer with a garage full of professional tools might be tempted to give it a go, fitting sliding glass doors is a serious undertaking. The glass units themselves are incredibly heavy and unwieldy, and a small mistake can create massive problems.
We've seen it before – poor DIY jobs leading to persistent draughts, water leaks that cause rot and damp, or misaligned locks that are a security nightmare. If your project involves any structural work, like fitting a new lintel, our advice is unequivocal: hire a professional.
Always look for a FENSA or CERTASS certified installer. This is your guarantee that the work will meet all Building Regulations. It also gives you the official certification you'll need for your records and, most importantly, the peace of mind that the job has been done safely and correctly.
Pairing sleek sliding doors with a glass balustrade to create a 'Juliet' balcony is a fantastic way to open up a room. It’s a stylish, modern choice that floods a space with light. The absolute key to getting this right is planning the integration from the very beginning.
You have to coordinate the fixings for the balustrade with the door installation to guarantee the whole setup is safe, secure, and looks seamless. For example, a frameless glass balustrade can be fixed directly into the brickwork or structure right beside the door frame, giving you that stunning, clean, and uninterrupted view.
As you plan, it's also a good time to think about keeping summer pests out. You can find all sorts of fly screens specifically designed for sliding glass doors that can often be integrated cleanly with the door system if you factor them in early.
Planning a project that combines stunning new sliding doors with a safe, elegant glass balustrade? The team at Binks Balustrades has the local expertise to help you get it right. Contact us today for specialist advice and a no-obligation quote.