
Your Guide to Wire Balustrade Kit Systems
Think of a wire balustrade kit as a complete, ready-to-go system for creating a sleek, modern safety barrier. Instead of […]

Think of a wire balustrade kit as a complete, ready-to-go system for creating a sleek, modern safety barrier. Instead of […]
Think of a wire balustrade kit as a complete, ready-to-go system for creating a sleek, modern safety barrier. Instead of using traditional wooden spindles or solid glass panels, these systems rely on high-tension stainless steel wires stretched taut between posts.
Their main draw? They offer robust, reliable safety while preserving almost completely unobstructed views, making them a hugely popular choice for modern homes and commercial spaces.
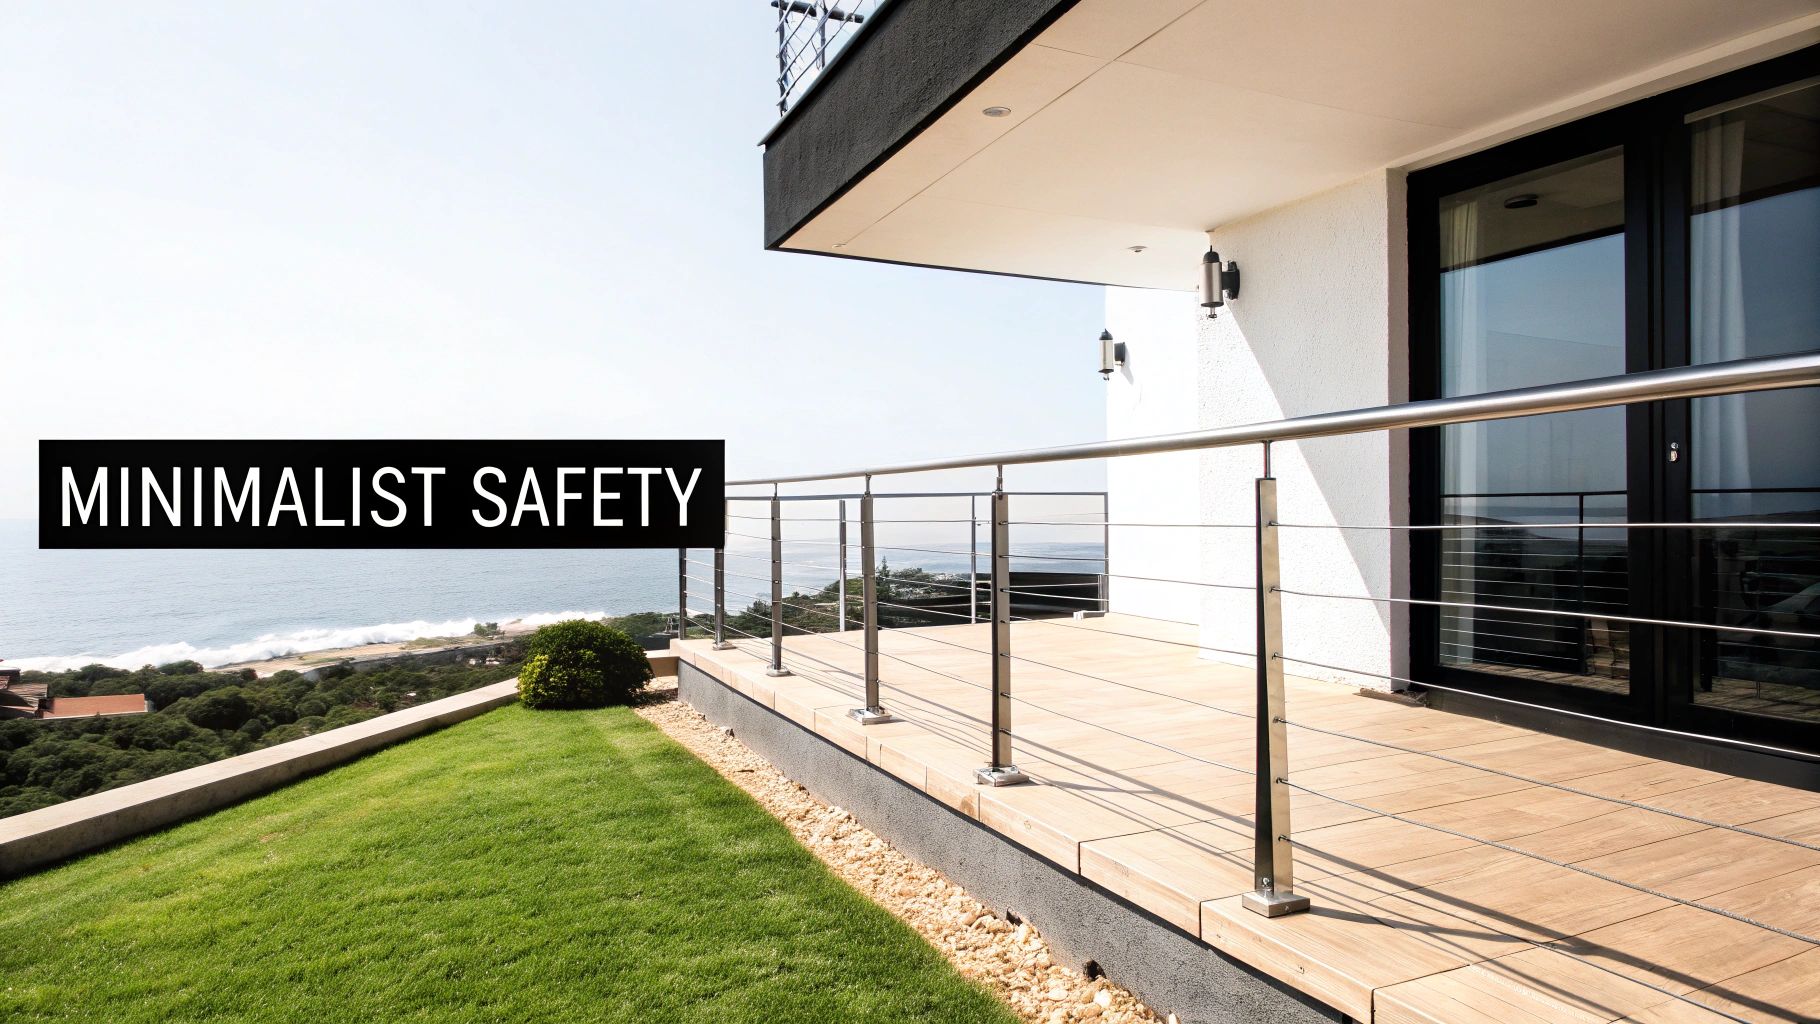
Picture a safety barrier that’s so subtle, it’s almost invisible. That’s the real magic of a wire balustrade kit. Unlike bulky timber spindles or view-blocking glass, these systems use thin, high-strength stainless steel wires pulled tight, a bit like architectural harp strings. They are strong, precise, and create an elegant, contemporary look.
This clean design philosophy has seen their popularity soar right across the UK, especially for homeowners in the North of England looking to maximise every bit of light and scenery. From a modern terrace in Leeds to a rustic garden deck overlooking the Yorkshire Dales, a wire balustrade provides total security without ever sacrificing the view.
The big shift towards minimalist style in home and commercial design has been the perfect catalyst for wire balustrade kits. Homeowners and architects today are all about clean lines and open, airy spaces – and these systems deliver exactly that. Their understated appearance allows the surrounding architecture and landscape to remain the star of the show.
Here are a few key reasons they’ve become so popular:
A well-installed wire balustrade perfectly marries safety with style. It solves the critical need for a protective barrier while strengthening the visual link between inside and outside spaces – a feature that’s incredibly sought-after in today’s property market.
This guide is here to walk you through everything you need to know about choosing, installing, and looking after the perfect wire balustrade kit for your project. We’ll break down all the components, explain the crucial UK safety regulations you can’t ignore, and compare wire systems directly with their glass counterparts. Our goal is simple: to give you the confidence to make a great decision, ensuring your finished project is both stunning and completely safe.
Opening a wire balustrade kit for the first time can look a bit intimidating, but it’s best to think of it like a high-quality, flat-pack furniture set for your garden or balcony. Every single component has a specific job, and they all work together to create a barrier that’s strong, secure, and seriously stylish. Getting to know these parts is the first step to a successful and confident installation.
At its heart, the entire system is a masterclass in tension and strength. Here in the UK, wire balustrade kits have become a go-to choice for both seasoned professionals and keen DIYers, mainly because they are so straightforward to assemble and offer great value. In fact, industry reports from 2023 showed that around 35% of all new residential balustrade installations were wire or cable systems. The DIY market made up nearly 40% of those sales, which tells you just how popular they’ve become for home projects.
The posts are the unsung heroes of your balustrade. They are the main pillars, providing the core structural support for the whole system. These are the anchors that have to withstand the tension from the wires and safely transfer any weight or pressure down into the deck or ground structure below.
You’ll generally find three distinct types of posts in any decent kit:
Running along the top of these posts is the handrail. It’s more than just a place to rest your hand or a cup of tea. By connecting the tops of all the posts, it provides critical lateral stability, preventing them from being pulled inwards by the immense pressure of the tensioned wires.
The real star of the show, of course, is the stainless steel wire rope. This isn’t your average bit of wire; it’s a multi-strand cable engineered for incredible strength and resistance to the British weather. The quality of this wire is absolutely vital for both safety and the lifespan of your balustrade.
When you’re choosing a wire balustrade kit, pay close attention to the grade of stainless steel. Grade 304 is perfectly fine for indoor use, but for any project outside in the often-damp climate of Northern England, marine-grade 316 is the only sensible choice. Its superior corrosion resistance will keep your investment looking sharp and prevent rust for years to come.
But the wires are just floppy cables without the hardware to pull them taut. This is where tensioners come in. These are clever mechanical fittings, like turnbuckles or swage stud terminals, that allow you to crank up the tension to the precise level needed to make the wires rigid and safe. Think of them as the fine-tuning knobs for the whole system.
Finally, your kit will include a whole host of smaller but equally crucial fittings. We’re talking about things like terminals (which attach the wire ends to the posts), saddles for the handrail to sit on, and base plates to bolt the posts down securely.
The quality of these little details, right down to the screws, makes a massive difference. Using the right fixings is non-negotiable. For instance, if you’re fitting your balustrade onto a timber deck, you absolutely need specialised stainless steel deck screws to prevent corrosion and guarantee a rock-solid fit. Once you understand how each part contributes—from the main posts to the smallest screw—you’re in a much better position to judge the quality of any wire balustrade kit on the market.
Installing a new balustrade isn’t just a style choice; it’s a critical safety feature that has to meet very specific legal standards. For anyone planning a project in the UK, getting to grips with Building Regulations isn’t optional. This is about more than just ticking boxes—it’s about ensuring the finished job is safe, secure, and fully compliant for everyone.
Diving into the official documents can feel a bit intimidating, but the core principles are actually quite straightforward once you break them down. The main source of truth is Approved Document K: Protection from falling, collision and impact. Think of this as the official rulebook for barriers like balustrades. It’s exactly what your local building control officer in Leeds, York, or Manchester will be checking against during an inspection.
The real key to a smooth project is understanding these rules before you even think about ordering your wire balustrade kit. Let’s translate the most important regulations into practical, real-world advice.
One of the most fundamental rules is all about the minimum height of the handrail. This isn’t a one-size-fits-all figure; it changes based on where the balustrade is being installed.
Nailing these heights is the first and most important step towards a compliant and safe installation.
This one is arguably the single most important safety check for any balustrade with gaps, and that absolutely includes wire systems. The rule is simple: a 100mm sphere must not be able to pass through any opening in the balustrade. It’s specifically designed to stop small children from squeezing through and risking a serious fall.
When it comes to a wire balustrade kit, this means the spacing and tension of the wires are absolutely critical. Once you’ve tensioned the wires correctly, they should be taut enough that you can’t force a 100mm ball between them. Don’t be surprised if a building inspector pulls one out to test it on-site!
A common worry with horizontal wires is that they could be used as a makeshift ladder by curious children—something known as the ‘ladder effect’. While UK Building Regulations don’t have a blanket ban on horizontal wires, it is something that can attract extra scrutiny, particularly on high-level balconies or in family homes.
The best way to counter this risk is to make sure the wires are tensioned exactly to the manufacturer’s specifications. Properly tightened wires are incredibly difficult to get a foothold on. If you have any worries at all, especially for a project in a sensitive location like a school or a block of flats, it’s always a good idea to chat with your local building control department early on.
This diagram shows how all the essential parts of a wire balustrade kit work in harmony to meet these strict safety standards.
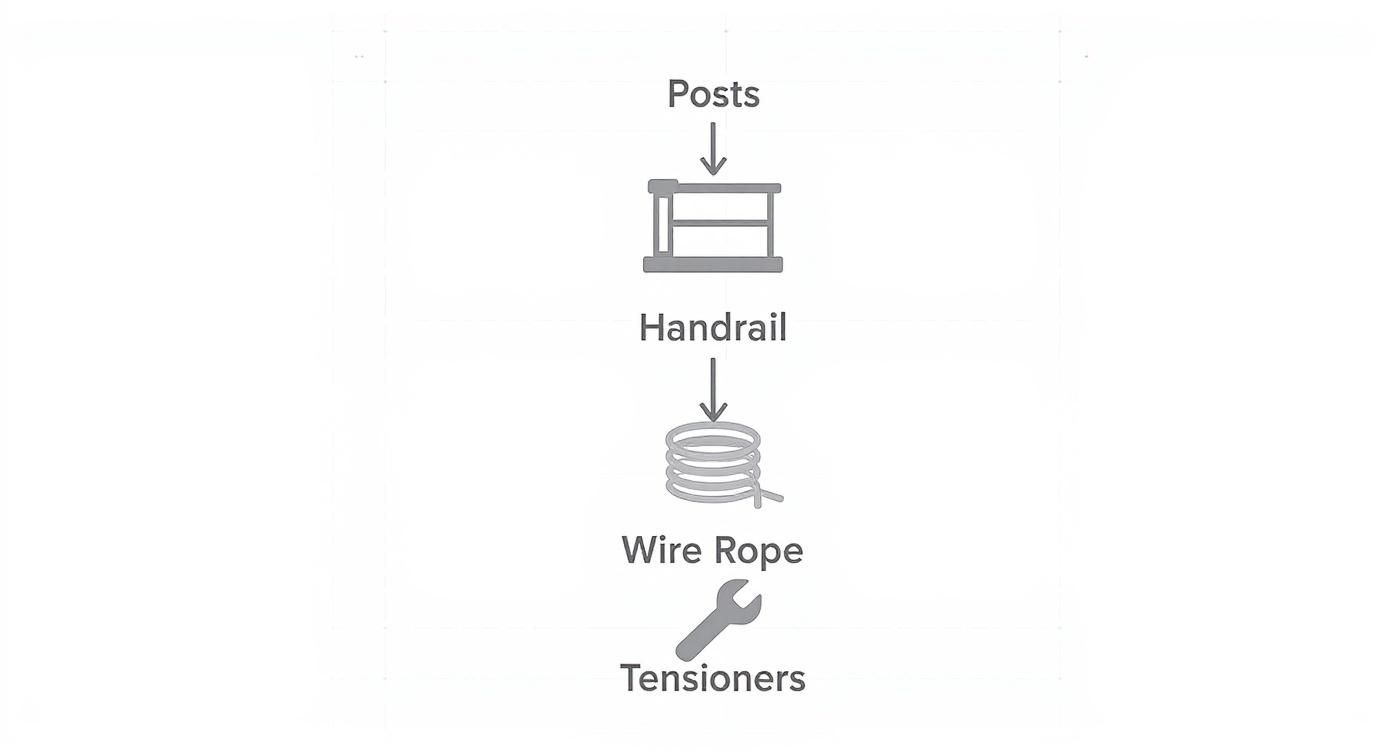
As you can see, the posts, handrail, wire rope, and tensioners create a complete system where each part contributes to the overall strength and compliance of the finished barrier.
Finally, your balustrade has to be strong enough to handle real-world forces. Approved Document K lays out specific load requirements (measured in kilonewtons per metre, or kN/m) that the barrier must be able to withstand without failing. Any professionally designed wire balustrade kit from a reputable supplier will be engineered to meet or exceed these standards, as long as it’s installed correctly with the specified posts and fixings.
These regulations are constantly evolving and have had a big impact on the market. For instance, updated guidance from the UK’s Department for Levelling Up, Housing and Communities in 2022 clarified the rules on minimum balustrade heights and rail spacing, which directly shaped the design of every compliant kit sold today. You can read more about how building standards affect the market to get the full picture.
To help simplify things, here’s a quick summary of the key rules from Approved Document K that apply to most homes.
| Location of Balustrade | Minimum Handrail Height | Key Safety Considerations |
|---|---|---|
| Internal Stairs & Landings | 900mm | Must prevent a 100mm sphere from passing through any gaps. |
| External Balconies & Terraces (with a drop over 600mm) | 1100mm | Must prevent a 100mm sphere from passing through. Must withstand weather and higher wind loads. |
| Juliet Balconies | 1100mm | Subject to the same height and gap rules as external balconies. Fixings must be incredibly secure. |
| Decking & Patios (with a drop over 600mm) | 1100mm | Same requirements as external balconies, with a focus on robust posts and fixings into the decking structure. |
This table covers the basics, but always remember that every project is unique. Consulting the full document or speaking with a professional is the best way to ensure your project is completely safe and fully compliant.
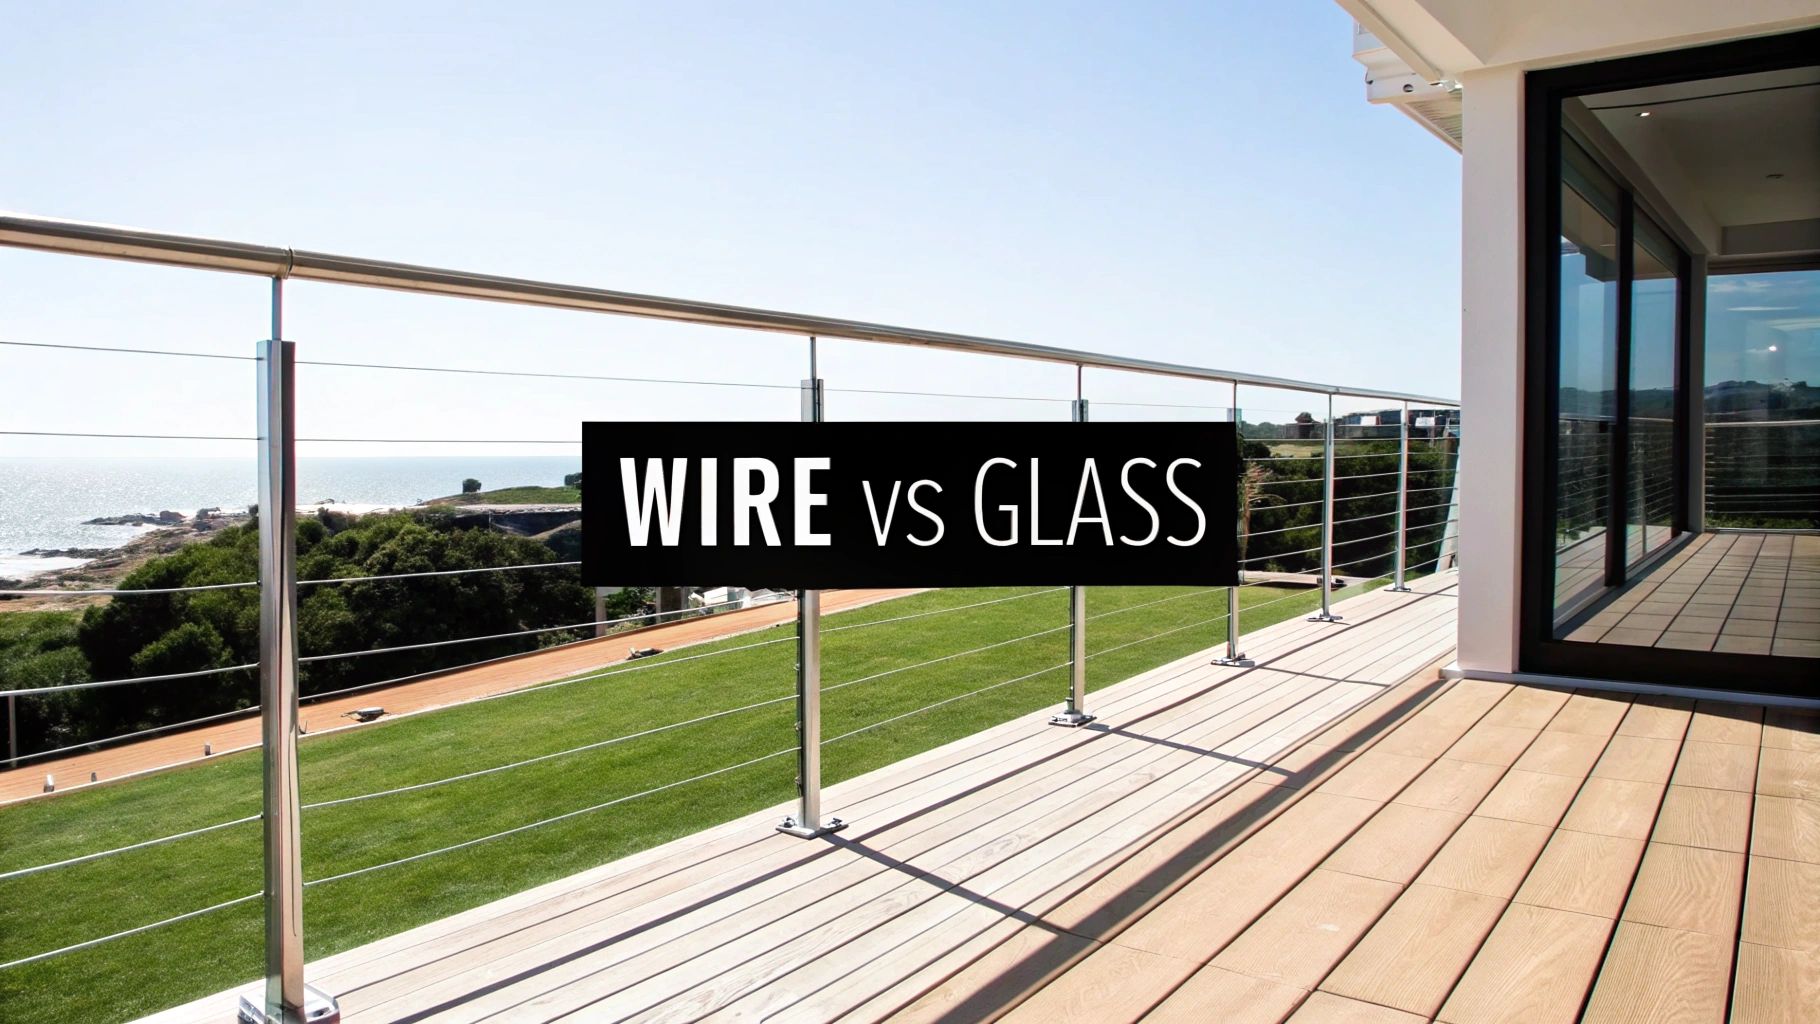
When it comes to upgrading your home with a modern balustrade, the conversation nearly always narrows down to two front runners: the minimalist wire balustrade kit and the sleek, elegant glass panel system. Both are a world away from traditional timber spindles, but they offer completely different aesthetics and day-to-day living experiences.
Choosing the right one isn’t about which is better, but which is better for you. It all comes down to your project, your personal style, and the environment it will live in. For anyone in the North of England—from the windswept Yorkshire coast to a city-centre balcony in Leeds—things like weather, upkeep, and the kind of view you have are massive factors.
Let’s put them head-to-head to see which is the perfect fit for your home.
Let’s be honest, the main reason people choose wire or glass is to keep their view. But they do it in slightly different ways.
A wire balustrade kit offers what you might call ‘practical invisibility’. From a distance, the thin, taut wires almost disappear into the background. They create a wonderfully open and airy feel, giving you an unobstructed sightline without a solid barrier. It’s a brilliant choice for a garden deck overlooking a valley or a coastal cottage where you want to feel connected to the landscape.
Glass balustrades, on the other hand, provide total, crystal-clear transparency. They are the ultimate choice for an uninterrupted panorama, acting as a single, invisible shield with no lines to draw the eye. This creates a really high-end, premium finish, making them a fantastic option for modern apartments or terraces where you want that seamless, ‘infinity edge’ connection to the view. If this sounds like your goal, it’s worth exploring the components that make up a full glass balustrade kit.
Here’s a big one, especially with our wonderfully unpredictable weather up North. How much work are you prepared to put in?
Wire balustrades are famously low-maintenance. A quick wipe-down of the stainless steel posts and wires every now and then is usually all it takes to keep them looking pristine. The only other job is a simple annual check of the wire tension to make sure it’s still taut and safe—a five-minute task.
Glass panels, beautiful as they are, demand a bit more attention to look their best. Rain spots, fingerprints, and general dust and grime are simply more obvious on a big clear panel than on a few thin wires.
For a property near the coast, salt spray can quickly leave a film on glass, meaning regular cleaning is essential. For a city-centre balcony, traffic dust can accumulate. While not difficult to clean, it is a more consistent task compared to the set-and-forget nature of wire.
Both systems are engineered to last for years, but their strengths lie in different areas.
A high-quality, marine-grade 316 stainless steel wire system is incredibly tough. It’s built to resist rust and corrosion, making it a rock-solid choice for any outdoor setting, particularly coastal ones. The wires are also less susceptible to accidental knocks and bumps than other materials.
Glass balustrades use toughened or laminated safety glass, which is exceptionally strong and designed to withstand serious force. A huge bonus, particularly for exposed patios or balconies in windy spots like the Pennines, is that glass acts as a fantastic windbreak.
Installation is another point of difference. A wire balustrade kit, with its lighter components, is often more approachable for a skilled DIYer. In contrast, handling and fitting large, heavy glass panels is a job that really benefits from professional expertise to guarantee a perfect and, most importantly, safe installation.
To help you weigh it all up, here’s a simple side-by-side comparison.
Deciding between the two often comes down to balancing these key features against your specific needs. This table lays out the core differences at a glance.
| Feature | Wire Balustrade Kit | Glass Balustrade |
|---|---|---|
| View Obstruction | Minimal; wires are thin and blend into the background from a distance. | Virtually none; provides a completely transparent, unbroken view. |
| Maintenance | Very low; requires occasional cleaning and annual tension checks. | Higher; requires regular cleaning to remove spots, dust, and fingerprints. |
| Durability | Excellent; marine-grade steel resists corrosion and is very robust. | Excellent; toughened safety glass is strong and acts as a wind barrier. |
| Installation | Generally more accessible for DIY installation due to lighter parts. | Often requires professional installation due to the weight of the glass panels. |
| Cost | Typically more budget-friendly for both materials and installation. | Generally a higher initial investment, reflecting its premium materials. |
Ultimately, both wire and glass systems offer a fantastic, modern, and safe solution. The best choice is the one that aligns with your budget, your aesthetic vision, and how much time you want to spend cleaning versus enjoying the view.
So, you’ve settled on a wire balustrade kit for your project. Fantastic choice. Now comes the next big question: who’s going to fit it? The decision between a DIY installation and hiring a professional is a significant one, and there’s no single right answer. It all comes down to your skills, budget, timescale, and the complexity of your project.
Let’s be honest, getting this right is crucial for ensuring your new balustrade is not only safe and secure but looks absolutely stunning. This is especially true here in Northern England, where finding someone who understands local property styles—from stone terraces in Sheffield to modern new-builds near Harrogate—can make all the difference.
For the confident DIYer with a decent set of tools and a bit of patience, installing a wire balustrade kit can be an incredibly rewarding weekend project. Modern kits are designed with the user in mind, featuring clear instructions and components that fit together logically. And, of course, tackling the job yourself can lead to some serious cost savings.
But this is a job that demands precision. You can’t rush it. Key tasks like spacing the posts correctly, drilling accurate holes, and—most importantly—getting the wire tension just right are critical for both safety and the final look.
Before you commit, take a moment to check you have the right gear:
One of the most common pitfalls we see with DIY jobs is under-tensioned wires. If they’re too slack, they create a serious safety hazard by failing the 100mm sphere rule. Over time, they’ll also sag, completely ruining that clean, sharp aesthetic you were aiming for.
If you’re short on time, don’t own the specialist tools, or simply want the cast-iron peace of mind that an expert installation provides, then hiring a professional is the way to go. An experienced fitter has done this countless times. They know the ins and outs of meeting UK Building Regulations and can get the job done efficiently and to an impeccable standard.
A professional also brings a guarantee. Their work is insured, and they’re accountable for the safety and longevity of the installation. For more complex projects—think multiple corners, staircases, or fixing to non-standard surfaces like an old stone wall—their expertise is simply invaluable. For more on the specifics of these trickier setups, our guide on adding a railing on a wall offers some great insights.
Finding a qualified local installer is key. Look for tradespeople in Yorkshire or the North West with a portfolio of similar work. A good installer will provide a detailed quote that breaks down the cost of labour and any additional materials needed.
When you’re vetting potential fitters, it’s smart to have a few key questions ready. This will help you find the right person for your project.
Don’t be shy about interviewing a few different tradespeople before you make your final choice. Here’s a quick checklist to guide the conversation:
Ultimately, choosing between DIY and a pro comes down to a realistic look at your own skills versus the demands of the project. Either path can lead to a stunning result, as long as the work is done with precision, care, and a solid understanding of safety standards.
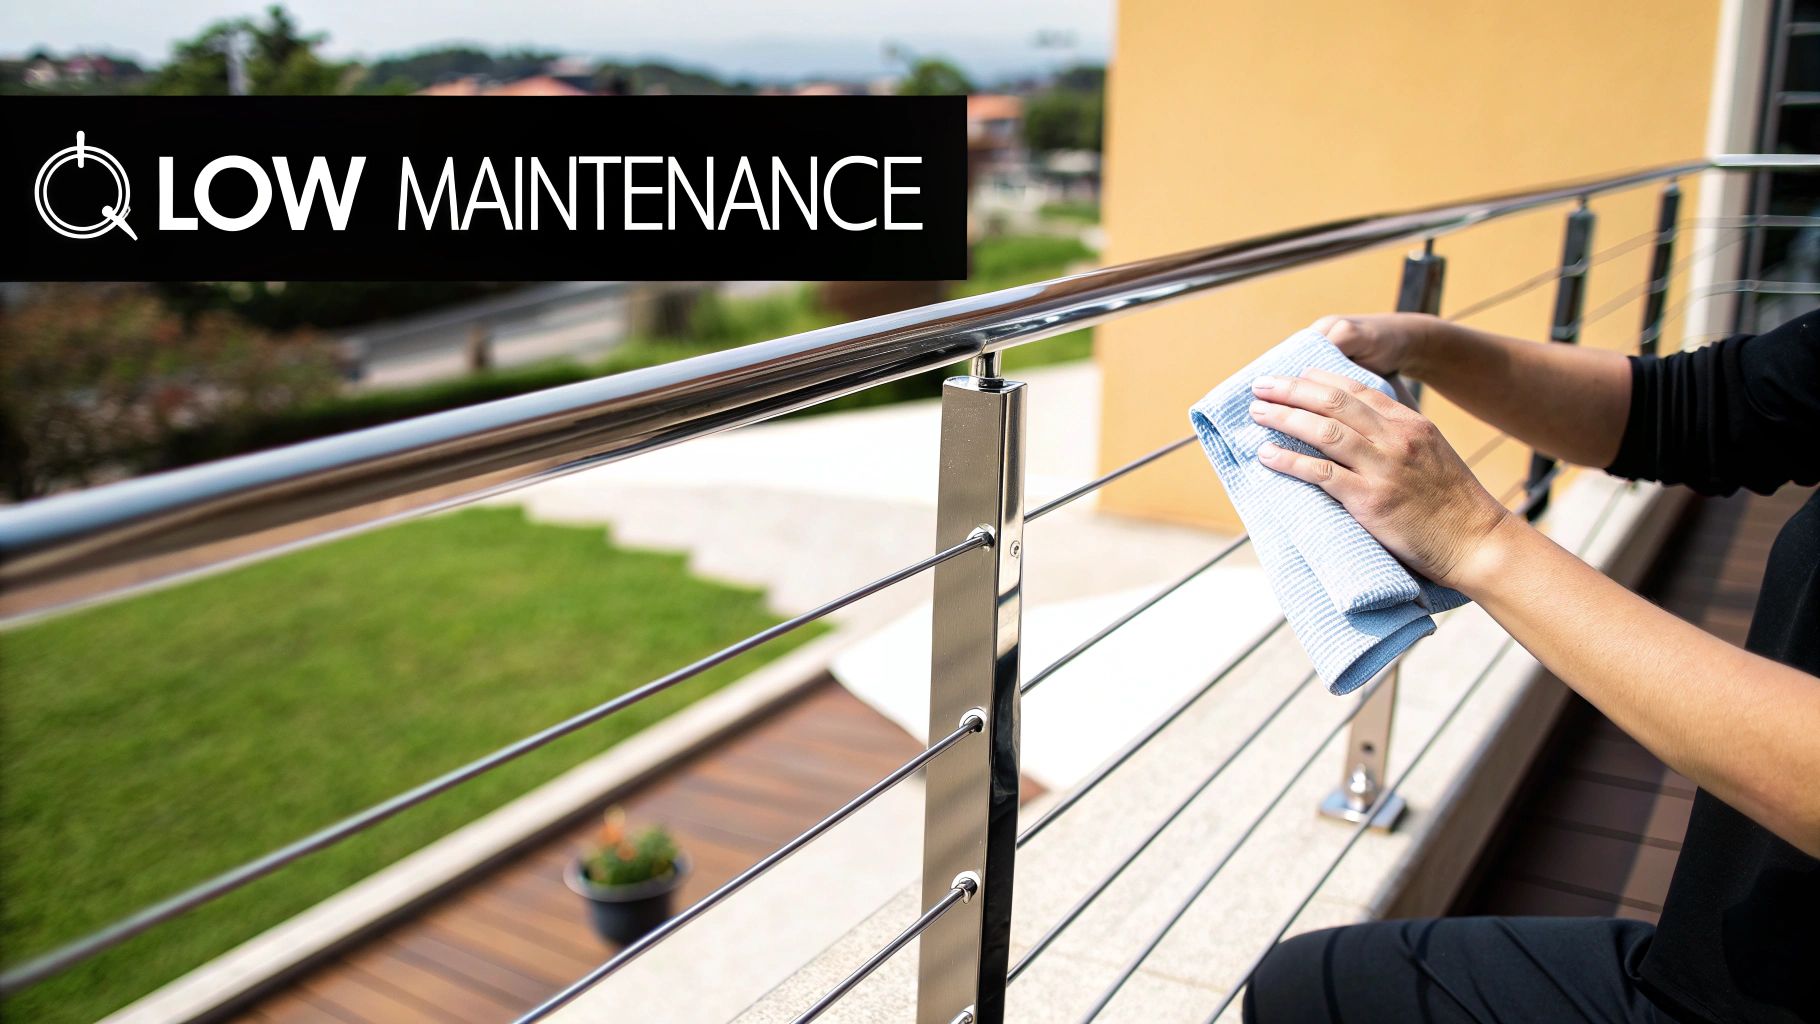
One of the best things about choosing a wire balustrade kit is just how little looking after it needs. Unlike timber that demands constant treating or glass that highlights every single smudge, a well-made stainless steel system pretty much takes care of itself.
But, a tiny bit of care goes a very long way. A simple routine ensures your investment stays safe, looks stunning, and remains free from corrosion for years and years to come. This is especially true given the varied conditions we see across Yorkshire and the North. From the salty sea spray in Scarborough to industrial pollutants in cities like Sheffield, your balustrade faces more than just a bit of rain.
The demand for sleek, modern solutions like these has seen the wire balustrade market grow steadily, particularly in developing urban centres. If you’re interested, you can read more about the trends in the UK balustrade market to get the bigger picture.
Keeping your stainless steel looking brand new is refreshingly straightforward. For the most part, a regular wipe-down using a soft cloth, some warm water, and a mild detergent is all it takes to shift everyday dirt and grime.
If you’re dealing with more stubborn marks or live in a coastal area where salt builds up, just follow these simple steps:
Whatever you do, steer clear of harsh chemicals, bleach, or abrasive scourers like steel wool. These will scratch the protective surface of the stainless steel, leaving it vulnerable to rust and discolouration.
Beyond a quick clean, the single most important job is to check the wire tension. It’s natural for the wires to expand and contract with changing temperatures, which can sometimes lead to them becoming a little slack.
At least once a year, it’s worth doing a quick safety check. Just take a 100mm sphere (about the size of a small ball) and try to push it between the wires at their centre point. If it slips through, your wires need a bit of a tighten.
Thankfully, this is usually a simple fix. Just grab a spanner and give the tensioner fittings a few turns until the wires are nice and taut again. This quick check is vital for keeping your balustrade safe, looking sharp, and fully compliant with UK Building Regulations.
Even with the best-laid plans, a few questions always crop up when you’re thinking about a new wire balustrade kit. To help clear up any final thoughts, we’ve put together answers to the most common queries we get from homeowners and installers right across Yorkshire and the North.
Think of this as the last piece of the puzzle, giving you the confidence to move forward with your project.
This is the big one, and rightly so. The short answer is yes, they are completely safe—but only when installed correctly to meet the UK’s strict Building Regulations.
The absolute key is tension. When the wires are properly tightened, they must be taut enough that a 100mm sphere can’t pass through any gap. This is the official test to make sure a small child can’t squeeze through. However, it’s worth noting some local building control officers can be wary of a potential ‘ladder effect’ on higher installations, like a second-floor balcony. It’s always a smart move to have a quick chat with your local authority, whether you’re in Leeds, Sheffield, or a nearby town, just to run your plans by them before you start.
For any outdoor project in the UK, especially with the damp and unpredictable weather we get in Northern England, Grade 316 stainless steel is the only real choice. You’ll see Grade 304 offered, and it’s perfectly fine for indoors, but it just doesn’t have the long-term corrosion resistance you need outside.
Grade 316 contains an element called molybdenum. This is the secret ingredient that dramatically boosts its ability to fight off rust and corrosion from rain, salt spray, and pollution. Think of it as a lifetime investment in keeping your balustrade looking flawless.
Sometimes, yes, you can fit a wire balustrade kit to existing timber posts. But this comes with a huge caveat: those posts have to be structurally sound enough to handle the immense tension the wires create. The wires pull inwards with a serious amount of force, and if your posts are weak or poorly anchored, they’ll warp, bend, or even fail over time. That’s a major safety risk.
As a rule of thumb, your wooden posts should be at least 4×4 inches (100x100mm) and must be securely fixed to the main structure of your deck or balcony. Check the manufacturer’s specifications for the kit you choose—they will give you clear guidance on post sizes and any extra strengthening needed to guarantee a safe, secure system that will last for years.
At Binks Glass Solutions, we specialise in providing expert advice and high-quality systems for projects across Harrogate and the North of England. If you have more questions or are ready to start planning, we’re here to help.