
Loft conversion with balcony: Ideas, costs, and planning for 2026
A loft conversion on its own is a fantastic way to unlock hidden space in your home. But adding a […]

A loft conversion on its own is a fantastic way to unlock hidden space in your home. But adding a […]
A loft conversion on its own is a fantastic way to unlock hidden space in your home. But adding a balcony? That’s how you turn a practical addition into a truly spectacular feature. It’s a project that transforms an unused attic into a functional, light-filled room with its own private slice of the outdoors.
This isn't just about adding square footage. From a simple Juliet balcony to a full walk-on roof terrace, this feature dramatically boosts natural light, opens up views you never knew you had, and adds serious value to your property. It’s the ultimate expression of the ‘improve, don’t move’ philosophy.
Imagine your dusty, forgotten attic transformed into a bright, airy master suite, complete with its own private outdoor space. This is the dream that’s making the loft conversion with a balcony an increasingly popular choice for homeowners across Yorkshire and the North of England.
From Leeds to Harrogate, people are realising the potential locked away in their roof spaces. They're choosing to create unique lifestyle upgrades instead of facing the cost and hassle of moving house. The decision to include a balcony goes way beyond just gaining a small patch of fresh air; it completely changes the feel and character of the new room.
A balcony forges a seamless link between your new indoor retreat and the world outside. It creates a private spot to enjoy a morning coffee, read a book in the sun, or simply watch the world go by.
For homes in the stunning scenic areas of the North—like the Yorkshire Dales or the Cumbrian fells—a balcony is a game-changer. It unlocks breathtaking views that would otherwise stay hidden from the rest of the house.
A well-designed loft balcony doesn’t just add space; it enhances your quality of life. It’s about creating a personal sanctuary and a real connection to the outdoors, right at the very top of your home.
One of the biggest wins is the incredible increase in natural light. Standard rooflights are great, but nothing compares to the light that pours in through full-height French doors or bi-folding doors opening onto a balcony.
This flood of light makes the room feel bigger, brighter, and far more welcoming. In the often-overcast weather of Northern England, this can turn a potentially gloomy attic into the most vibrant and inviting room in the house.
This abundance of light makes the space incredibly versatile and perfect for all sorts of uses:
Ultimately, a loft conversion with a balcony is an investment in both your property's financial value and your daily enjoyment of it. By unlocking your attic's full potential, you create a standout feature that adds a touch of luxury and a powerful connection to the outdoors.
So, you’re dreaming of adding a balcony to your loft conversion. It’s a fantastic idea that can completely transform your new space, flooding it with light and connecting it to the outdoors. But before you get carried away picturing yourself with a coffee overlooking the garden, it’s crucial to understand your options.
Not all loft balconies are the same, and the best one for you really hinges on your home's structure, your budget, and what you actually want to do with the space. The right choice will perfectly match your vision, whether that’s simply boosting light and air or creating a genuine outdoor room.
This simple flowchart can help you start thinking about which direction to take.
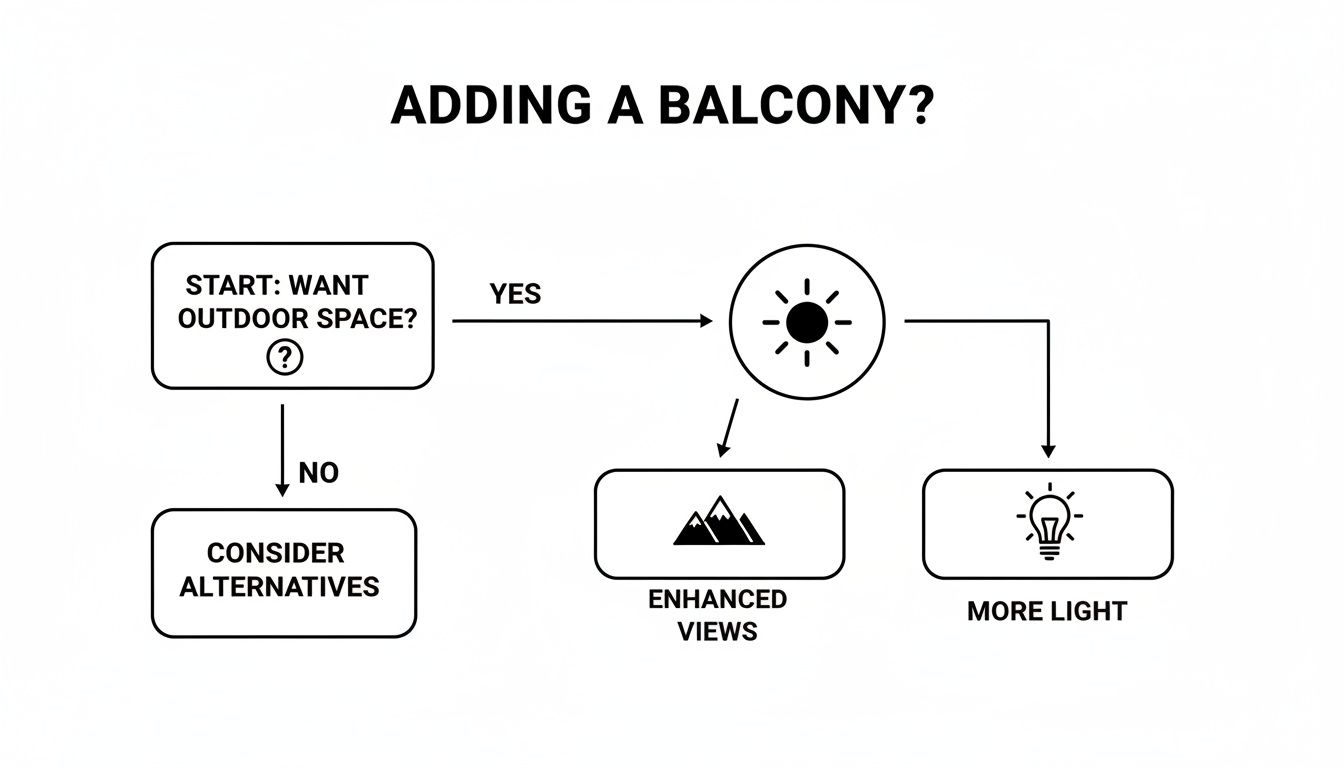
As you can see, what starts as a desire for more outdoor space quickly branches out into decisions about views, light, and usability, each pointing to a different type of balcony.
First up is the Juliet balcony. It’s the simplest and most budget-friendly of the lot. Now, it’s important to realise this isn't a balcony you can step out onto. It's essentially a safety barrier—usually stylish glass or metal—that sits on the outside of a set of full-height French or bi-fold doors.
A Juliet balcony works like a modern guard rail for a full-height doorway. It’s the key that allows you to safely throw open the doors, letting an incredible amount of light and fresh air into your loft without the cost and structural upheaval of a full walk-on platform.
This is a brilliant solution for homeowners, particularly in built-up areas like Leeds or York, who want that wonderful feeling of openness but might be restricted by planning rules or a tighter budget.
This is what most of us picture when we hear the word 'balcony'. An external balcony is a proper platform that projects out from the roof, giving you a genuine, usable outdoor space. It’s often called a 'bolt-on' balcony because it’s engineered to be structurally independent of the main roof.
It’s not huge, but it provides just enough room for a small bistro table and a couple of chairs. It’s the perfect spot for a morning brew or an evening glass of wine. While it demands more significant structural work than a Juliet, the pay-off is a true outdoor experience.
For the absolute pinnacle of loft living, the roof terrace is the most ambitious and rewarding option. Rather than projecting outwards, a roof terrace is cleverly created by setting a portion of the roof wall back into the loft. This carves out a sheltered, private space that feels like a seamless extension of the room itself.
To truly make a space like this shine, it’s worth exploring all the different types of loft windows available to complement the design and maximise light.
Because creating a roof terrace means fundamentally altering the roof's structure, it’s by far the most complex and expensive route. It will almost certainly need full planning permission. The result, however, is a stunning and private outdoor room that adds a real wow-factor.
To help you weigh everything up, we've put together a quick comparison table. It breaks down the key differences between the three main types.
| Balcony Type | Description | Typical Cost Impact | Planning Permission | Best For |
|---|---|---|---|---|
| Juliet Balcony | A safety barrier across full-height doors; no walk-on space. | Low | Rarely needed | Maximising light and air on a budget. |
| External Balcony | A small platform projecting from the roof. | Medium | Often required | Creating a small, private walk-out space. |
| Roof Terrace | An area set back into the roof structure. | High | Almost always needed | Building a true, integrated outdoor room. |
Ultimately, settling on the right style is a critical first step. It dictates the cost, the timeline, and the entire feel of your finished loft conversion with balcony. For a closer look at the balustrades themselves, you can dive deeper into the different types of balconies we design and install.
Adding a balcony to your loft conversion is an exciting step, but it brings you face-to-face with two words that can make any homeowner nervous: planning permission and Building Regulations. It’s easy to feel overwhelmed, but understanding what each one does is the first step to a smooth, legal, and stress-free project.
Think of them as two different, but equally important, sets of rules. Planning Permission is all about how your home will look from the outside and its impact on the neighbourhood. Building Regulations, however, are completely focused on the technical side – ensuring the work is safe, structurally sound, and built to last.
You absolutely need to satisfy both. Getting one right and failing the other can lead to expensive enforcement action, so it's vital to get them on your radar from day one.
Planning permission basically asks one big question: "How will this project look, and will it negatively affect your neighbours or the local area?" For a loft conversion with a balcony, this is a make-or-break question, particularly in conservation areas or the Areas of Outstanding Natural Beauty you find across Yorkshire and the North.
Many straightforward loft conversions can be done under Permitted Development (PD) rights, which means you don’t need to go through the full planning application process. But the moment you add a proper walk-on balcony, those rules often change.
Every local council, from Leeds to York, has its own unique take on these things. This is where an architect with local experience becomes worth their weight in gold; they’ll know how to design a balcony that has the best chance of getting a green light.
The heart of planning permission is making sure your new balcony is a good neighbour. It’s about respecting the character of your street, and it’s something local councils take very seriously.
This has become more important than ever with the "don't move, improve" trend. Since the early 2020s, loft conversions with balconies have become hugely popular in the UK, as rising house prices and stamp duty costs convinced people to invest in their current homes. By 2026, these projects are set to reshape how we live in our towns and cities, especially in places like Harrogate and across the North, where homeowners are turning dusty attics into luxury retreats.
Industry reports show a good loft conversion can add 20-25% to a property's value. Adding a balcony might increase the project cost of a standard £45,000-£90,000 conversion by 15-20%, but the return on that investment can top 60% in areas where outdoor space is rare. You can read more about these trends in a recent report on loft conversion builder leads.
If planning is about the 'what' and 'where', Building Regulations are all about the 'how'. They are a set of national standards that exist for one reason: to make sure your building work is safe, healthy, and energy-efficient. For a loft with a balcony, several key parts of these regulations will be front and centre.
These rules aren't optional. Your project must be inspected at key stages and officially signed off by a building control officer to be legal.
Here’s what they’ll be checking:
Getting this right demands careful planning and using the right materials. This is especially true for your balustrade—it's not just a design feature, it's a critical piece of safety equipment. For a detailed guide on the specific requirements, have a look at our guide on the essential building regulations for balustrades.
The only way to ensure your loft conversion with balcony is completed without a hitch is to work with experienced professionals who understand these rules inside and out.
Once you've navigated the planning rules, it's time to get into the nuts and bolts of the build. A truly successful loft conversion with a balcony isn't just about adding a room; it's a careful blend of robust engineering and thoughtful design.
Getting these fundamentals right from the start is the difference between a project that just works and one that wows. It ensures your new space is safe, weatherproof, and a joy to live in for decades.
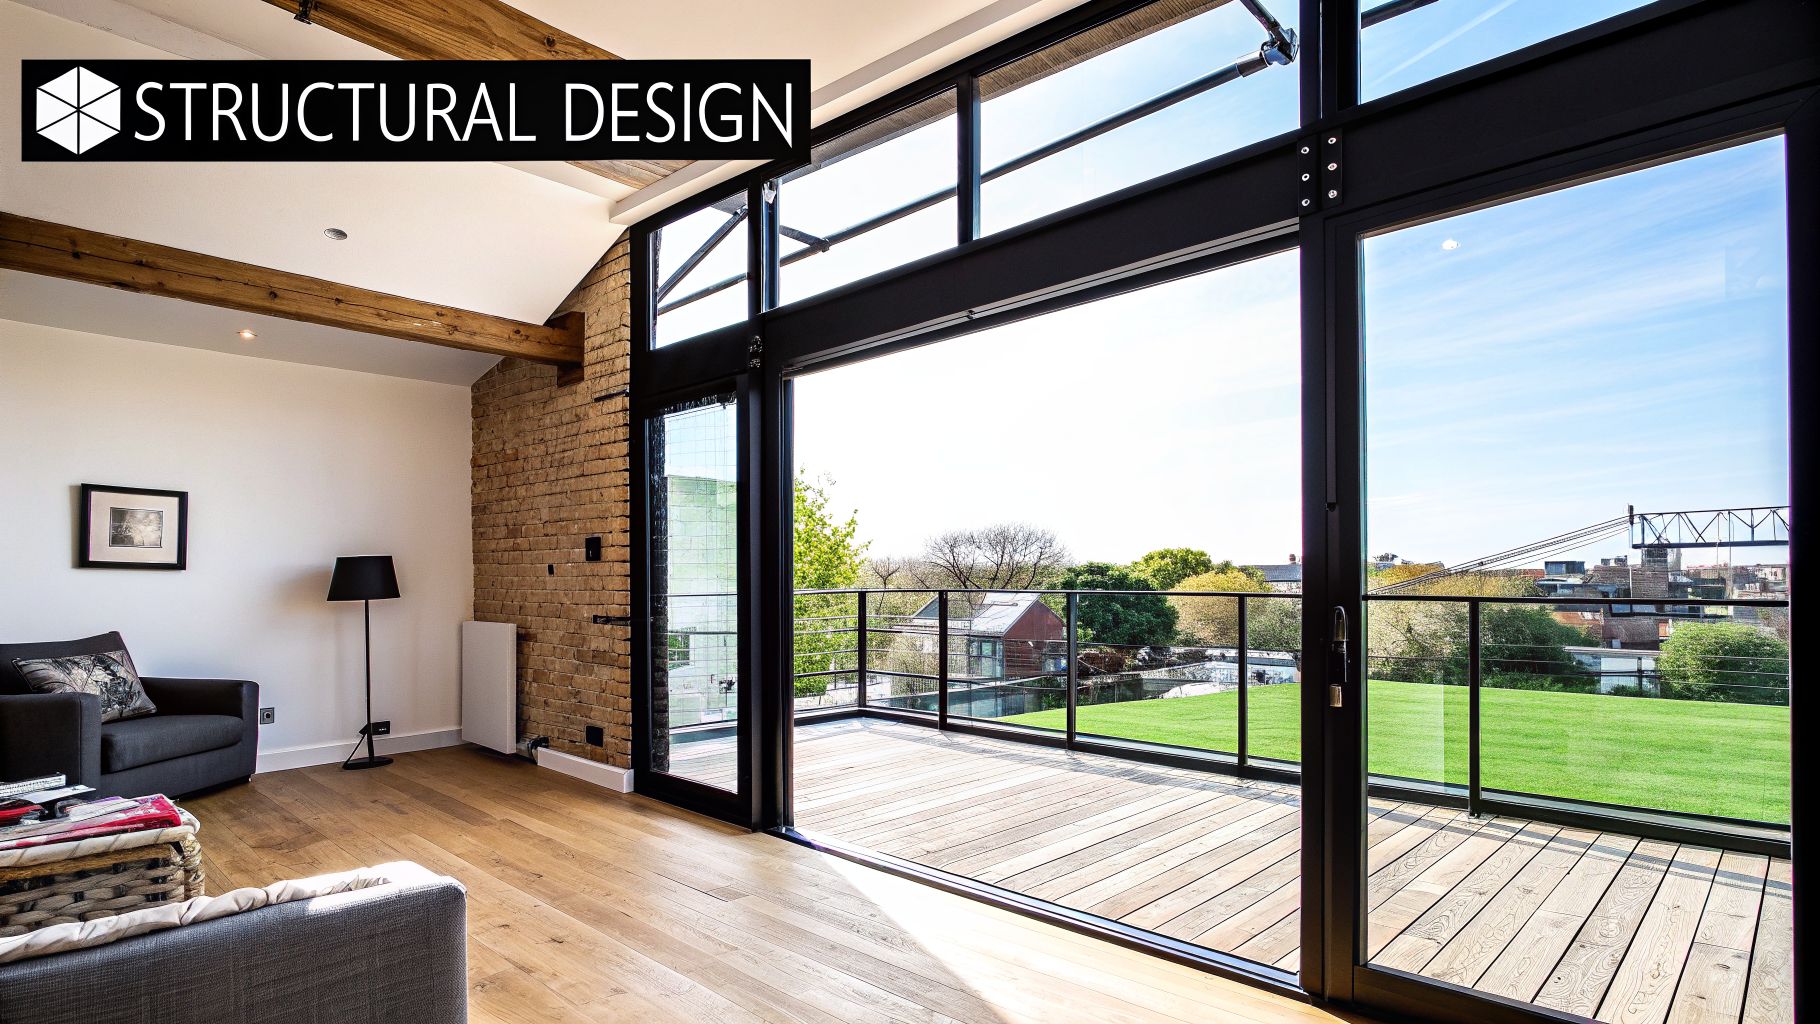
Let's be clear: your home’s original roof was never intended to hold the weight of a new room, furniture, people, and a balcony. That’s why the very first job is to install a completely new, independent support structure. This is where Rolled Steel Joists (RSJs) come in.
These hefty steel beams are the new skeleton for your loft. They are expertly positioned to span the width of the house, transferring all the new weight safely down through the building’s load-bearing walls. They support the new floor and, crucially, create the solid foundation needed for a walk-on external balcony or roof terrace.
Think of it this way: without professionally calculated and installed steelwork, a proper loft balcony is simply a non-starter. It’s the single most important component, ensuring the whole structure is solid and meets the strict demands of Part A of the UK Building Regulations.
Immediately after structural work, waterproofing is the next critical job. The join between your new balcony and the existing roof is a prime spot for leaks if it isn't handled by an experienced team. Even the smallest gap can lead to serious water damage, damp, and rot over time.
A professional job involves a multi-layered approach to create a completely impenetrable seal. This always includes:
Getting this 100% right provides total peace of mind. It’s a part of the build where cutting corners is never an option, especially with the famously unpredictable weather we get across Yorkshire and the North of England.
With the heavy-duty work done, you can finally focus on the exciting part – the design. The whole point of adding a balcony to your loft is to flood the space with light and connect it to the world outside.
Your choice of doors is absolutely fundamental to achieving this. Bi-fold doors deliver the biggest impact, letting you fold back an entire wall to completely merge your indoor and outdoor spaces. For a more classic feel, French doors offer a timeless charm that often suits period properties perfectly.
The interior layout should then be planned to take full advantage. Arrange seating to face the view, keep furniture low to the ground, and use a light colour scheme to bounce that natural light around the room. This is where your choice of balustrade has a huge effect.
A frameless glass balustrade, for instance, gives you the essential safety barrier required by law but without blocking an inch of your view. It makes the room feel bigger and creates an unbroken connection to the scenery. For homeowners everywhere from Cheshire to Hull, this single design choice is key to unlocking the true potential of their loft, transforming it from a simple room into a stunning treetop retreat.
When you’re caught up in the excitement of a loft conversion, it’s easy to focus on the incredible views and the flood of new light your balcony will bring. But the balustrade—the safety barrier around the edge—is arguably the most critical decision you'll make. It’s far more than a finishing touch; it’s the engineered system that makes your beautiful new space fundamentally safe.
Getting this right isn’t just important, it’s non-negotiable. For any homeowner, whether you're in Darlington or deep in the Cumbrian fells, choosing a balustrade is a careful balance of creating a stunning look while meeting the strict safety standards demanded for any raised platform.
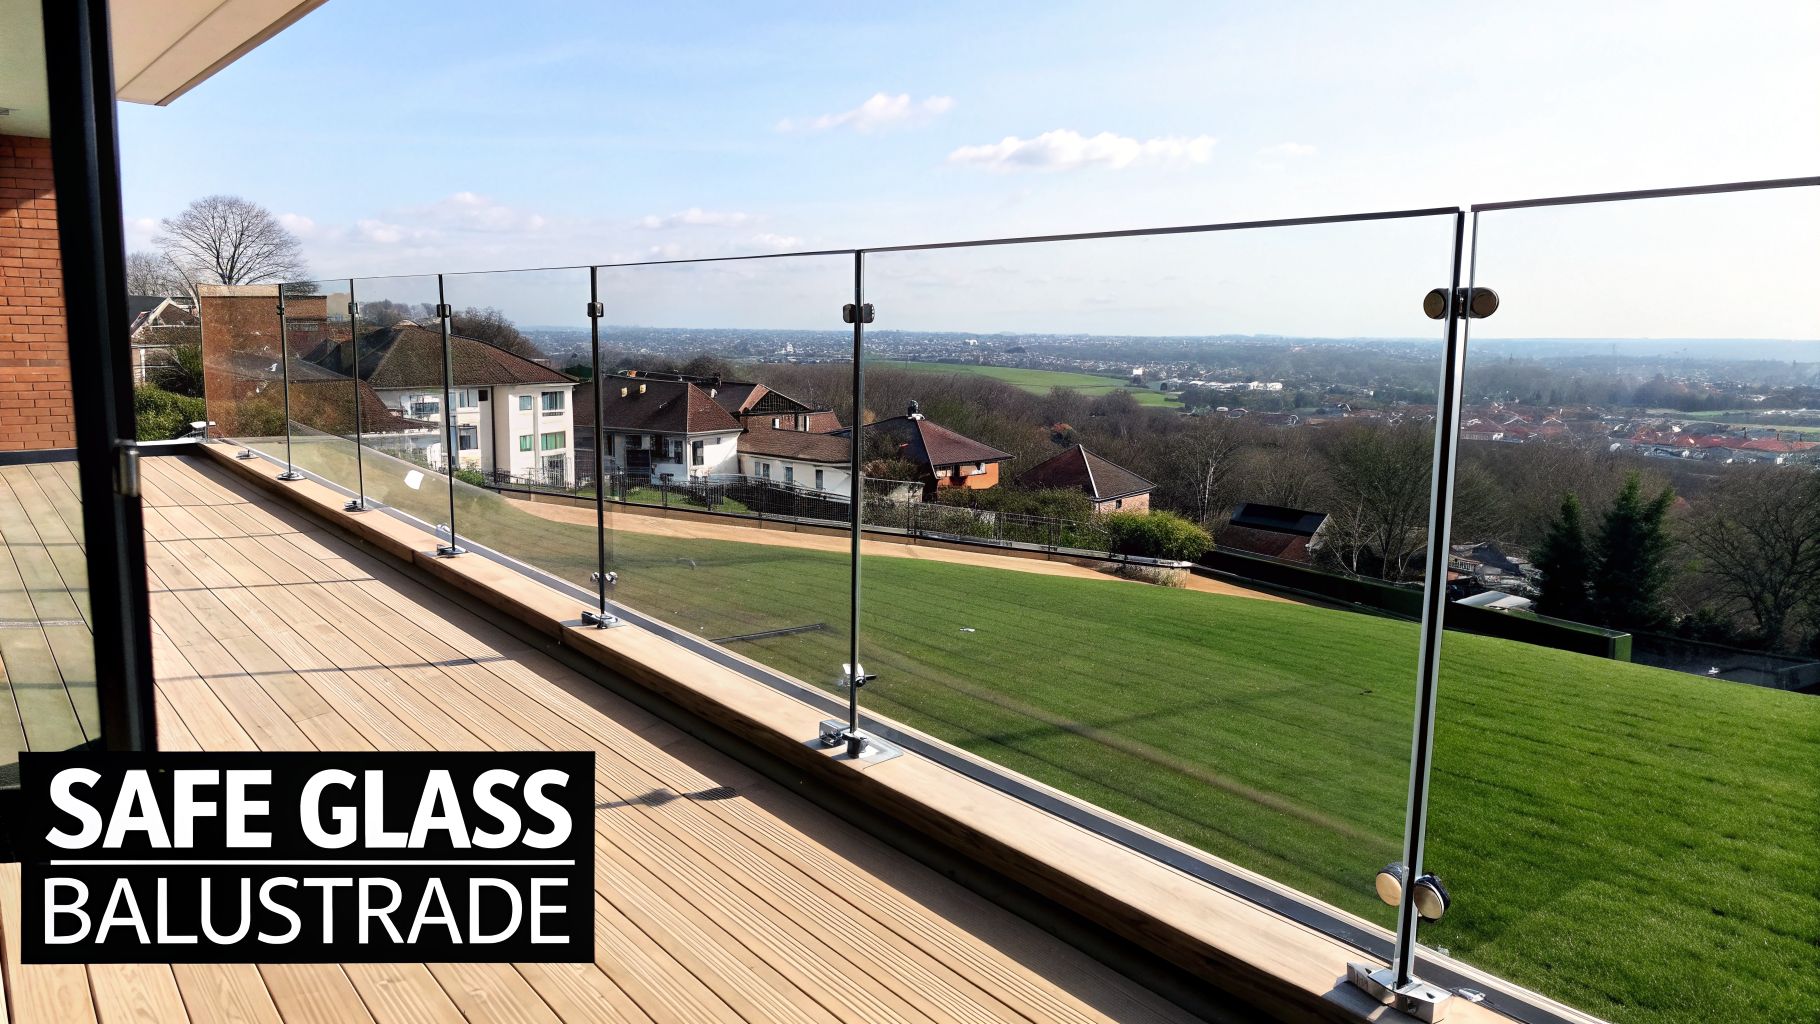
Your balustrade must fully comply with Part K of the UK Building Regulations, which covers protection from falling. These aren’t just guidelines; they are legal requirements that your project has to meet before it can be signed off by Building Control.
The key rules your design must follow are:
Think of your balustrade as the seatbelt for your balcony. It’s an engineered safety system designed to perform under pressure. Choosing a system from a specialist supplier is the only way to guarantee it meets these exacting standards.
Over the last few years, glass has firmly established itself as the go-to material for loft balcony balustrades, and for very good reason. It provides the perfect marriage of robust safety and sleek style, delivering an uninterrupted view while forming a solid, reliable barrier.
Modern systems use highly engineered safety glass that easily surpasses the minimum legal requirements. The result is a clean, contemporary aesthetic that makes your new loft feel bigger and more connected to the world outside. Where timber or metal bars can sometimes create a ‘caged-in’ feeling, a glass balustrade is almost visually invisible.
This trend is backed by a growing focus on compliance and safety. For instance, according to some industry projections, 85% of loft conversion projects in the North of England in 2026 may incorporate fire-resistant glass systems as standard. Furthermore, research highlights that properly guarded balconies can reduce accident rates in homes by as much as 40%—a vital statistic for any family. Using compliant, stylish systems isn’t just an option anymore; it’s becoming essential for modern living. You can read more about these developing UK loft conversion trends for 2026.
When you start looking at glass balustrades, you’ll hear two terms: toughened and laminated. Knowing the difference is crucial for making the right choice for your loft project.
For a high-level application like a loft balcony, laminated glass is almost always the required and recommended option. While toughened glass is incredibly strong, laminated glass offers a vital extra layer of protection by remaining in place even if it gets shattered—a critical safety feature for any elevated area. You can find more details in our complete guide to glass panels for balconies.
A realistic budget is the bedrock of any successful loft conversion. Getting a firm grip on the numbers from the very beginning means you can avoid nasty surprises and bring your vision to life without financial headaches.
While every job is different, we can certainly map out the typical costs for a loft conversion with a balcony here in the North of England. This will give you a solid starting point for your own plans.
For a standard loft conversion in a city like Leeds or a town across Yorkshire, you're generally looking at a range of £45,000 to £90,000. This figure covers all the essential structural work, insulation, electrics, plastering, and basic finishes. When you decide to add a balcony, that's when you need to start factoring in additional costs, which can vary wildly depending on what you choose.
The extra spend is tied directly to how ambitious your balcony design is. A simple Juliet balcony is a relatively modest addition, whereas a full walk-out roof terrace is a much more significant investment.
It might sound strange, but spending more on a really well-designed balcony can often give you a better return. A thoughtfully integrated roof terrace can completely change a property's appeal, boosting its market value far more than a simpler addition might.
Beyond the type of balcony, a few other key things will shape your total spend. You'll need to budget for professional fees from architects and structural engineers – they’re non-negotiable. Your choice of materials for doors (like aluminium versus uPVC), any decking, and particularly the balustrade system will also make a big difference to the final bill.
When putting your numbers together, you have to think about every possible expense. This includes getting a handle on how much a new roof costs in the UK, as major changes might be needed, especially if you're planning a full roof terrace.
Crucially, a loft conversion with a balcony isn't just a cost; it's a powerful investment in your home. On average, this kind of project can increase your property's value by 20% or more.
In sought-after areas across the North, adding unique, high-quality outdoor space can give you an even bigger uplift. It’s genuinely one of the best value-adding improvements you can make.
Finally, always set aside a contingency for 'hidden costs'. Things like planning application fees or sorting out party wall agreements with your neighbours can add up. Factoring these in from day one gives you a complete financial picture and paves the way for a smooth, successful project.
So, the idea of a loft conversion with its own balcony has really taken hold. It’s an exciting prospect, but turning that picture in your head into a solid, beautiful reality can feel like a mammoth task. Where do you even begin?
The trick is to see it not as one giant leap, but as a series of manageable steps. By following a clear path, you can take control of the process, keep your budget in check, and ensure the finished space is everything you hoped for. Here’s the journey from initial dream to the day you step out onto your new balcony.
A successful loft conversion always follows a logical sequence. Tackling each stage in the right order is the secret to avoiding costly backtracking and making sure every box is ticked, from planning permission to the final polish.
We can’t overstate the value of working with experienced local professionals. People who understand the specific building landscape in Yorkshire and the North can save you a huge amount of time, money, and stress. Their expertise ensures you get a beautiful, compliant result that you’ll enjoy for years to come.
One of the best next steps you can take is to get a firm, accurate price for your balustrade. This gives you a solid number to work with early on, removing a major variable from your budget. It ensures you’re planning for a finish that is safe, fully compliant, and looks incredible.
The team here at Binks Balustrades can give you a tailored quote and expert advice for your specific project. Contact us today to get started.